
August 24, 2026, 3:30 PM - Non-Stop Whales Across the Salish Sea
With word of orca travelling north through Sansum Narrows, our two afternoon vessels set out with a plan. We would head south and see if we could intercept the whales as they moved through the Southern Gulf Islands.
Our journey took us through Northumberland Channel, Dodd Narrows, and Stuart Channel as we worked our way toward Sansum Narrows. We kept our eyes scanning the surrounding waters, hoping for that unmistakable sight of a dorsal fin.
But as we approached the narrows, something unexpected appeared in the channel. A group of orca had surfaced nearby, riding the large wake of a passing tugboat.
This wasn't the group we had originally been looking for, but it was a welcome surprise.
Orca are powerful animals, and while they can certainly be playful, catching them actively playing in the wake of a vessel is not something we see every day. Riding large waves requires energy, and with wild orca, most of their time and effort is devoted to travelling, hunting, and socializing. Seeing them take advantage of the tugboat's wake made for a particularly memorable way to find these whales.
It didn't take long for our Marine Naturalists to identify them as the T101s, a mother-and-son pair well known in the waters of the Salish Sea.
T101 Reef ♀ (≤1969)
T101B Lagoon ♂ (1997)
When we first arrived, the T101s were travelling steadily through the channel. Before long, however, their behaviour changed. The pair began hunting, giving us a glimpse of the focused and coordinated behaviour that makes watching Bigg's killer whales so fascinating.
The hunt brought a little more activity to the surface as the whales moved through the area, but just as quickly as it had begun, the encounter was over. The T101s resumed their travels, and we decided it was time to continue on as well.
Fortunately, the other group of orca we had originally been searching for had also been located. Another vessel had found the T046Bs travelling through Satellite Channel, so we headed over to share the encounter.
T046B Raksha ♀ (1988)
T046B2 Akela ♀ (2008)
T046B2B Takaya ♀ (2023)
T046B3 Sedna ♀ (2011)
T046B3A Munro (2025)
T046B4 Quiver ♀ (2013)
T046B6 Sol ♀ (2019)
T046B7 Tala (2023)
T046B8 Pi (2026)
When we arrived, the T046Bs were initially travelling just as the T101s had been. Once again, though, the behaviour soon shifted. The whales began hunting, bringing the group together as they worked to find food.
We were able to watch the whales converge and eventually share their meal. Cooperative hunting and food sharing are fascinating behaviours to witness, offering a glimpse into these animals' complex social lives. Once the hunt was complete, the T046Bs continued on their way, and we gave them plenty of space as we began our own journey north.
Our route took us back through the Southern Gulf Islands and eventually out through Porlier Pass. From there, we continued searching our way north toward Stinky Rock, where we made another wildlife stop.
Steller Sea Lions were hauled out around the rocks, their large bodies piled together as they rested between trips into the water. Nearby, Harbour Seals were also taking advantage of the rocky shoreline. After a day already filled with orca, it was a wonderful reminder that there is always more to discover out on the Salish Sea.
But the wildlife encounters were not quite finished yet.
Our final stop of the day brought us close to Thrasher Rock, where a pair of humpback whales were feeding together. Valiant (BCX1773) and Mantis (BCX0936) were busy in the area, giving us some beautiful looks as the light softened toward sunset.
Eventually, it was time to turn toward Nanaimo. As we made our way home, we reflected on just how much wildlife we had been fortunate enough to encounter throughout the afternoon. From the unexpected T101s riding the wake of a tugboat, to the hunting T046Bs, Steller Sea Lions and Harbour Seals at Stinky Rock, and finally Valiant and Mantis feeding beneath the sunset, it was a remarkable day on the water.
Please enjoy the photos captured throughout the tour by Marine Naturalists Val Watson and Jordan Robinson included below.
The T101s
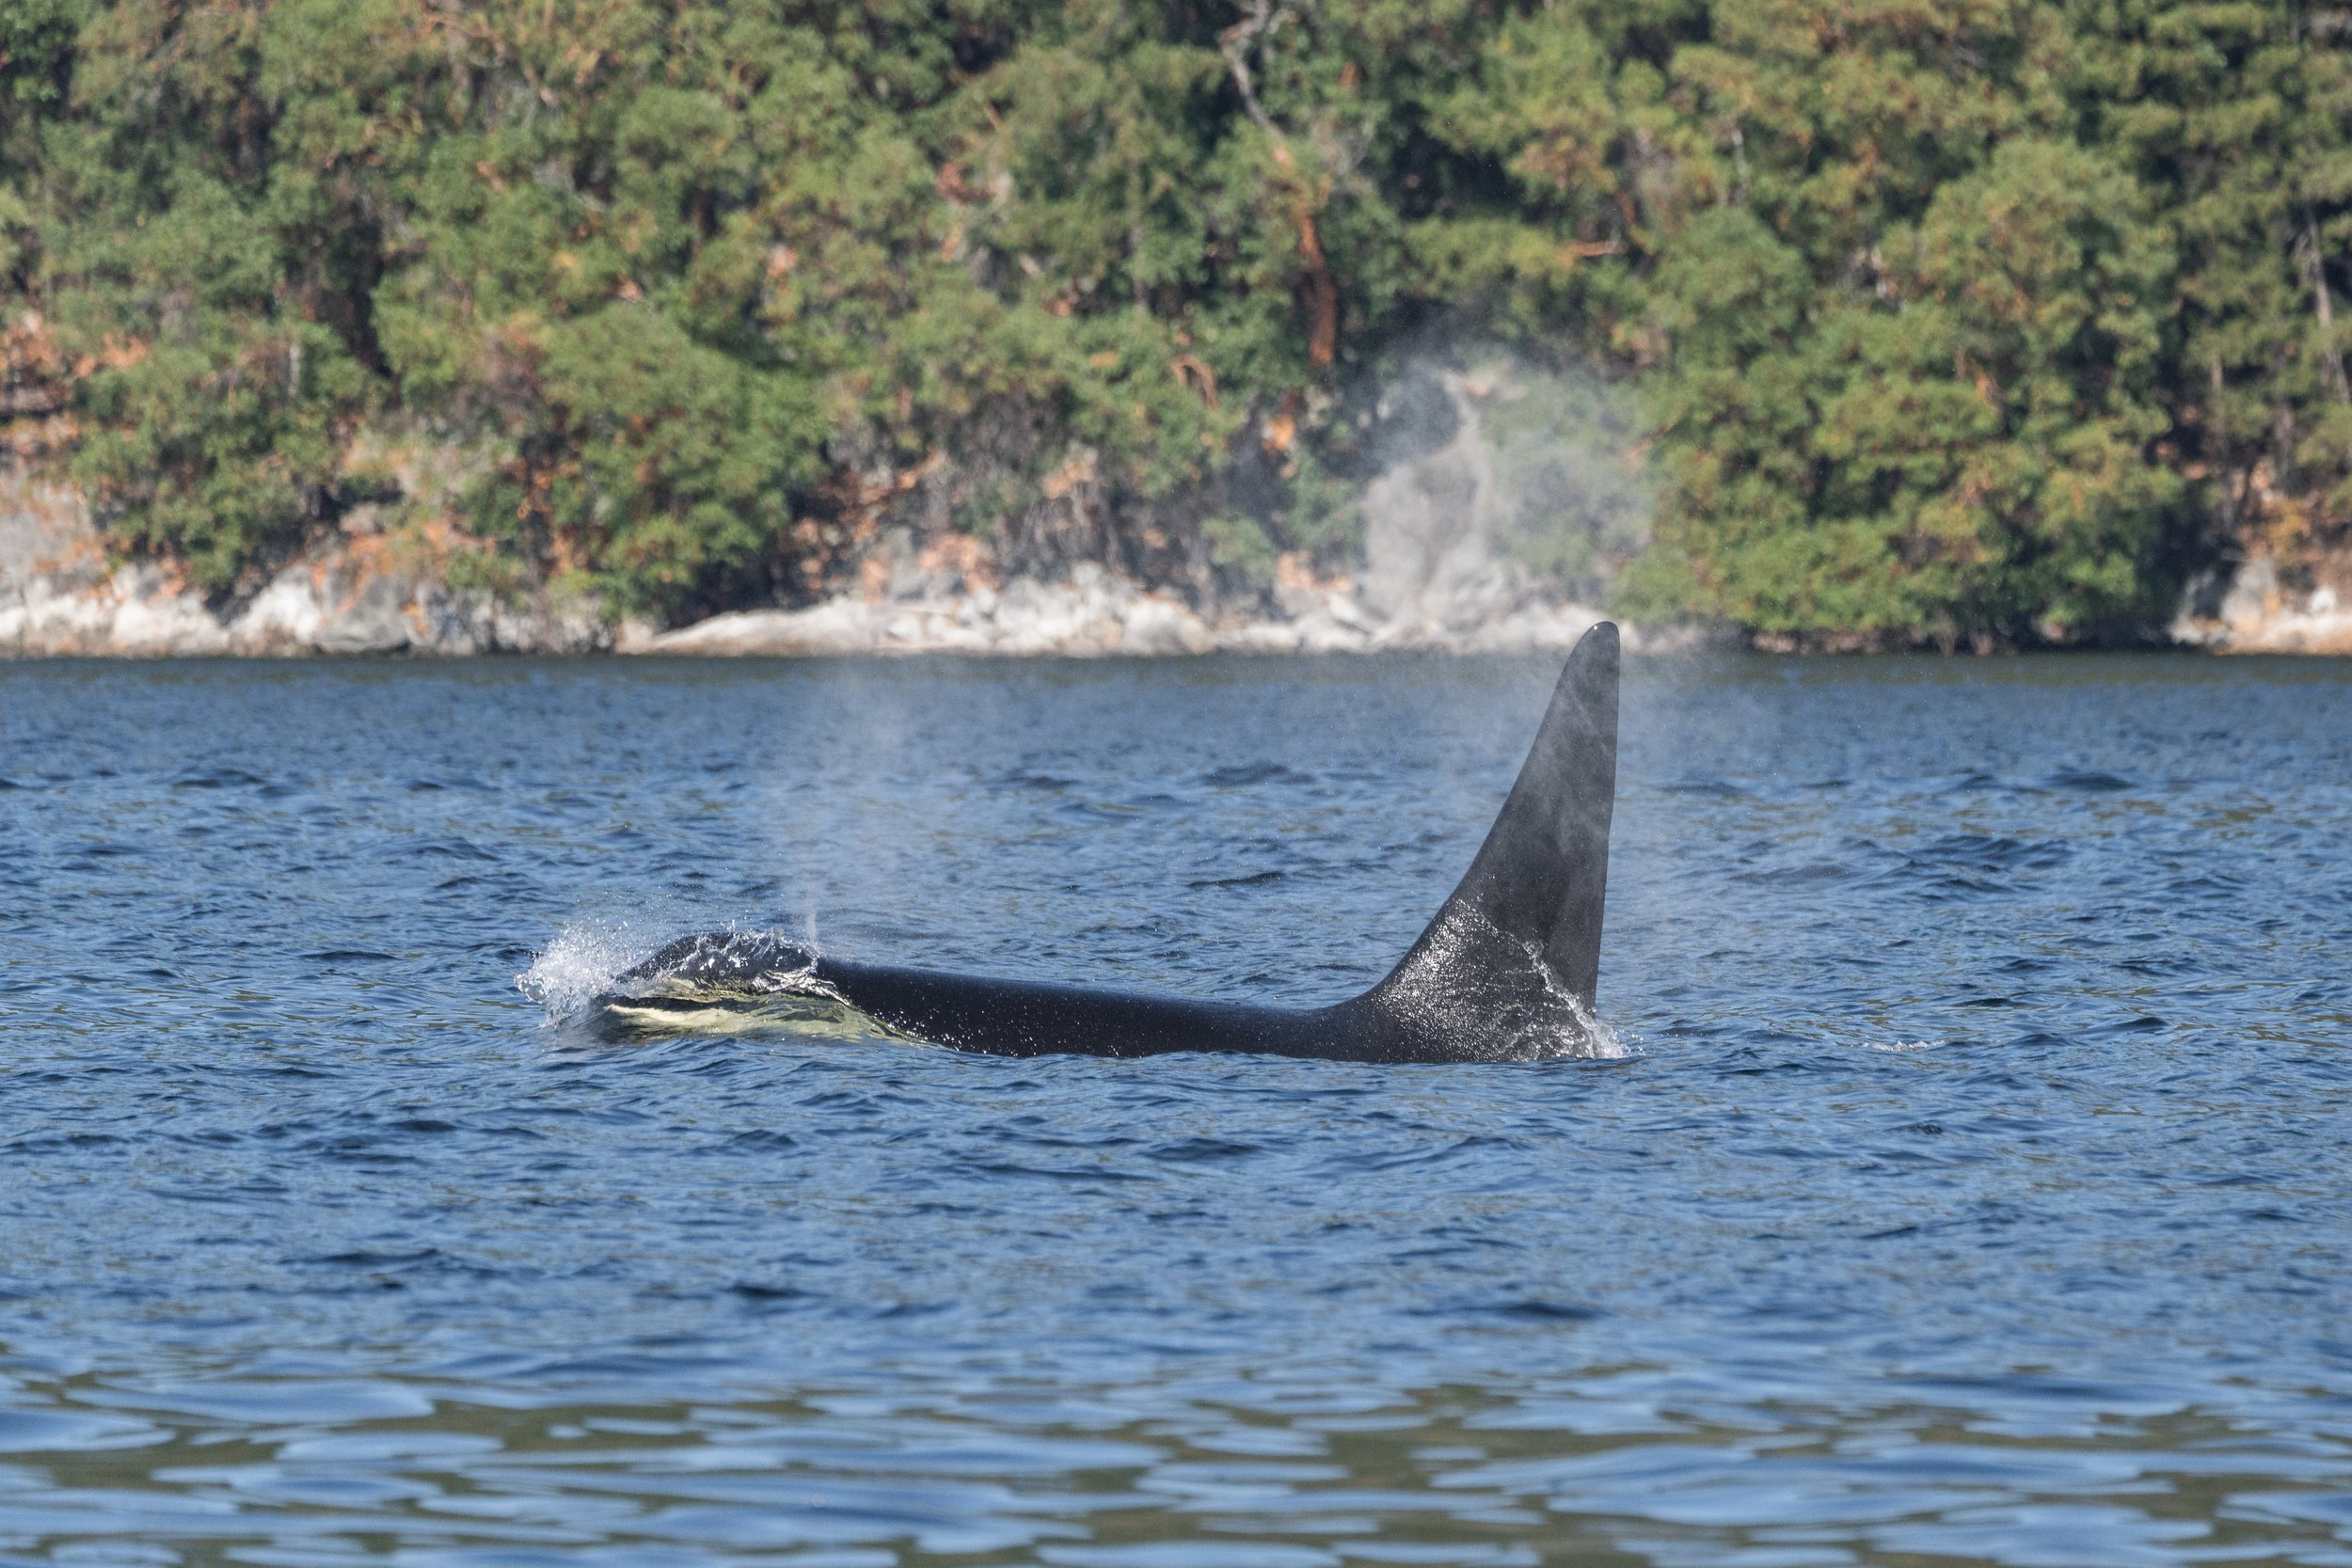
T101B Lagoon making a splash as he travels. Photo by Val Watson.
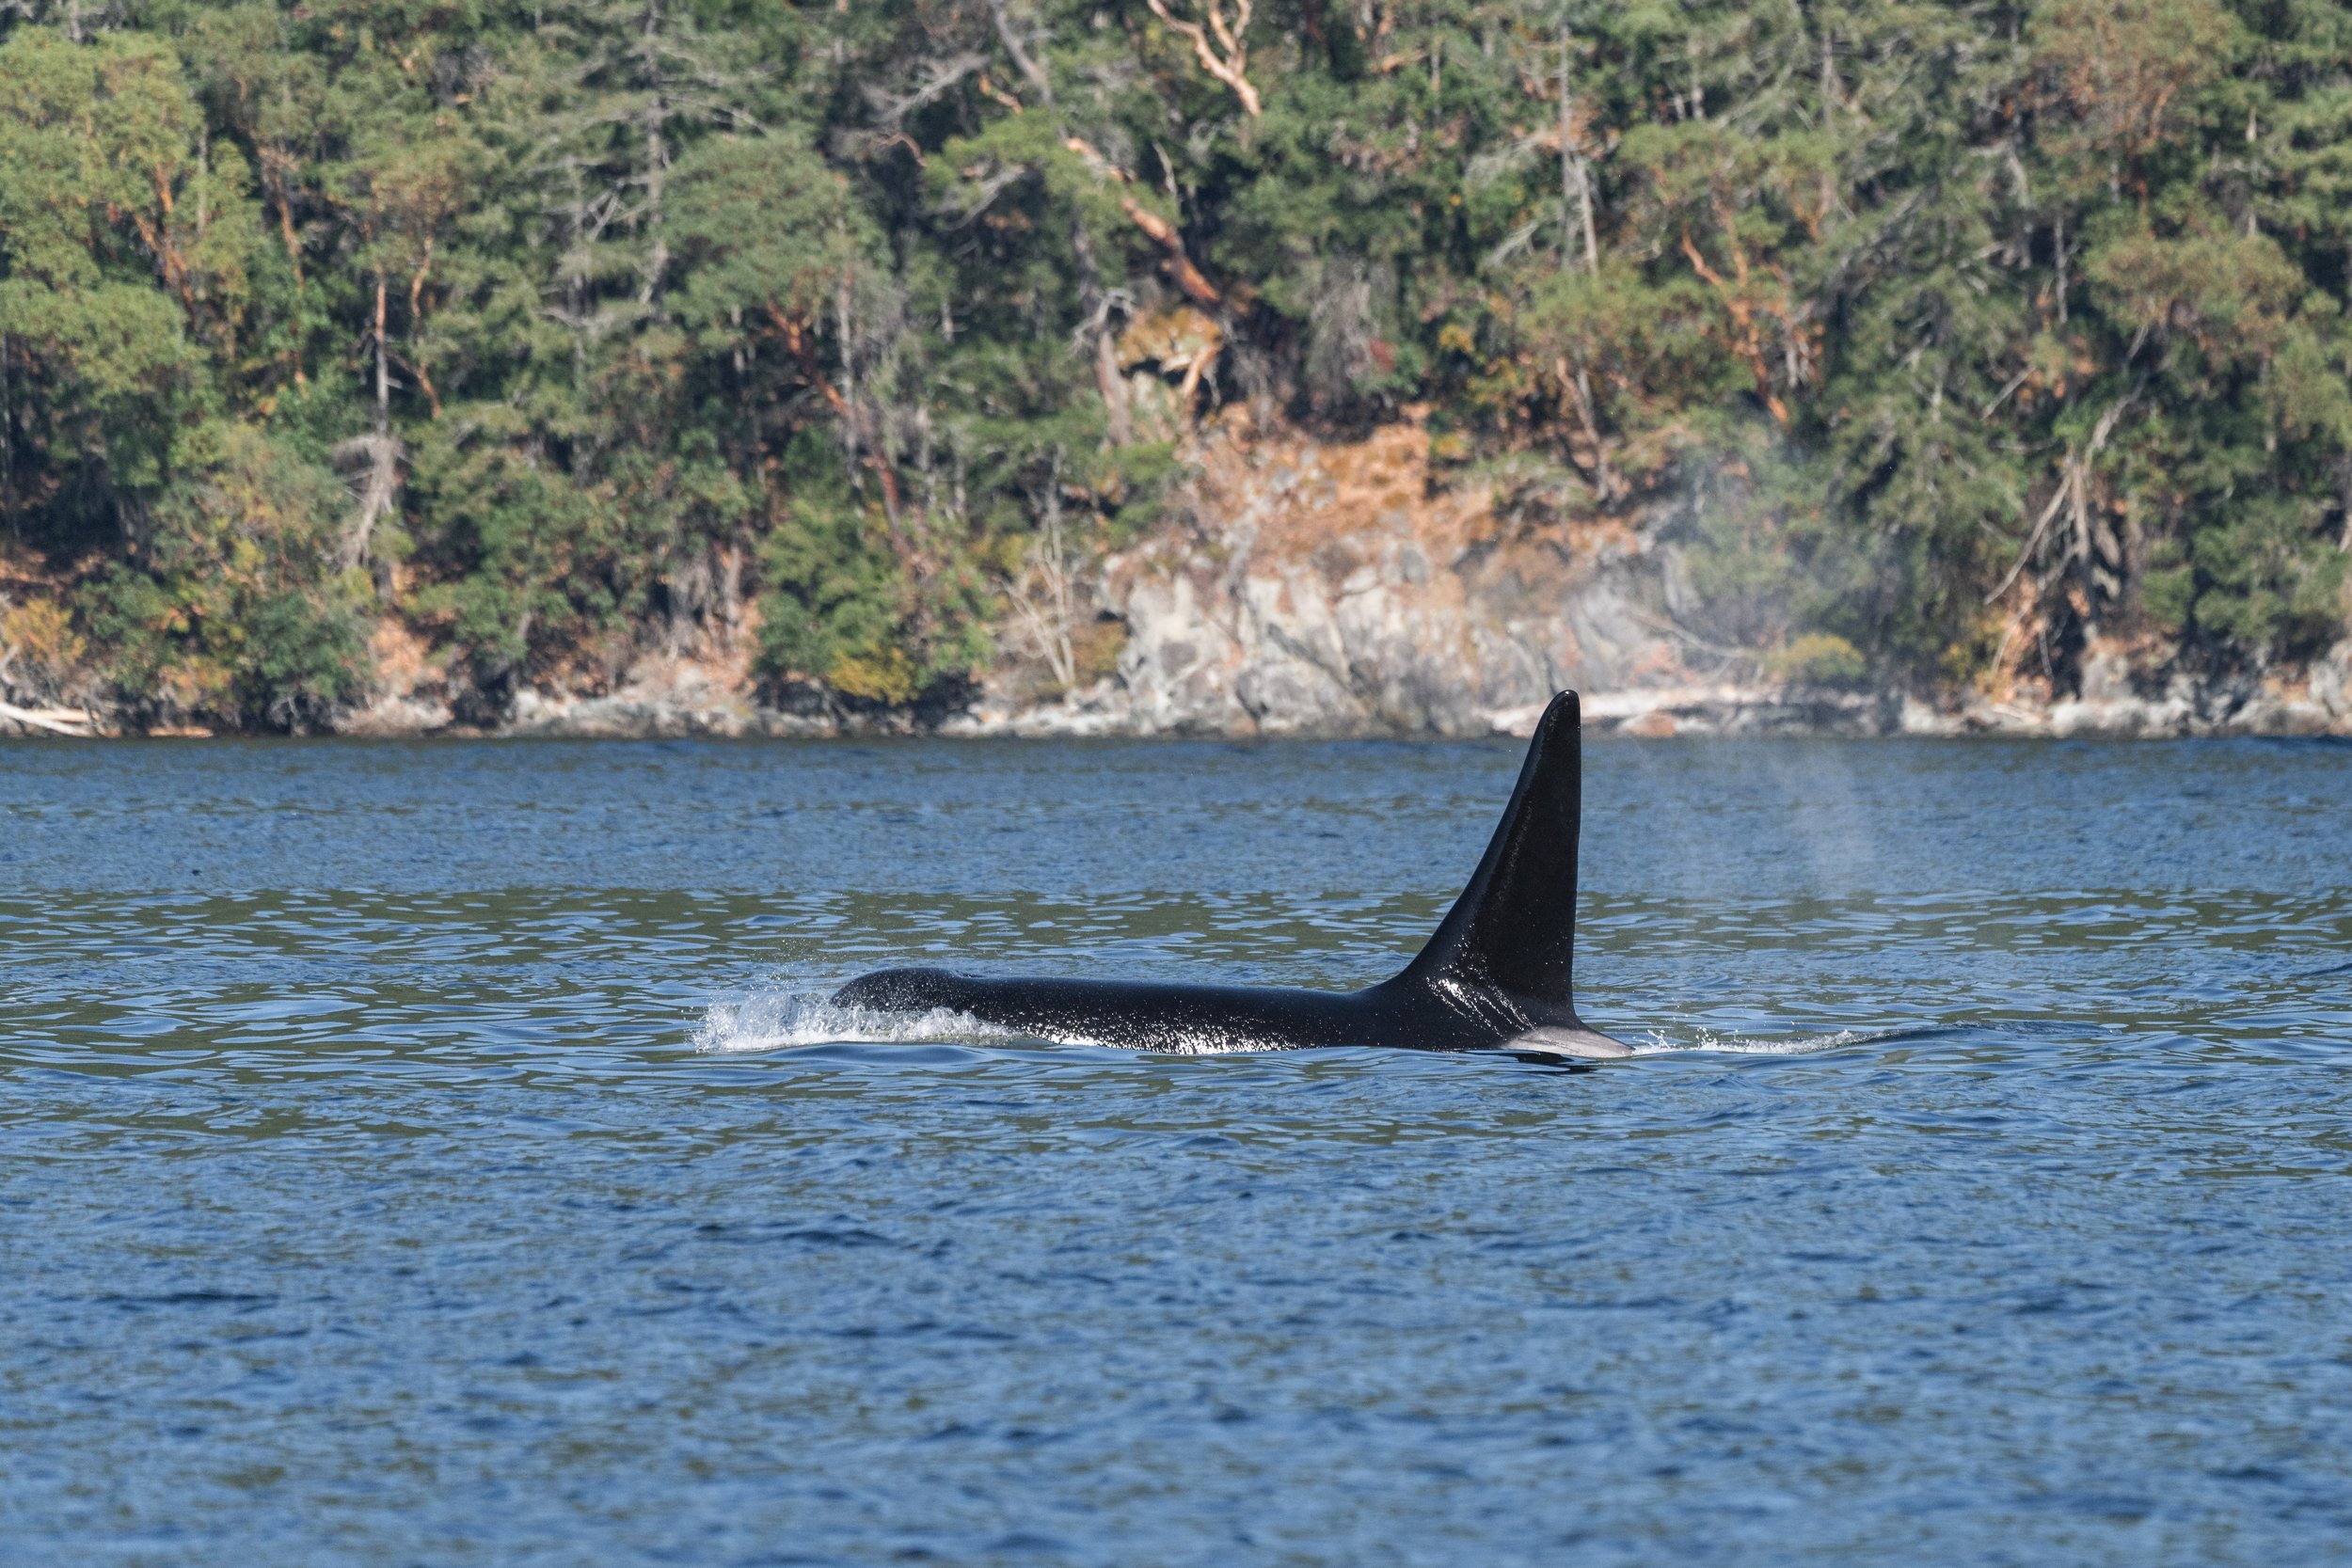
T101B Lagoon moving quickly through the water. Photo by Val Watson.
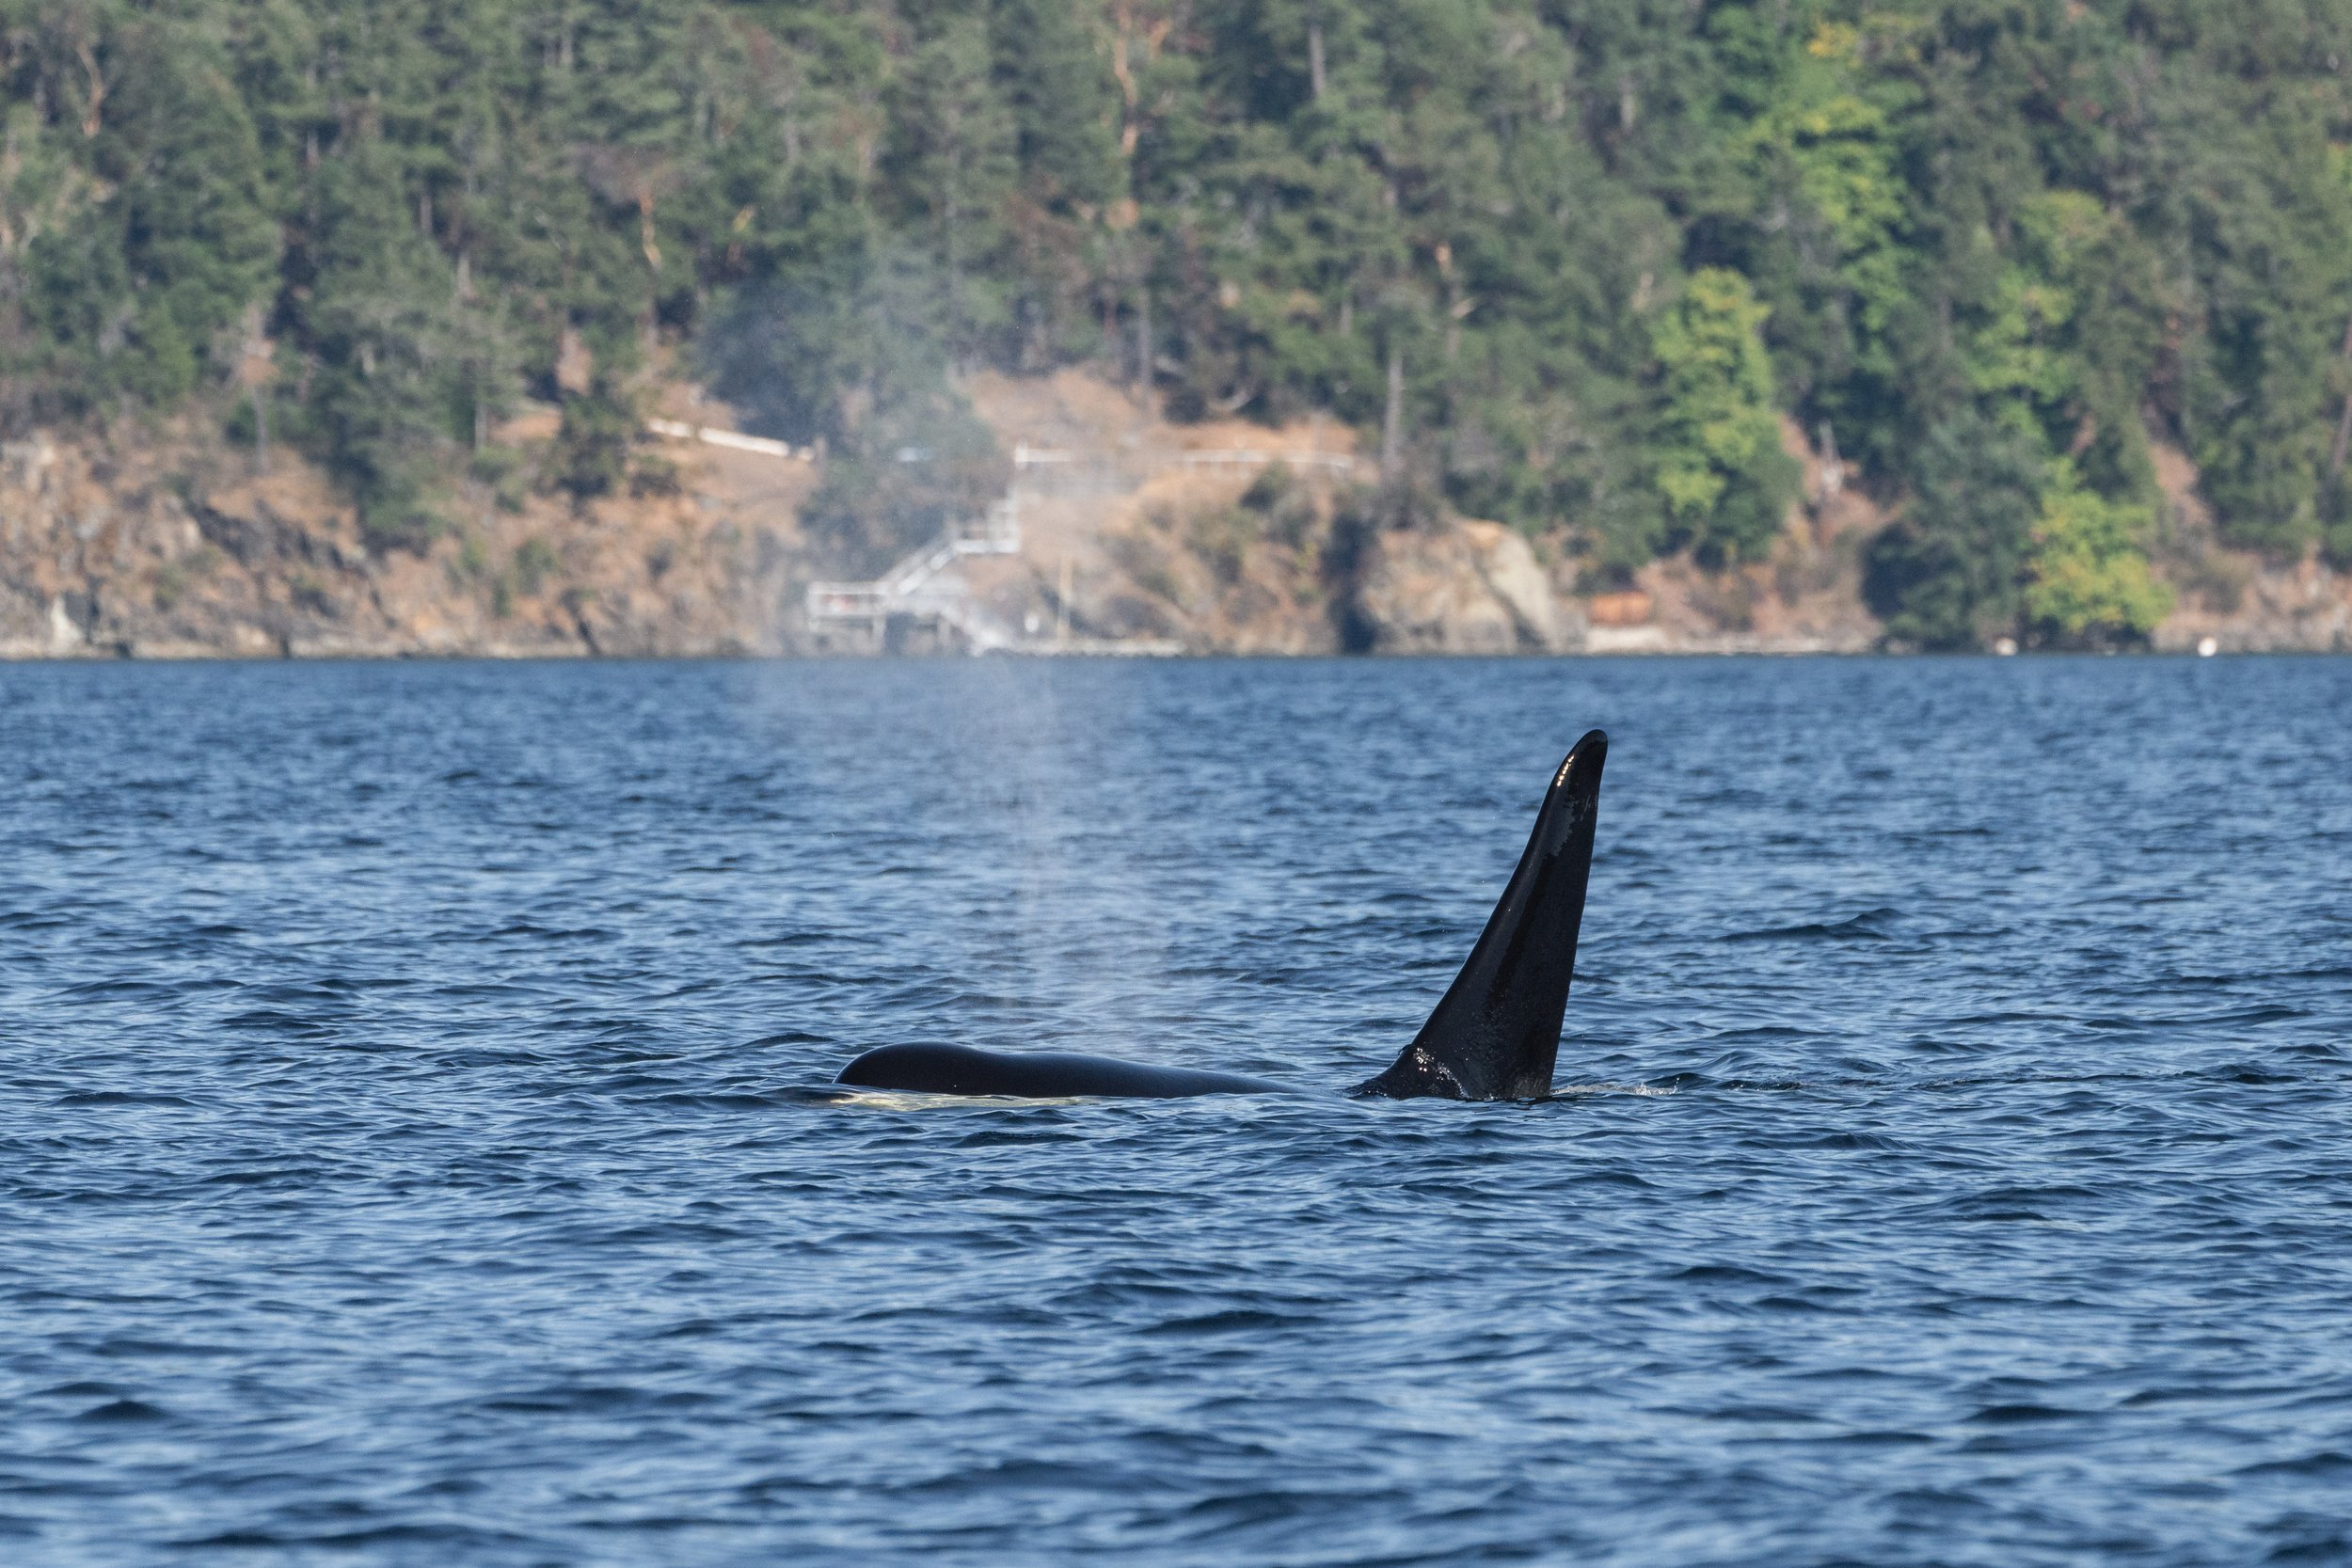
A gentle surface from T101B Lagoon. Photo by Val Watson.
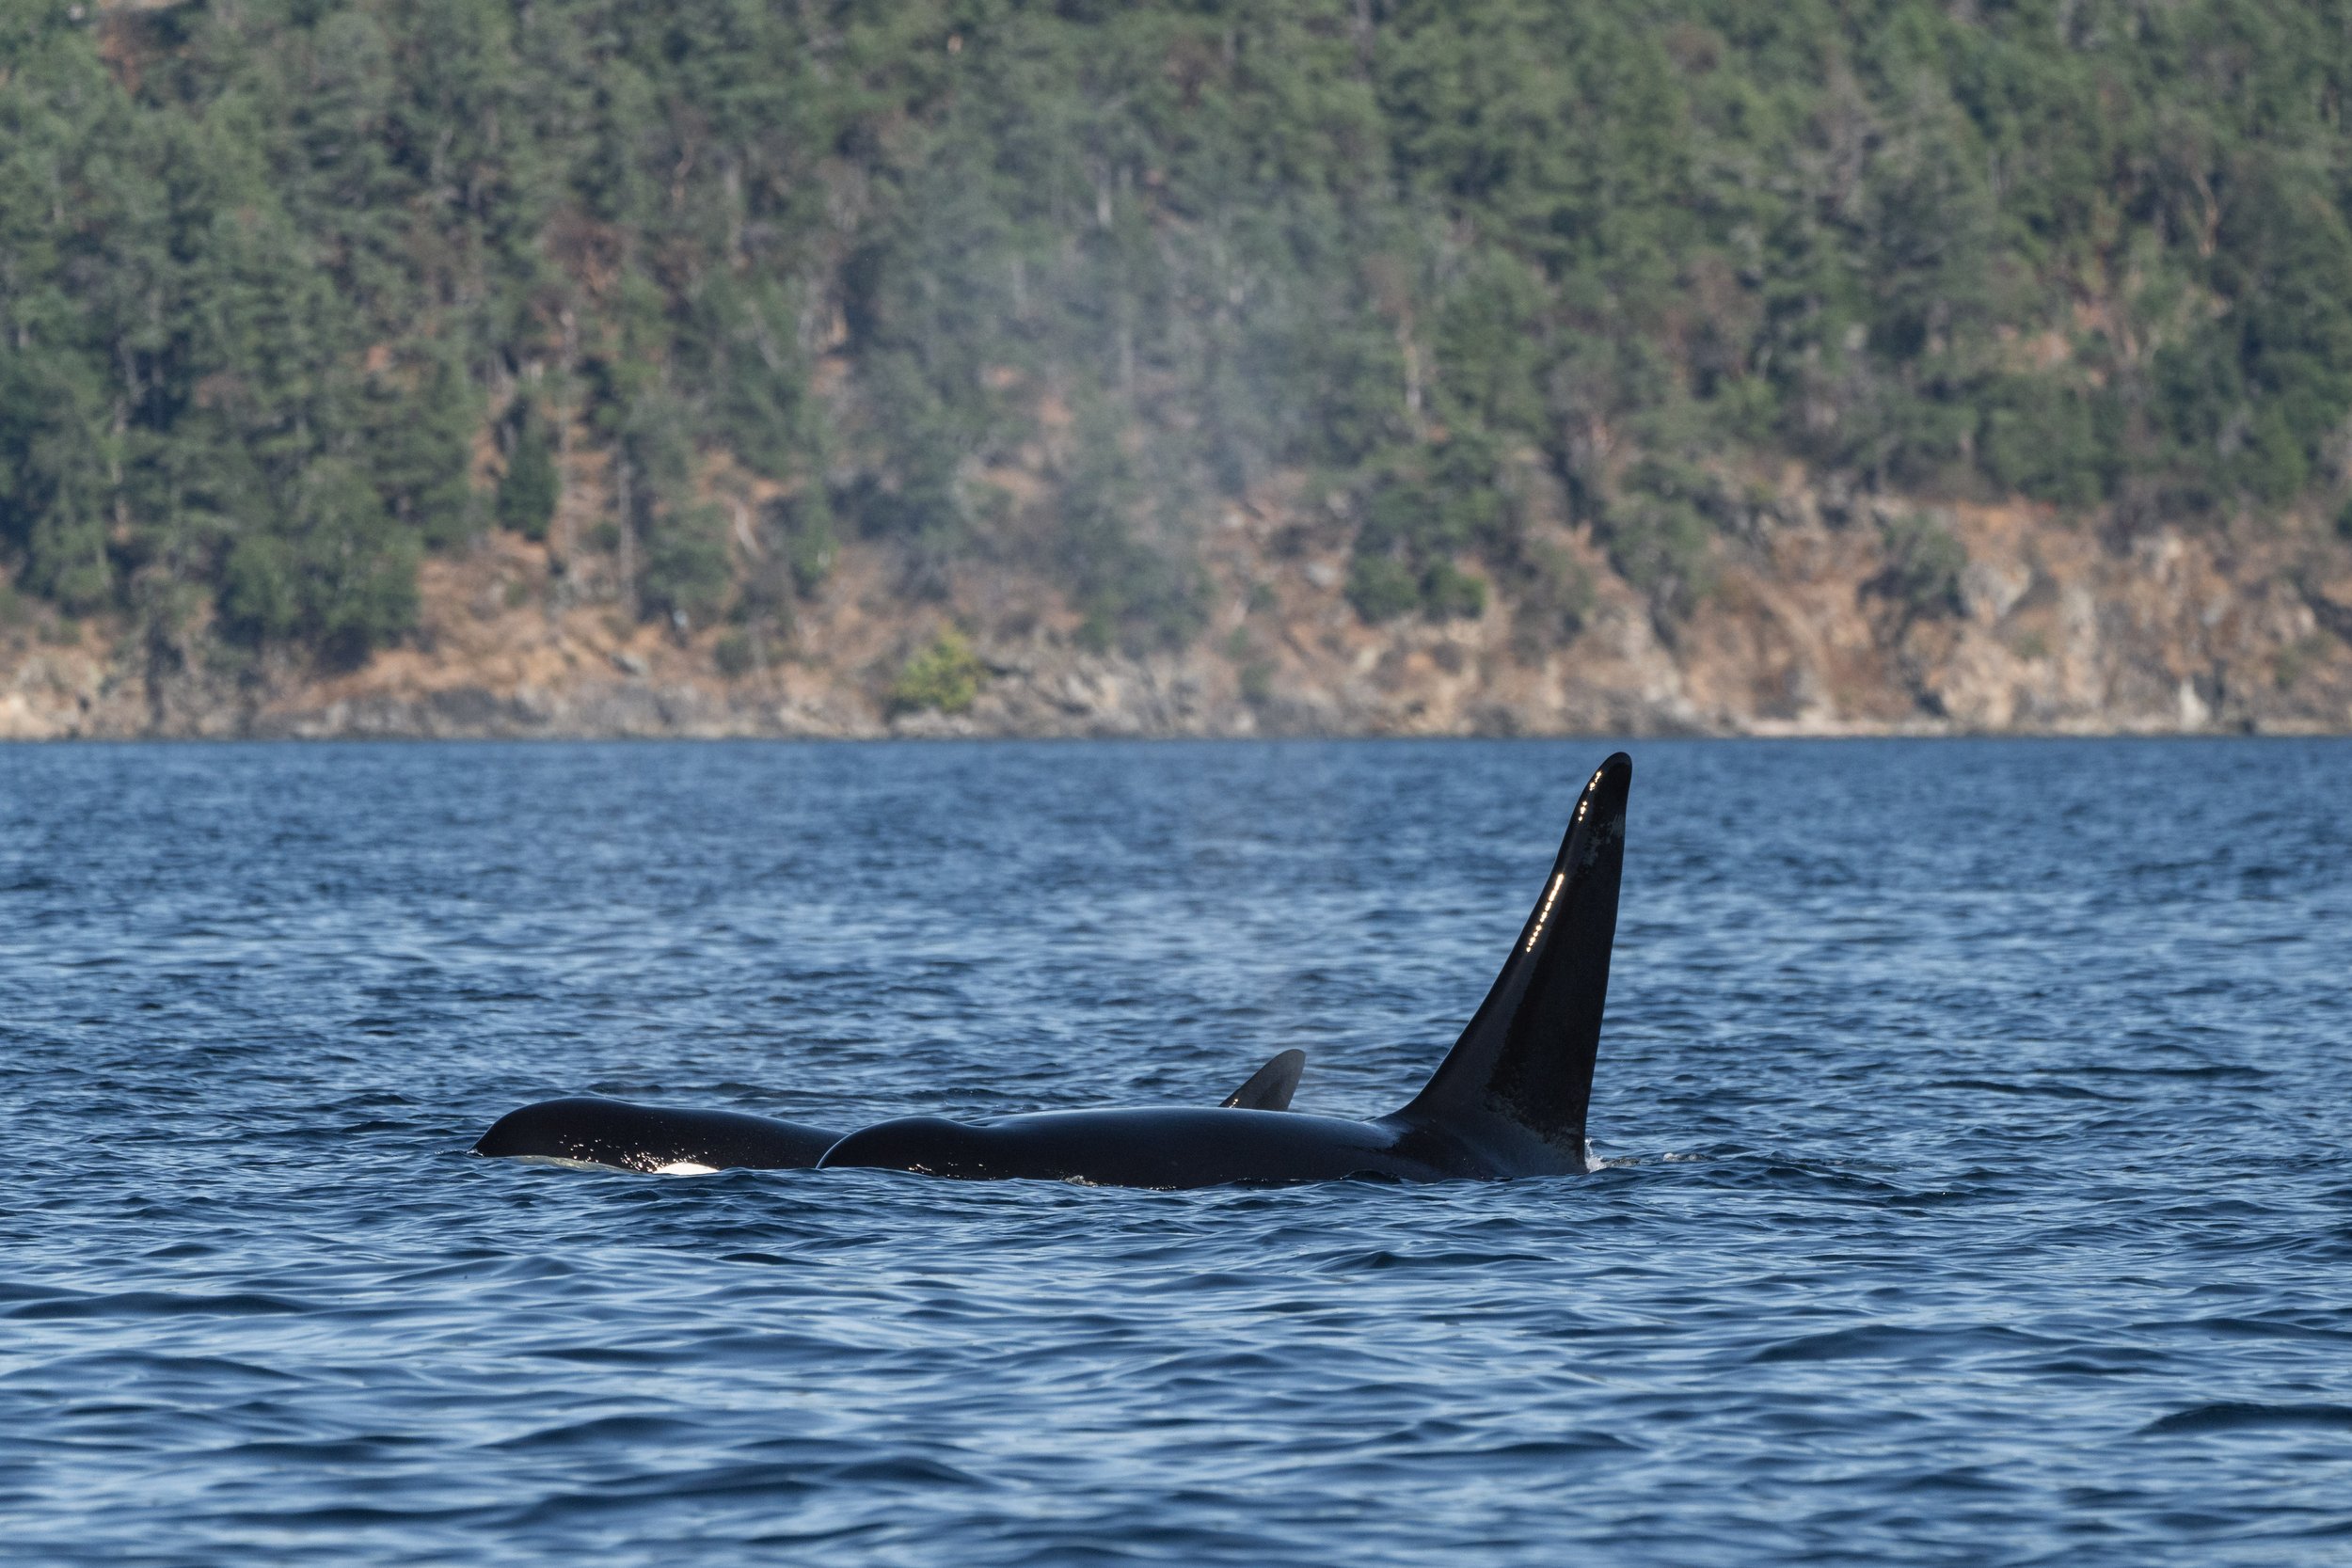
T101 Reef and T10B Lagoon surfacing together. Photo by Val Watson.
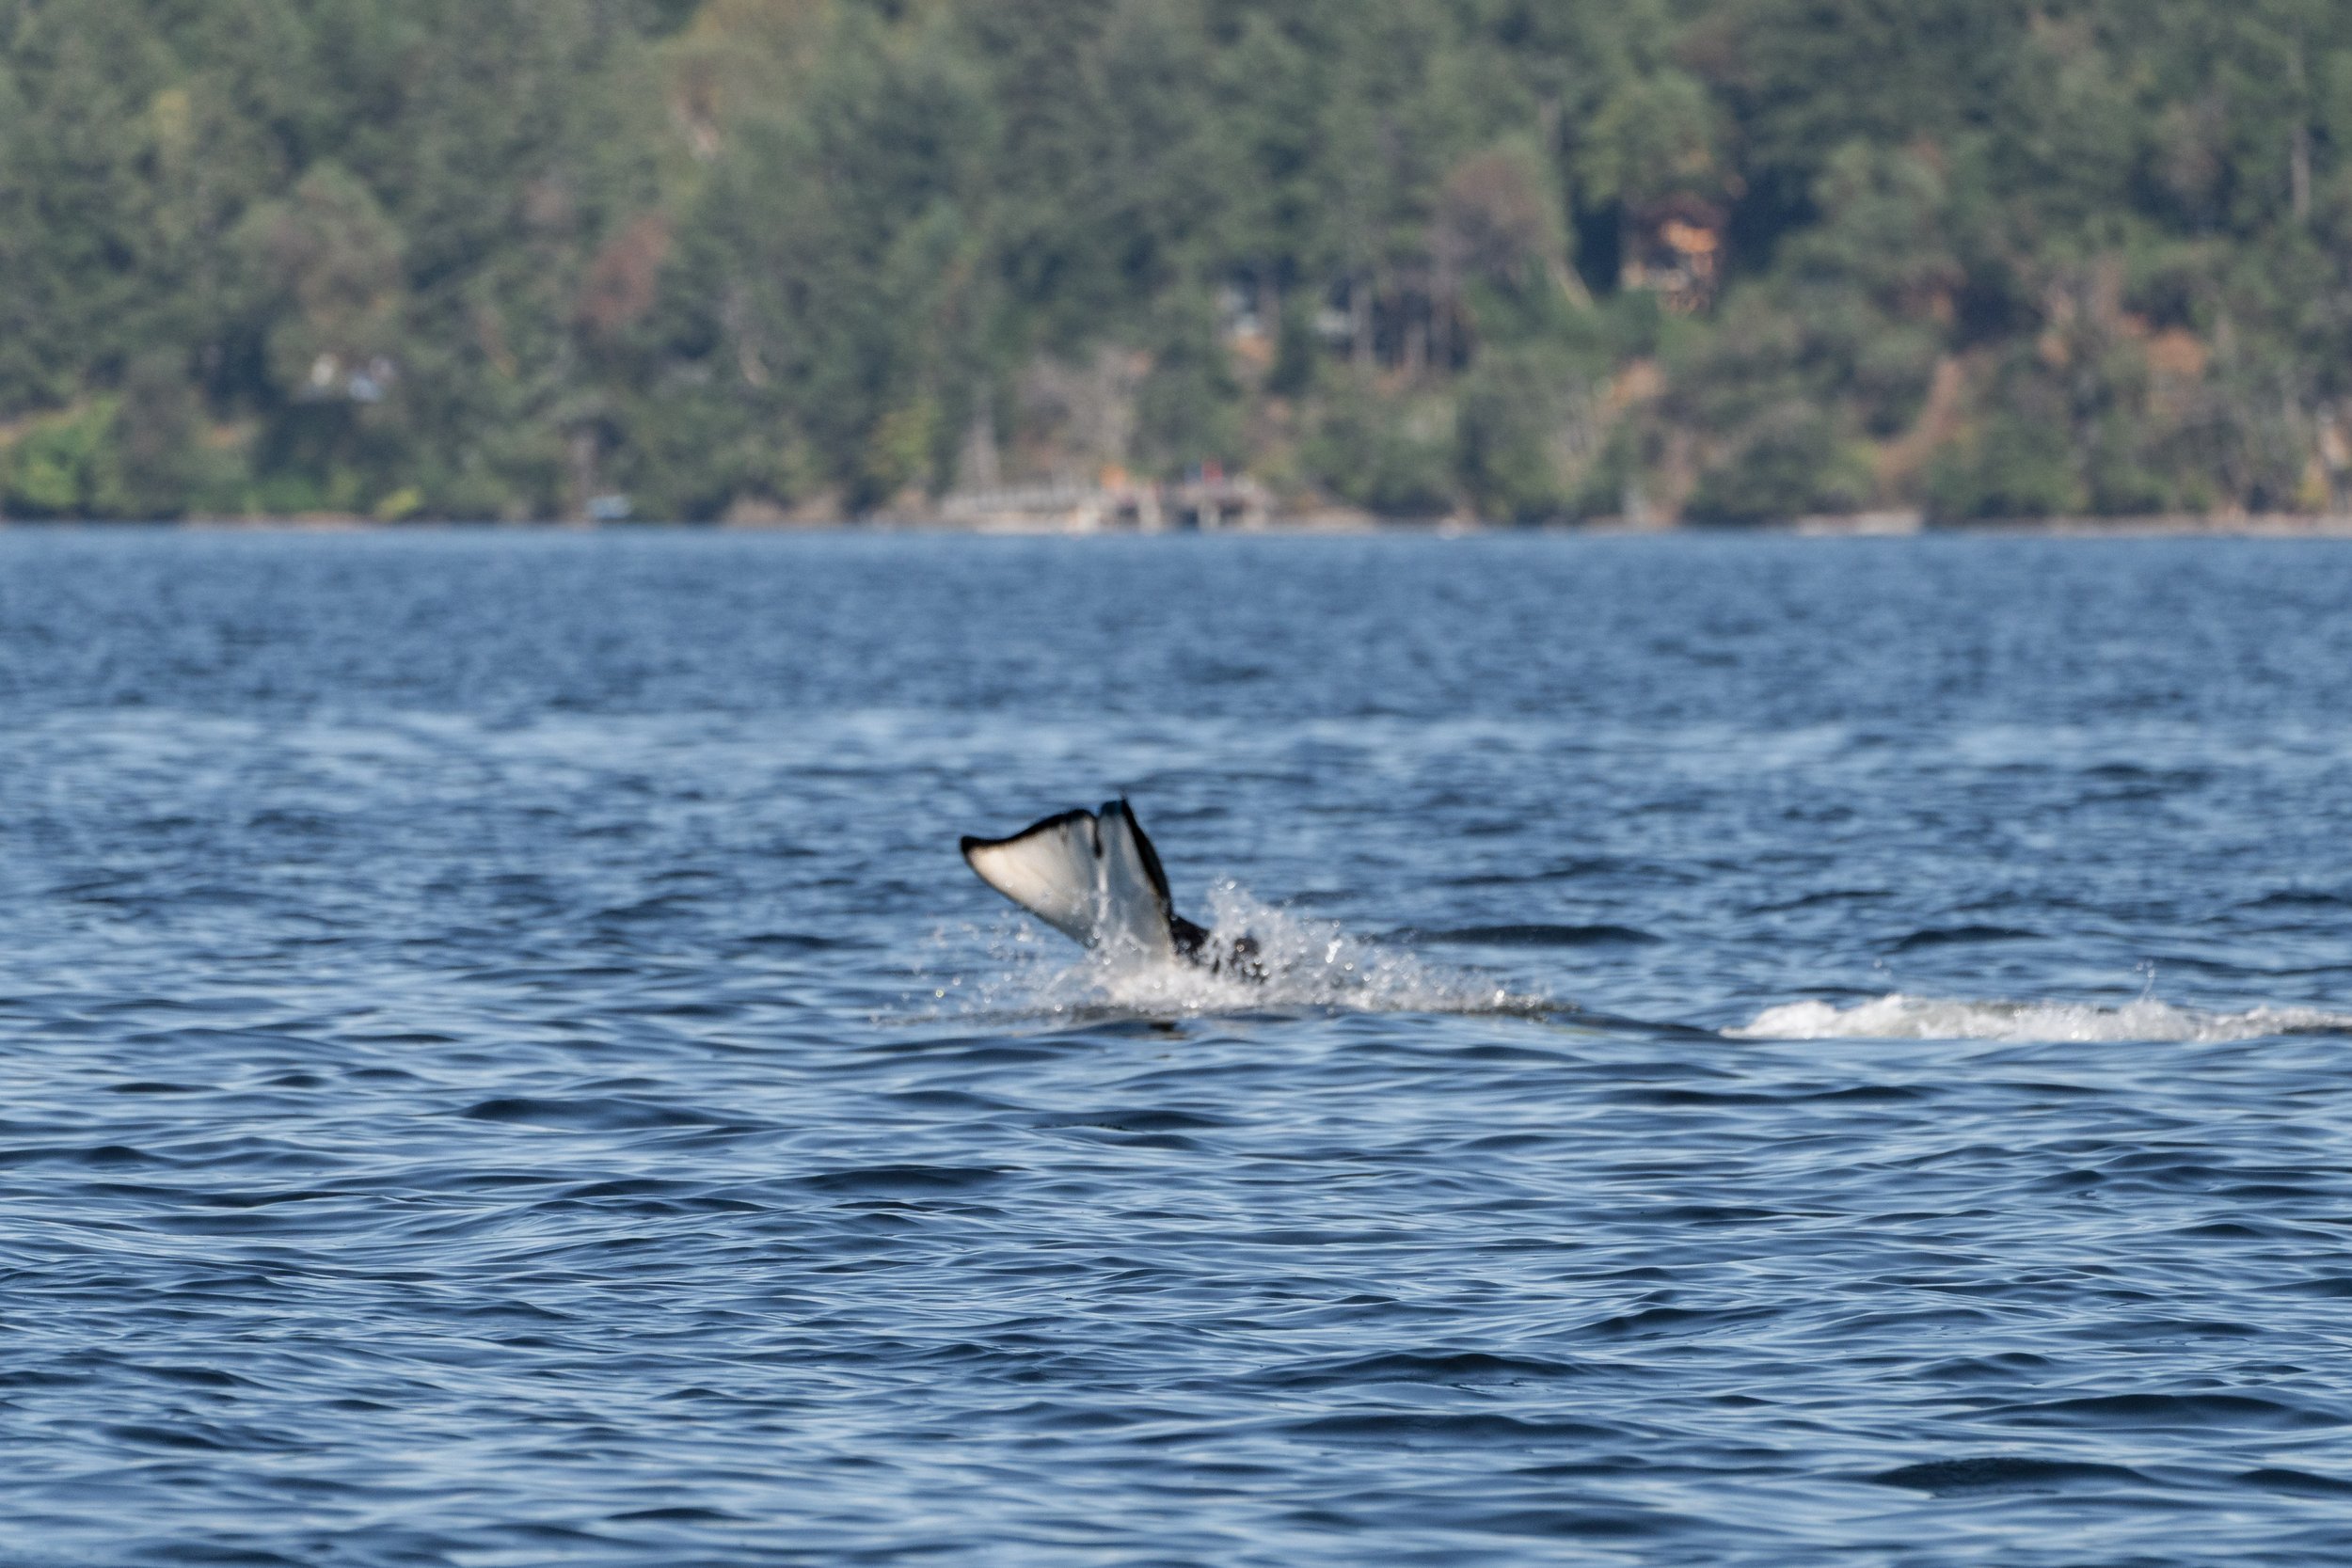
A sligtly out of focus tail slap from T101 Reef during the encounter. Photo by Val Watson.
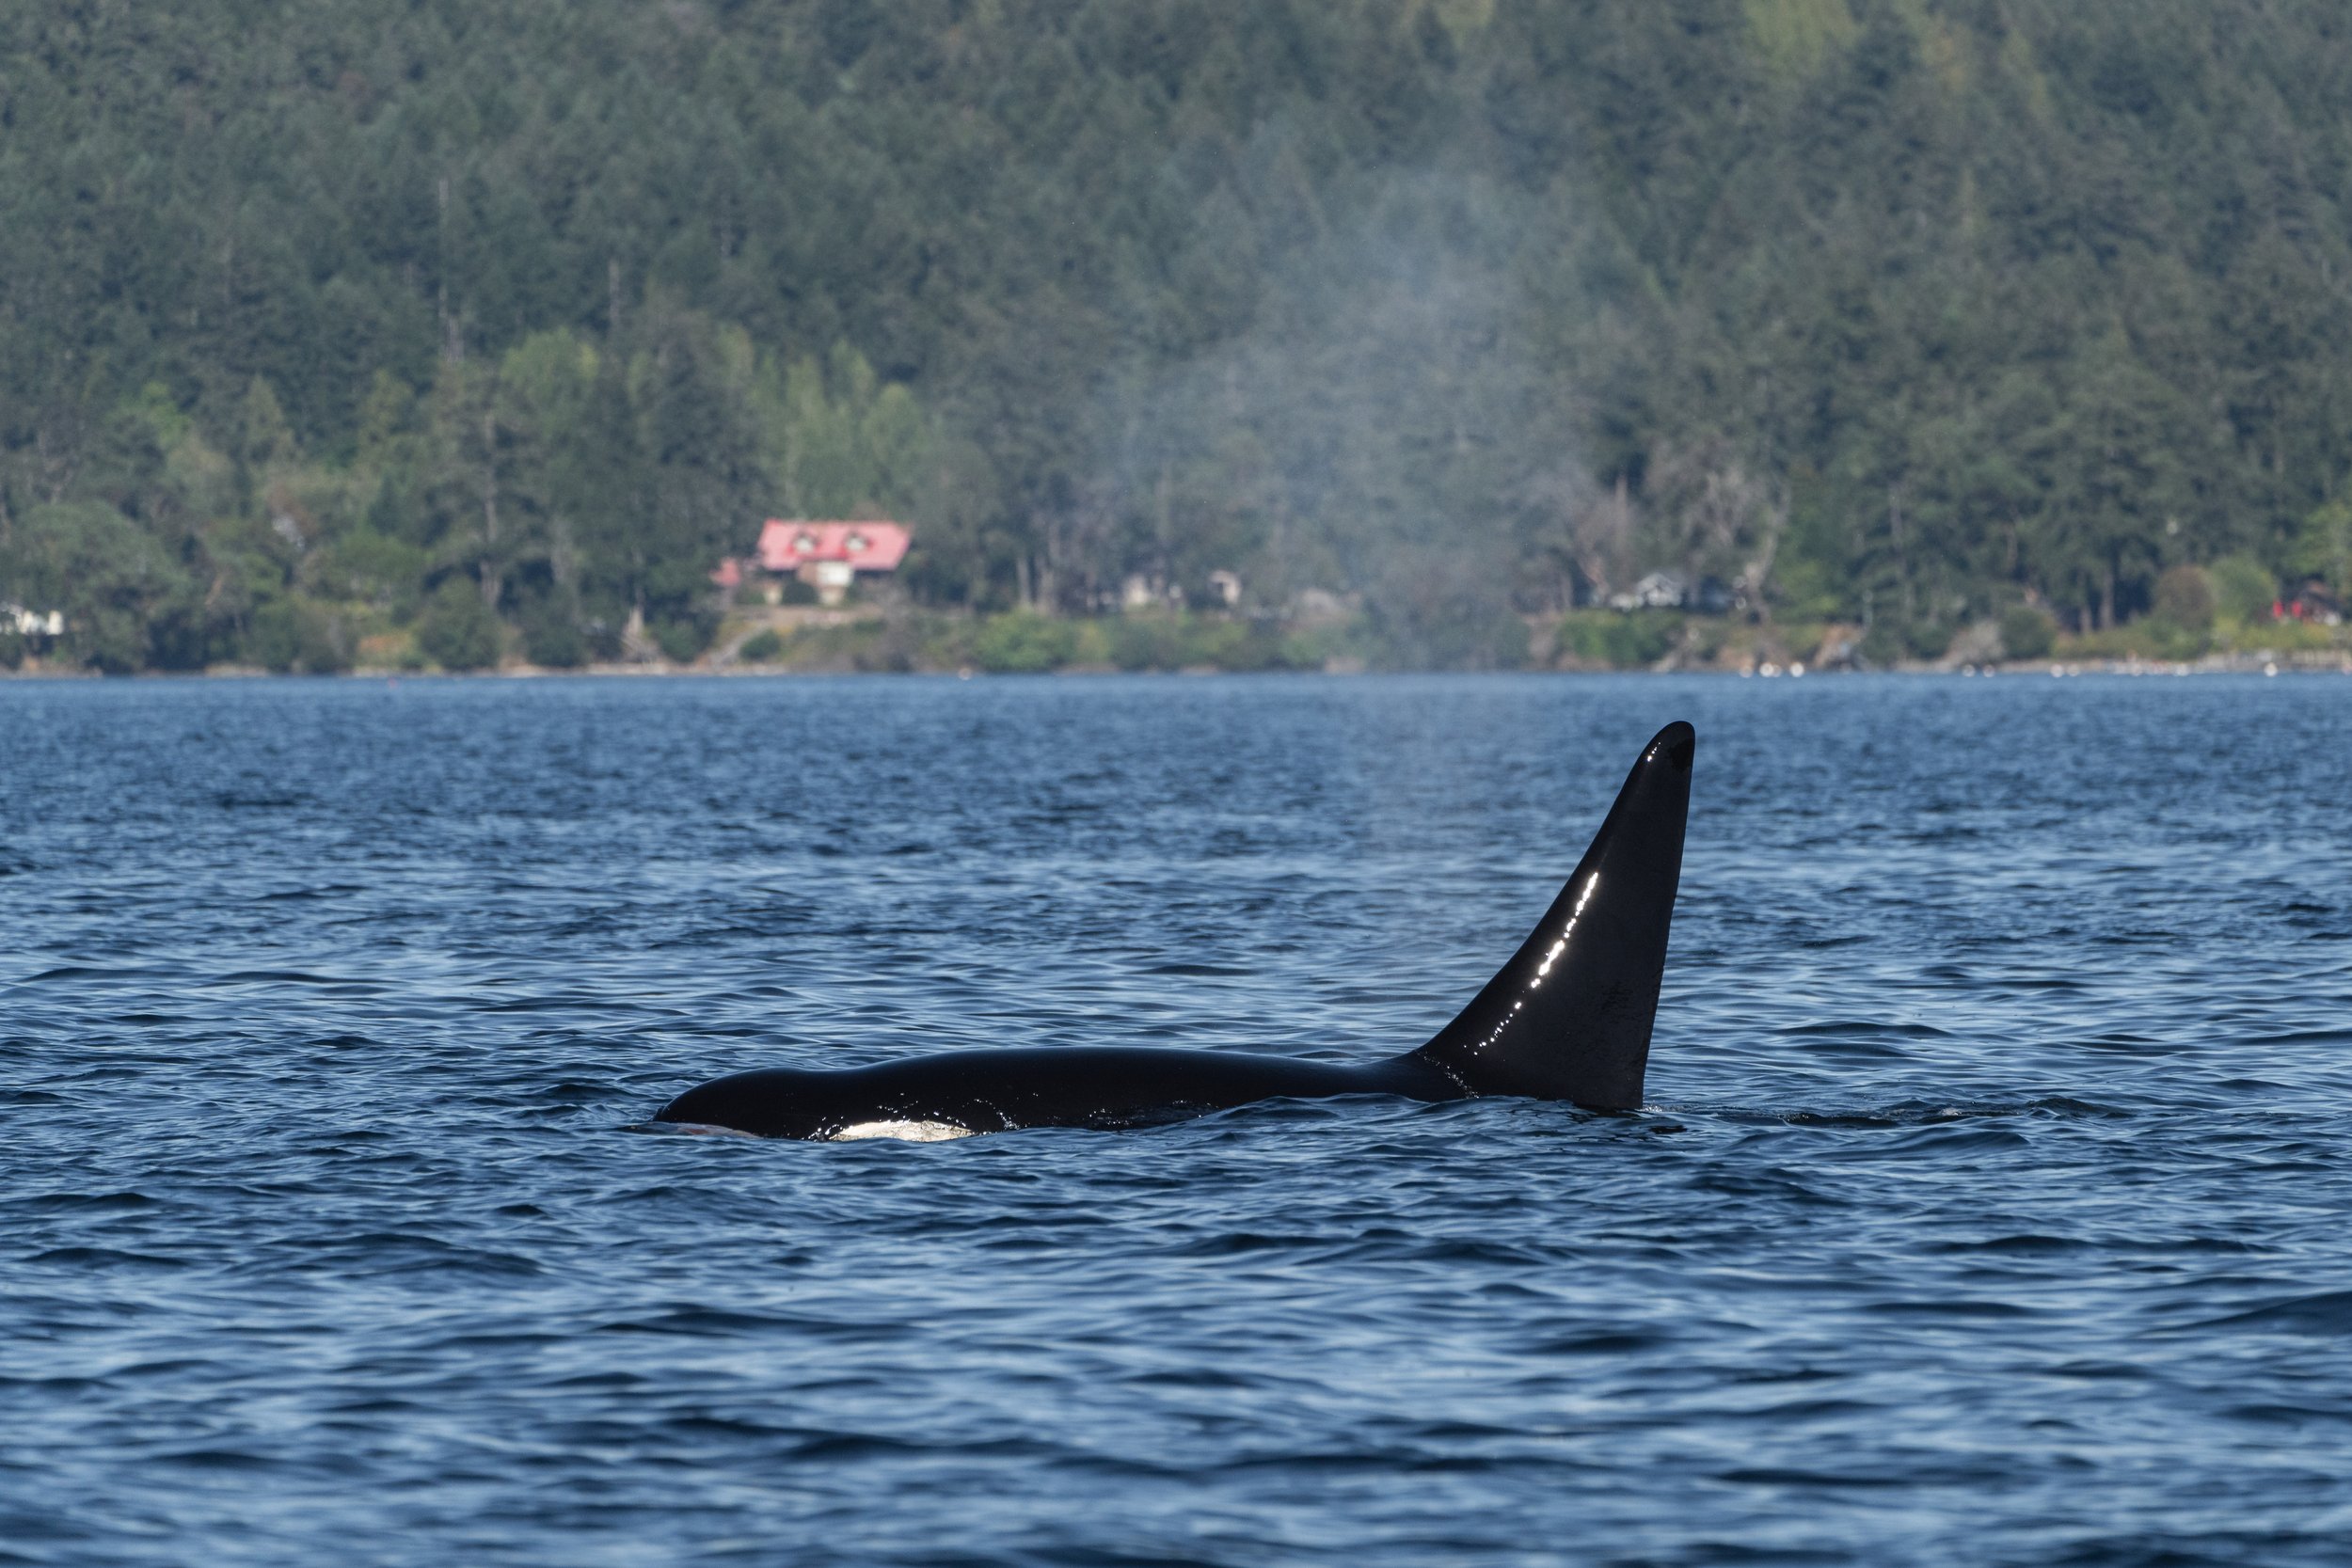
A great look at T101B Lagoon as he surfaces. Photo by Val Watson.
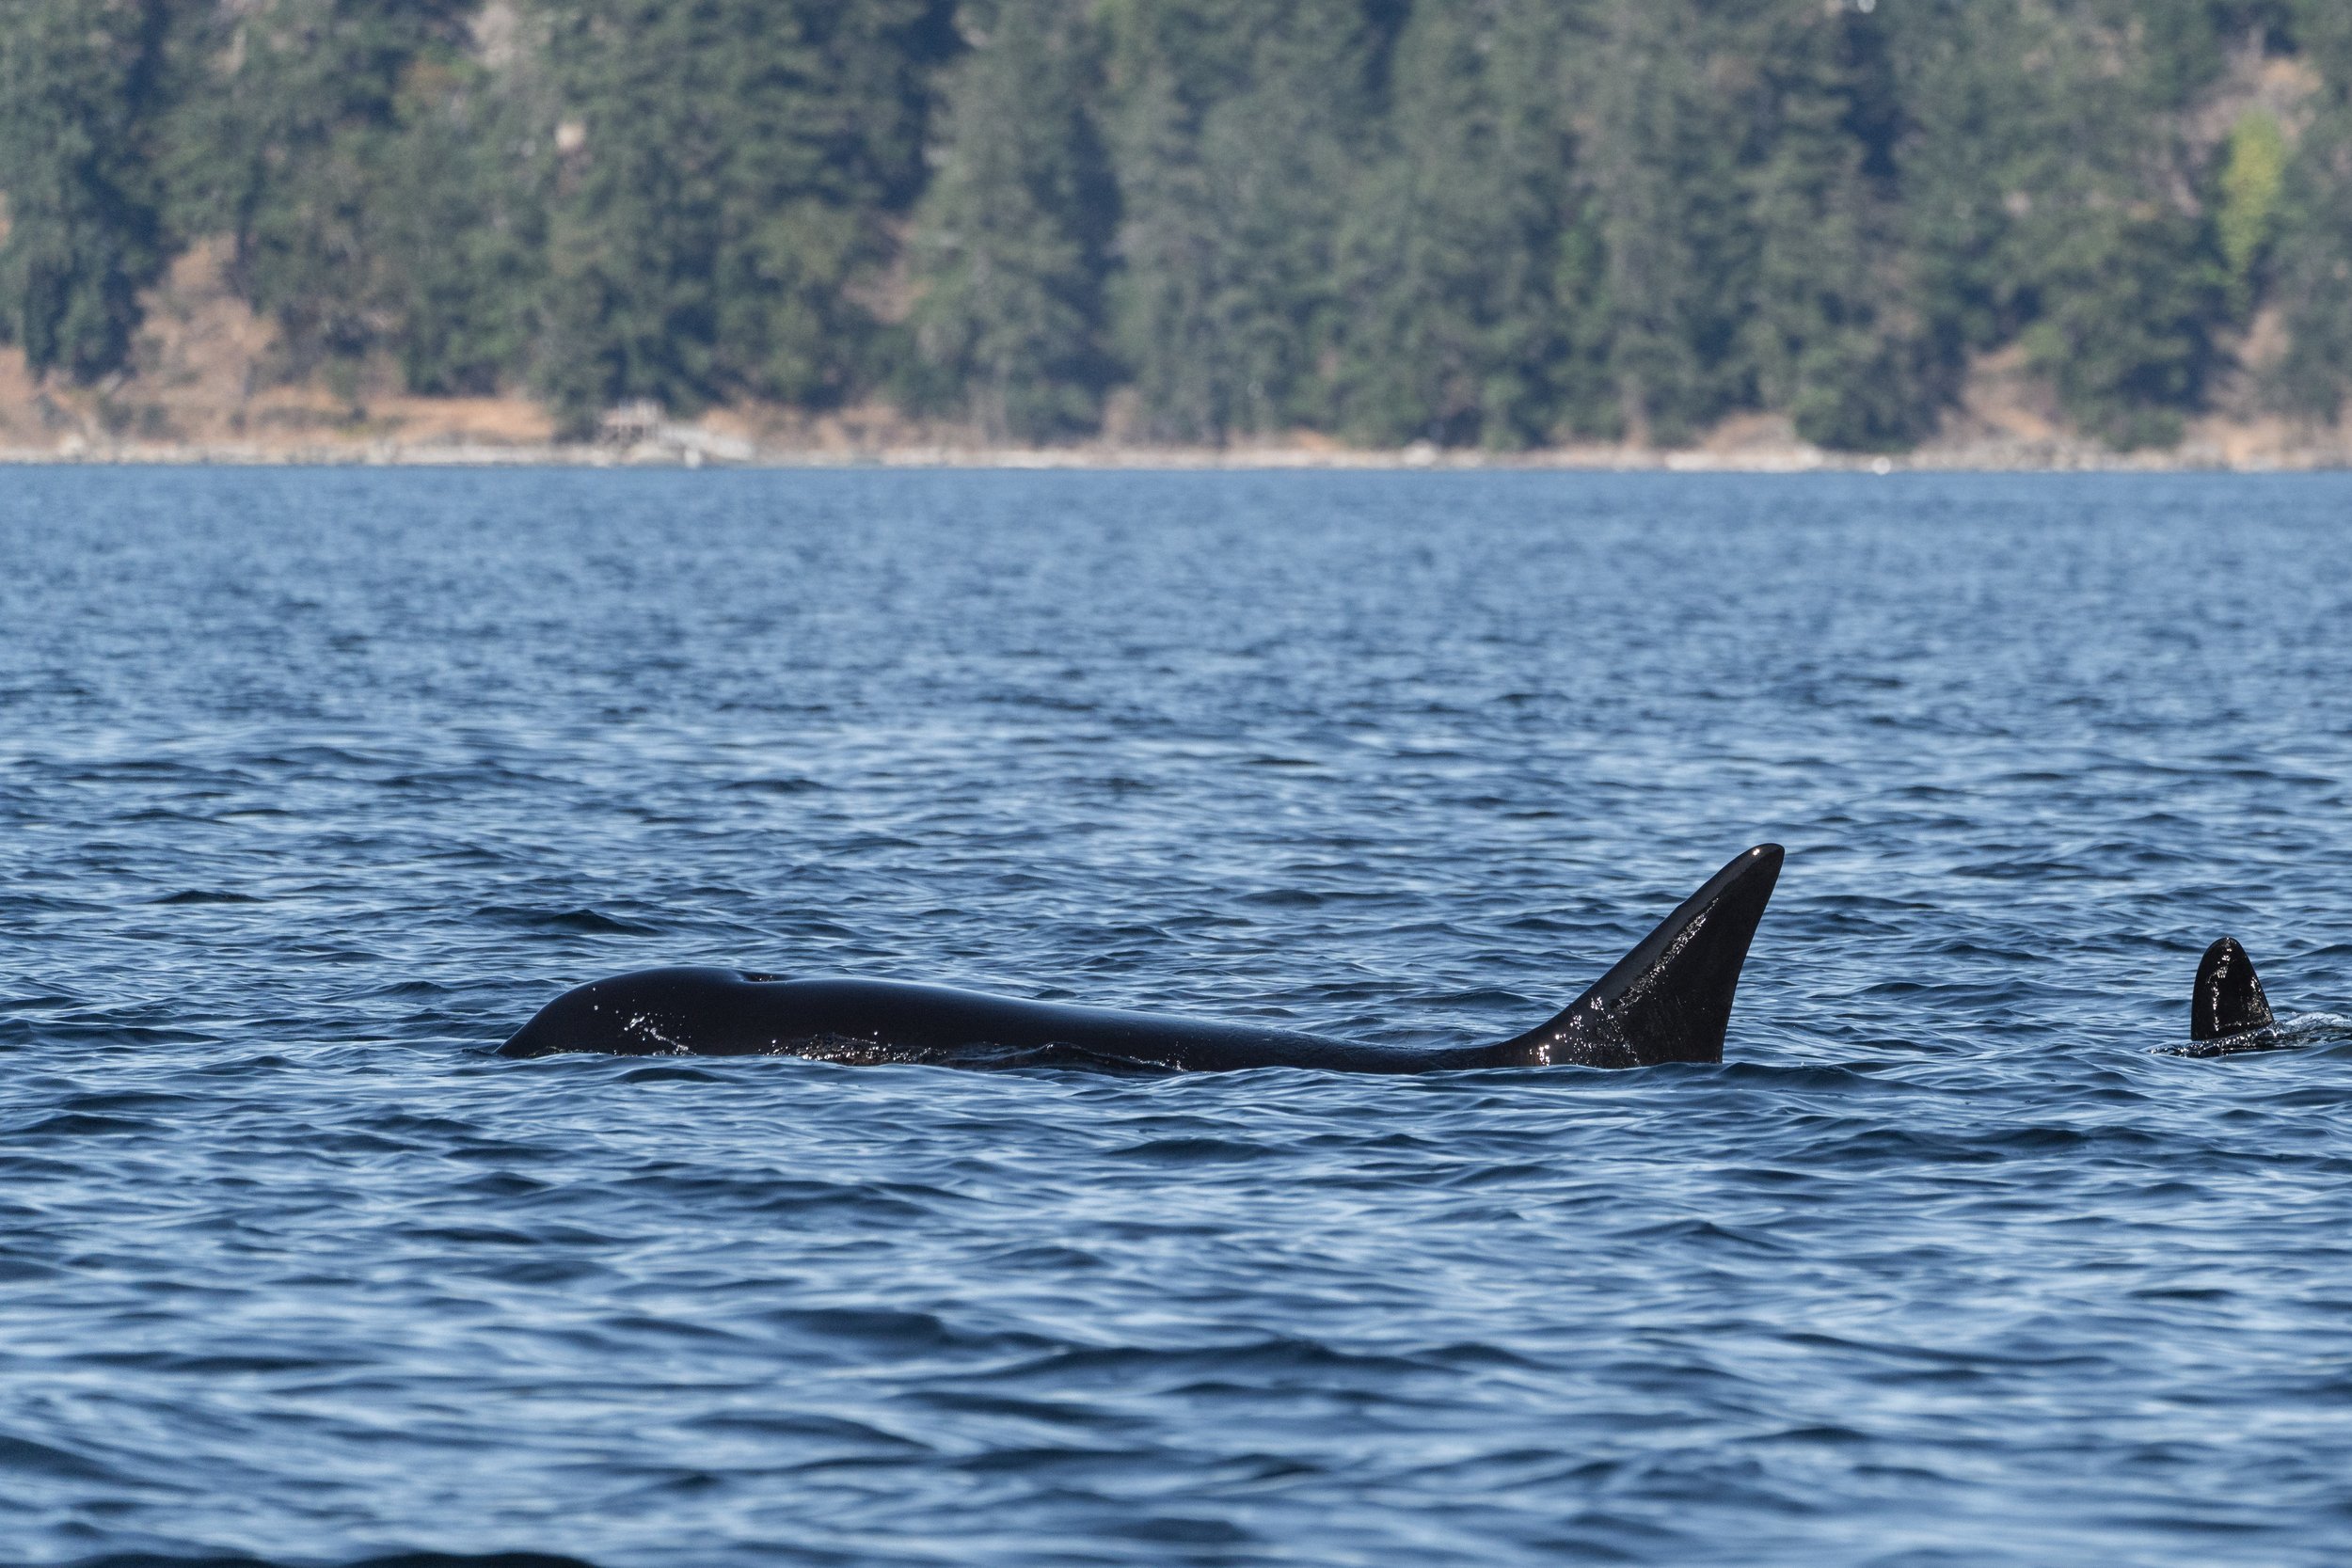
T101 Reef is the Matriarch of the pod. Photo by Val Watson.
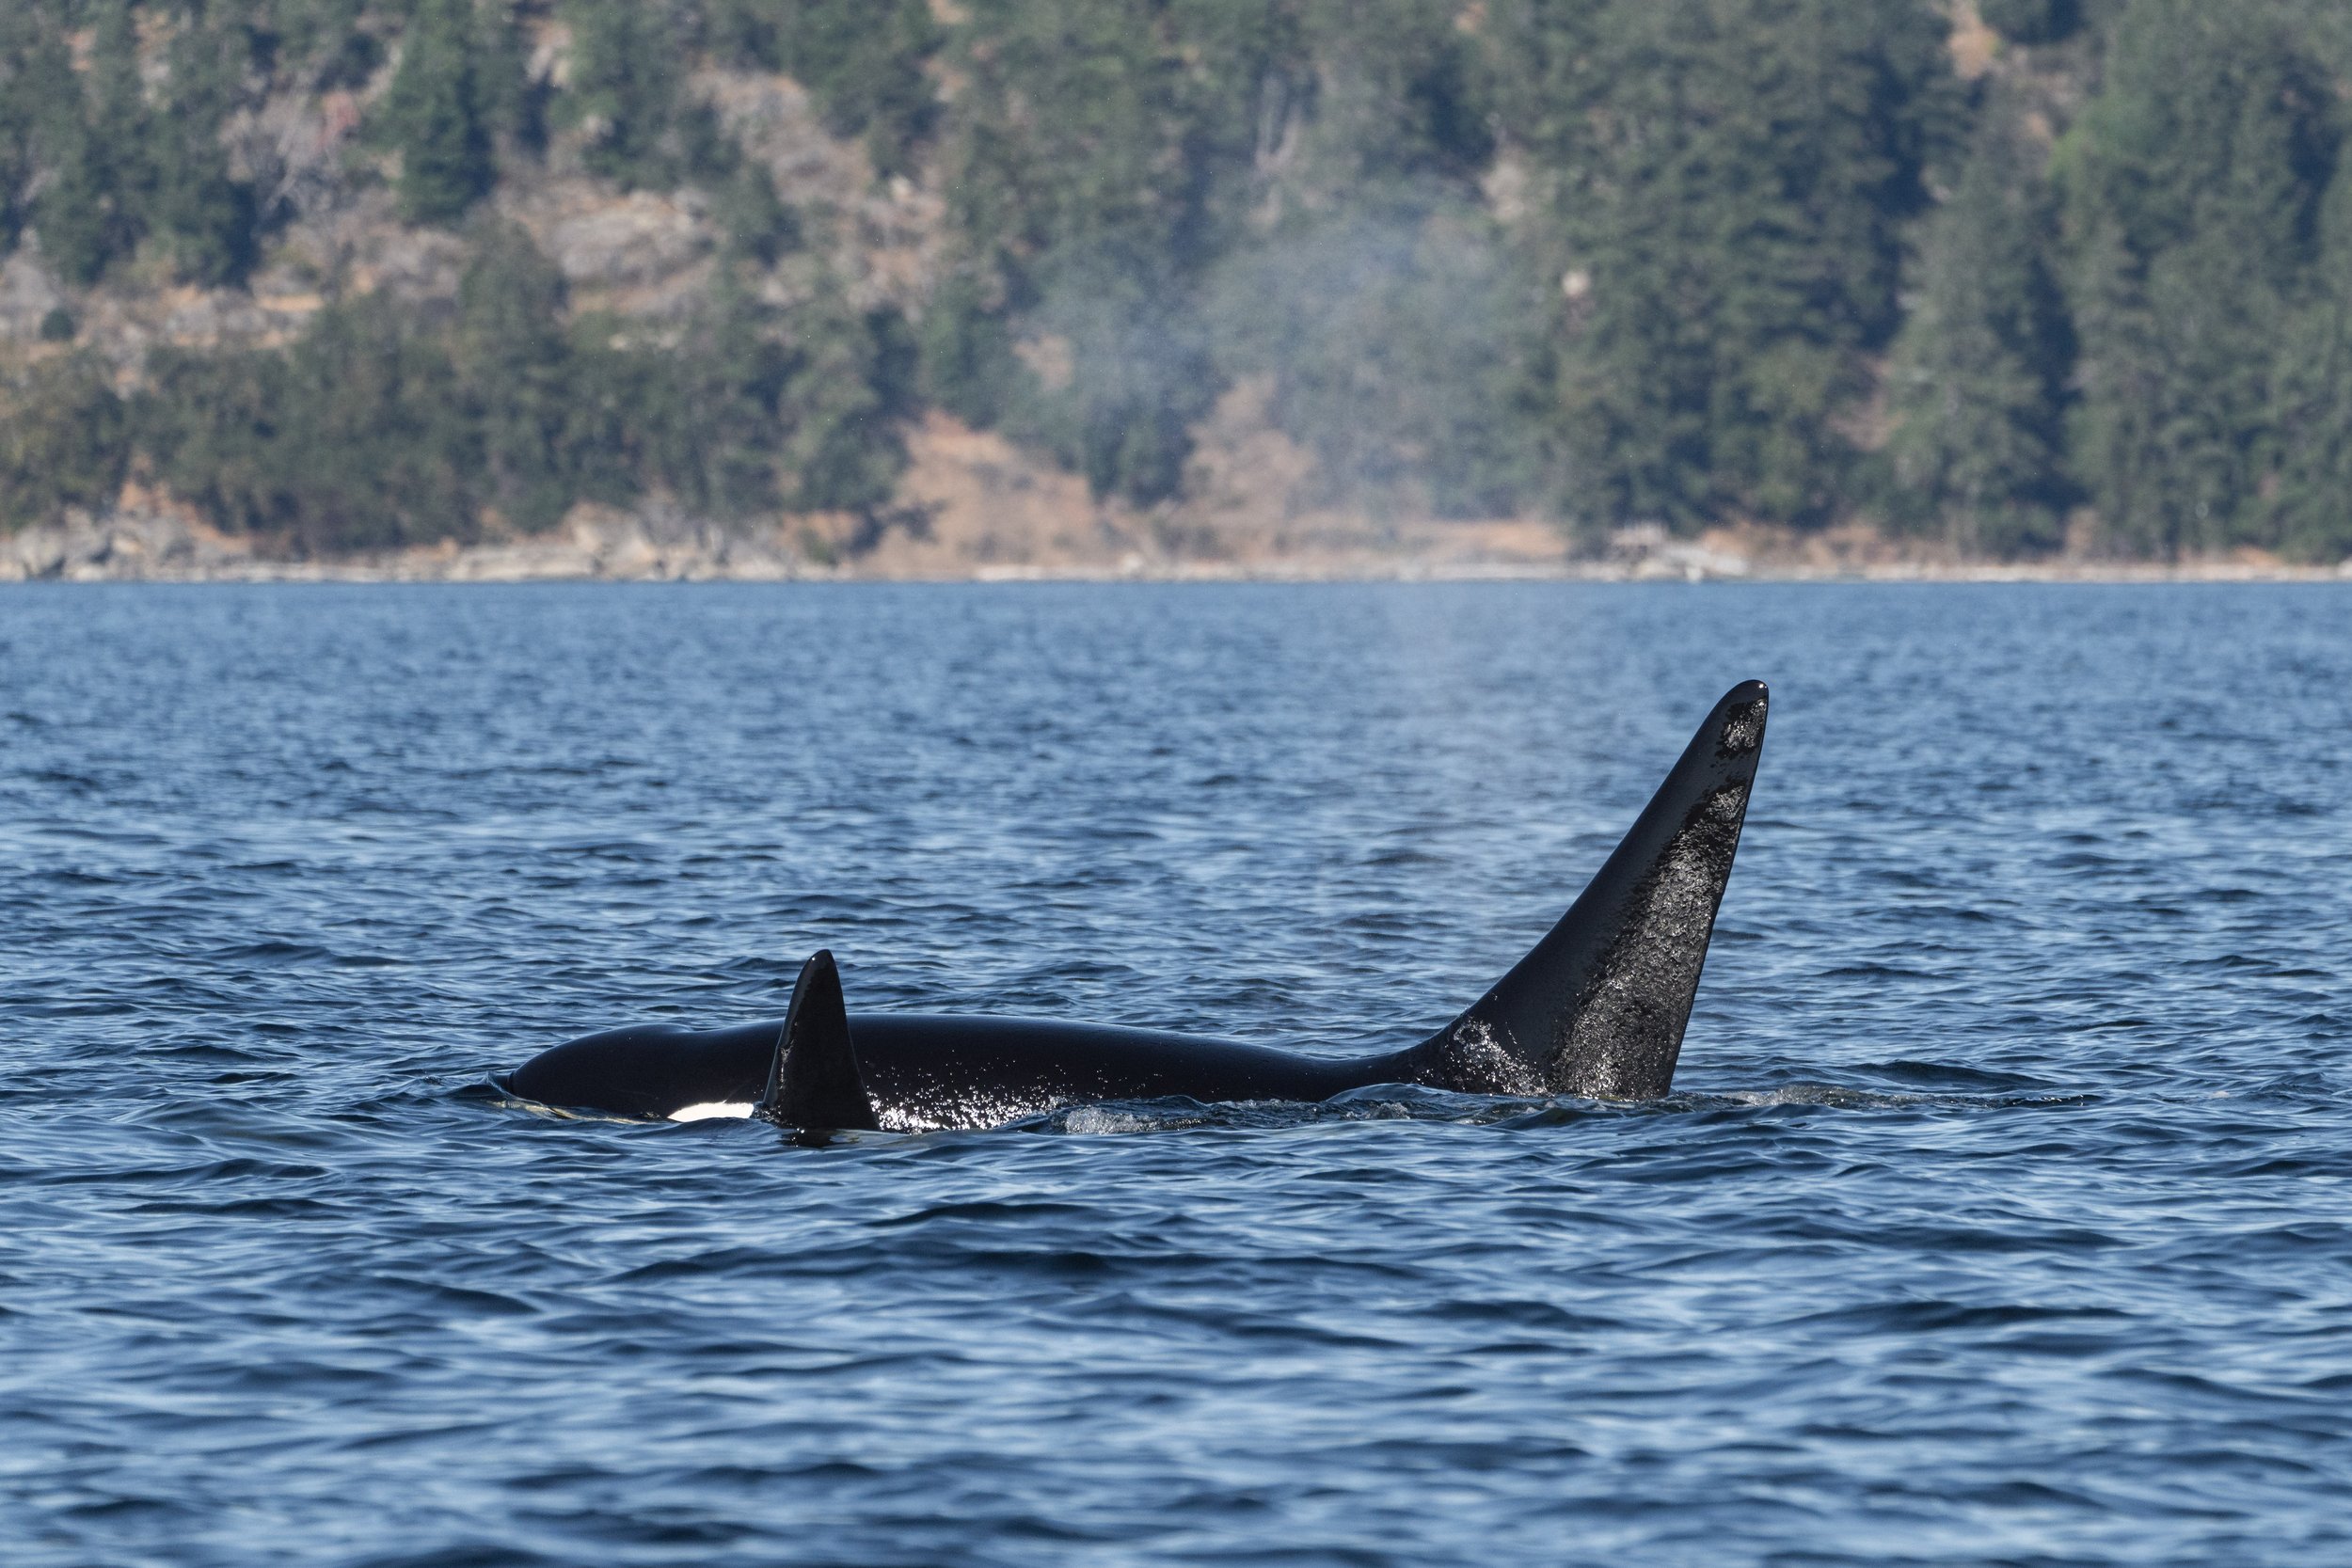
You can see the top of T101B Lagoon’s eye patch as he and T101 Reef surface together. Photo by Val Watson.
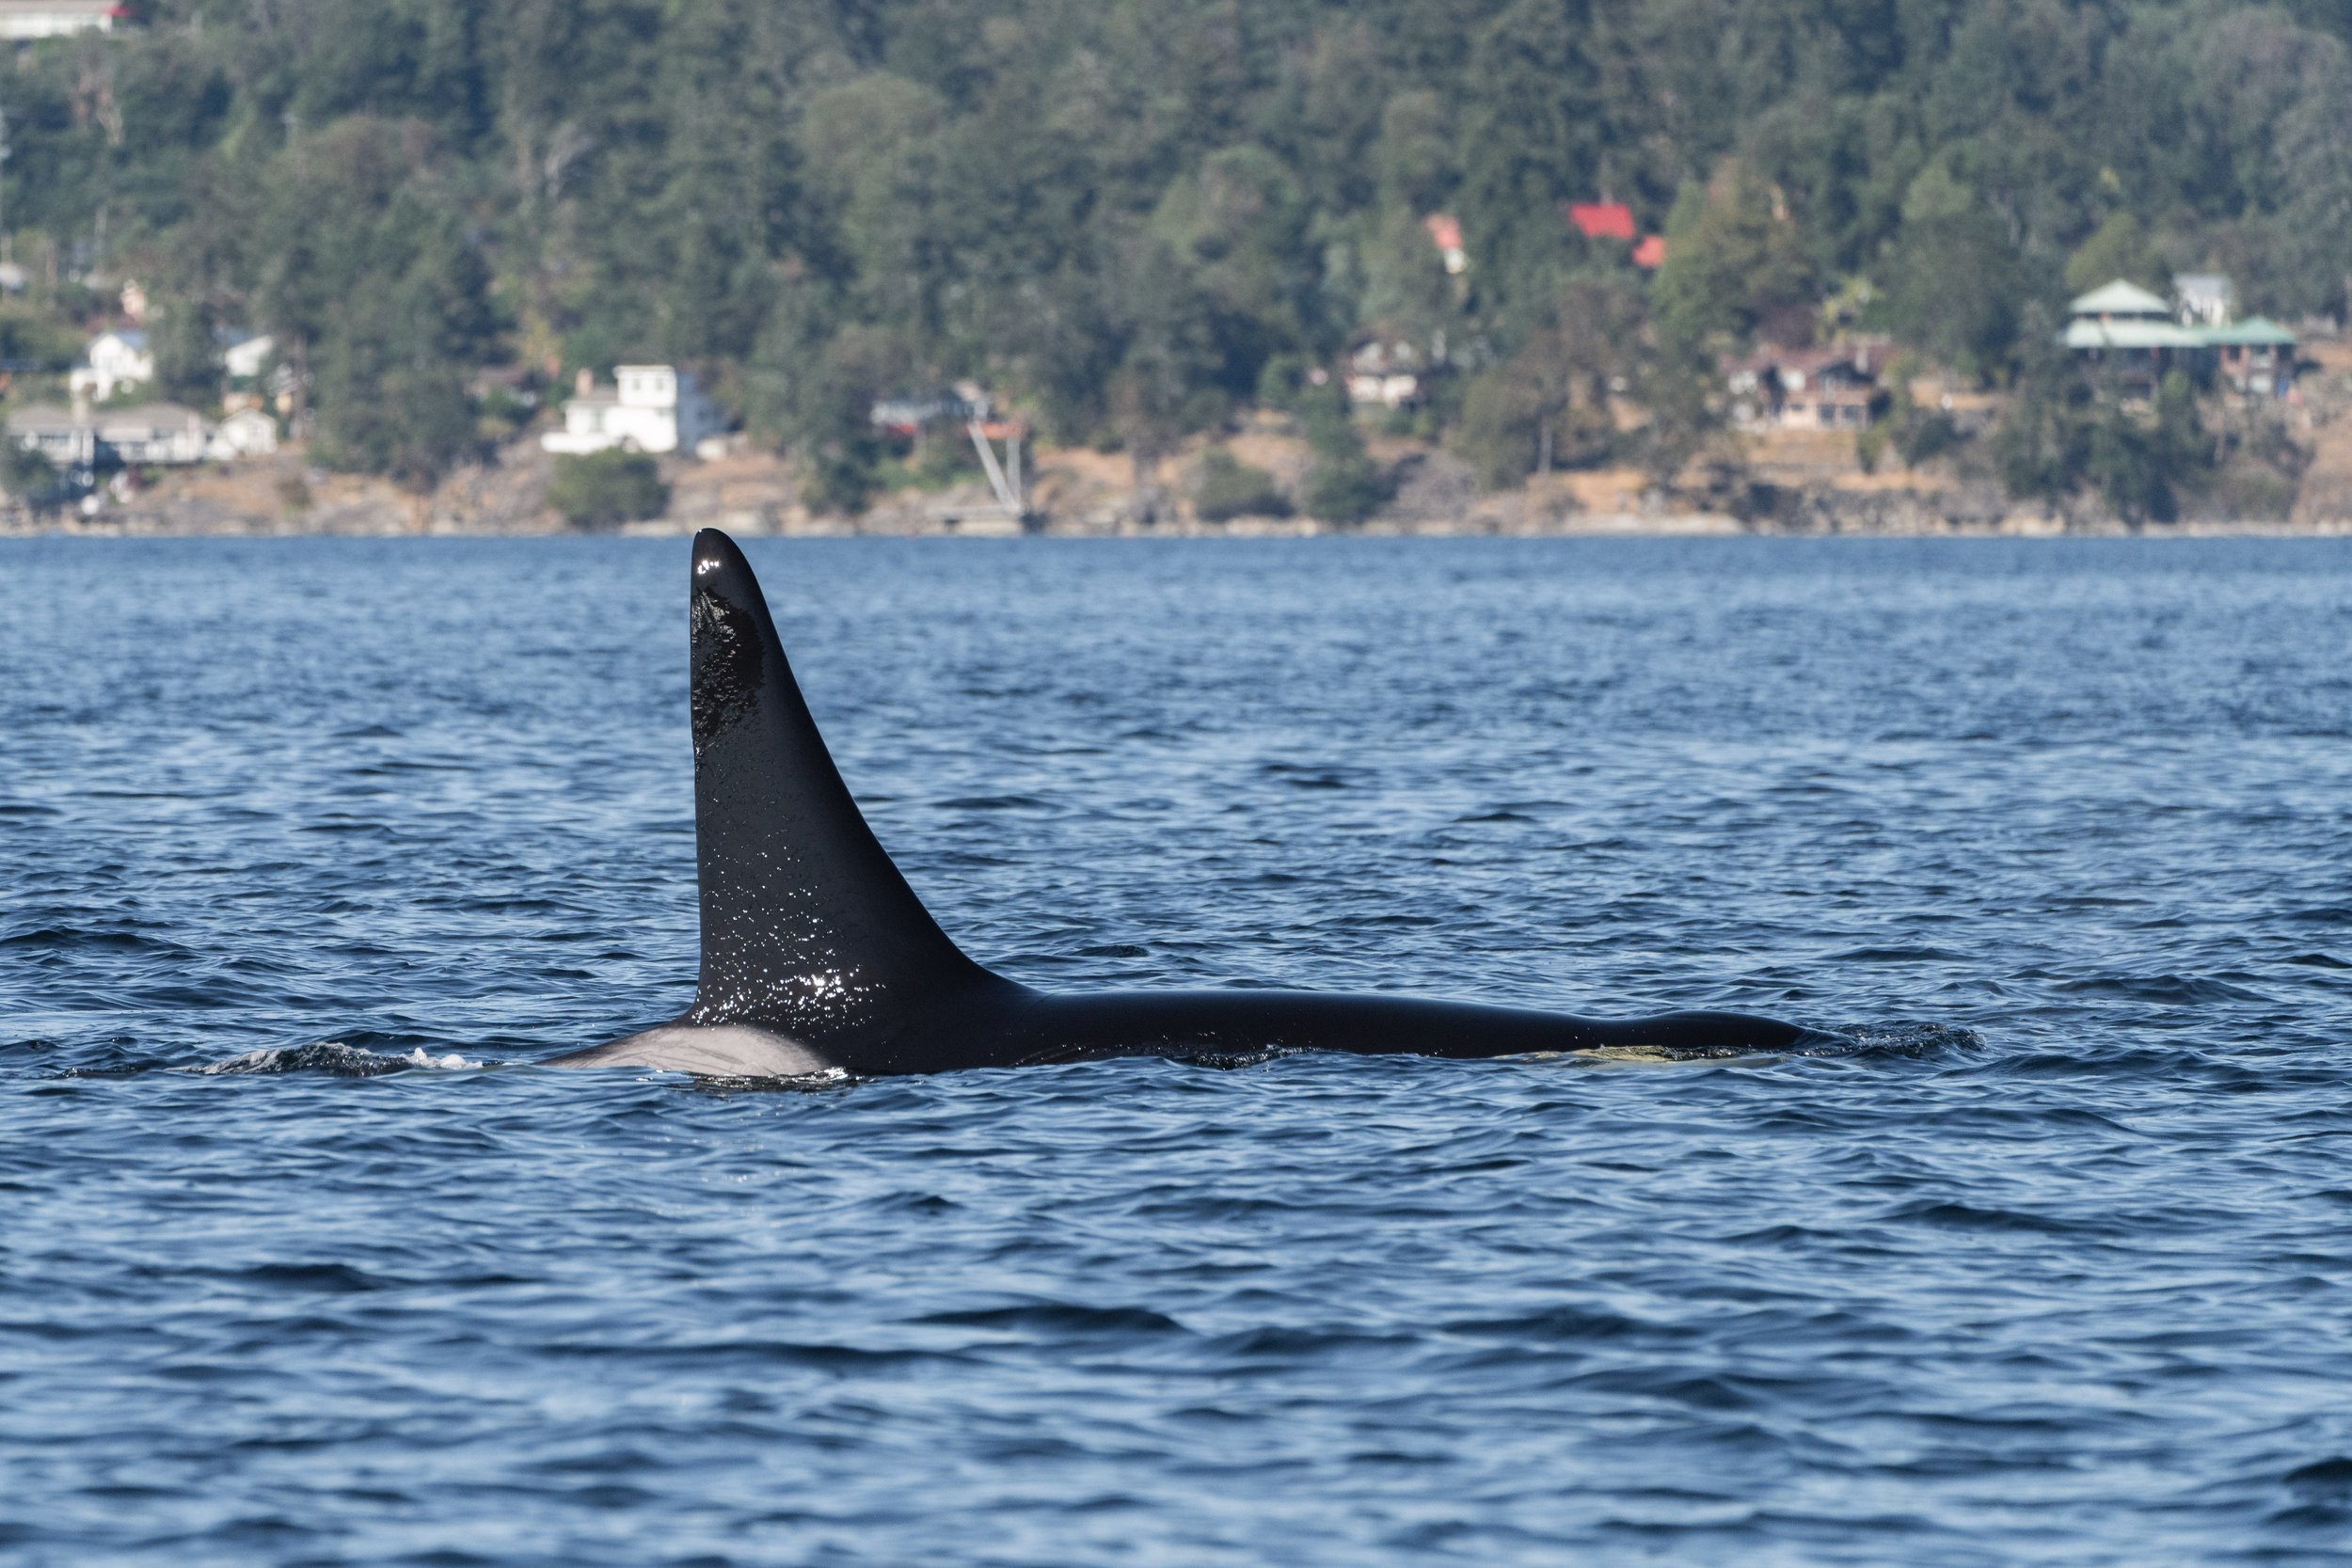
T101B Lagoon surfacing the other directoin, showing off his scarred saddle patch. Photo by Val Watson.
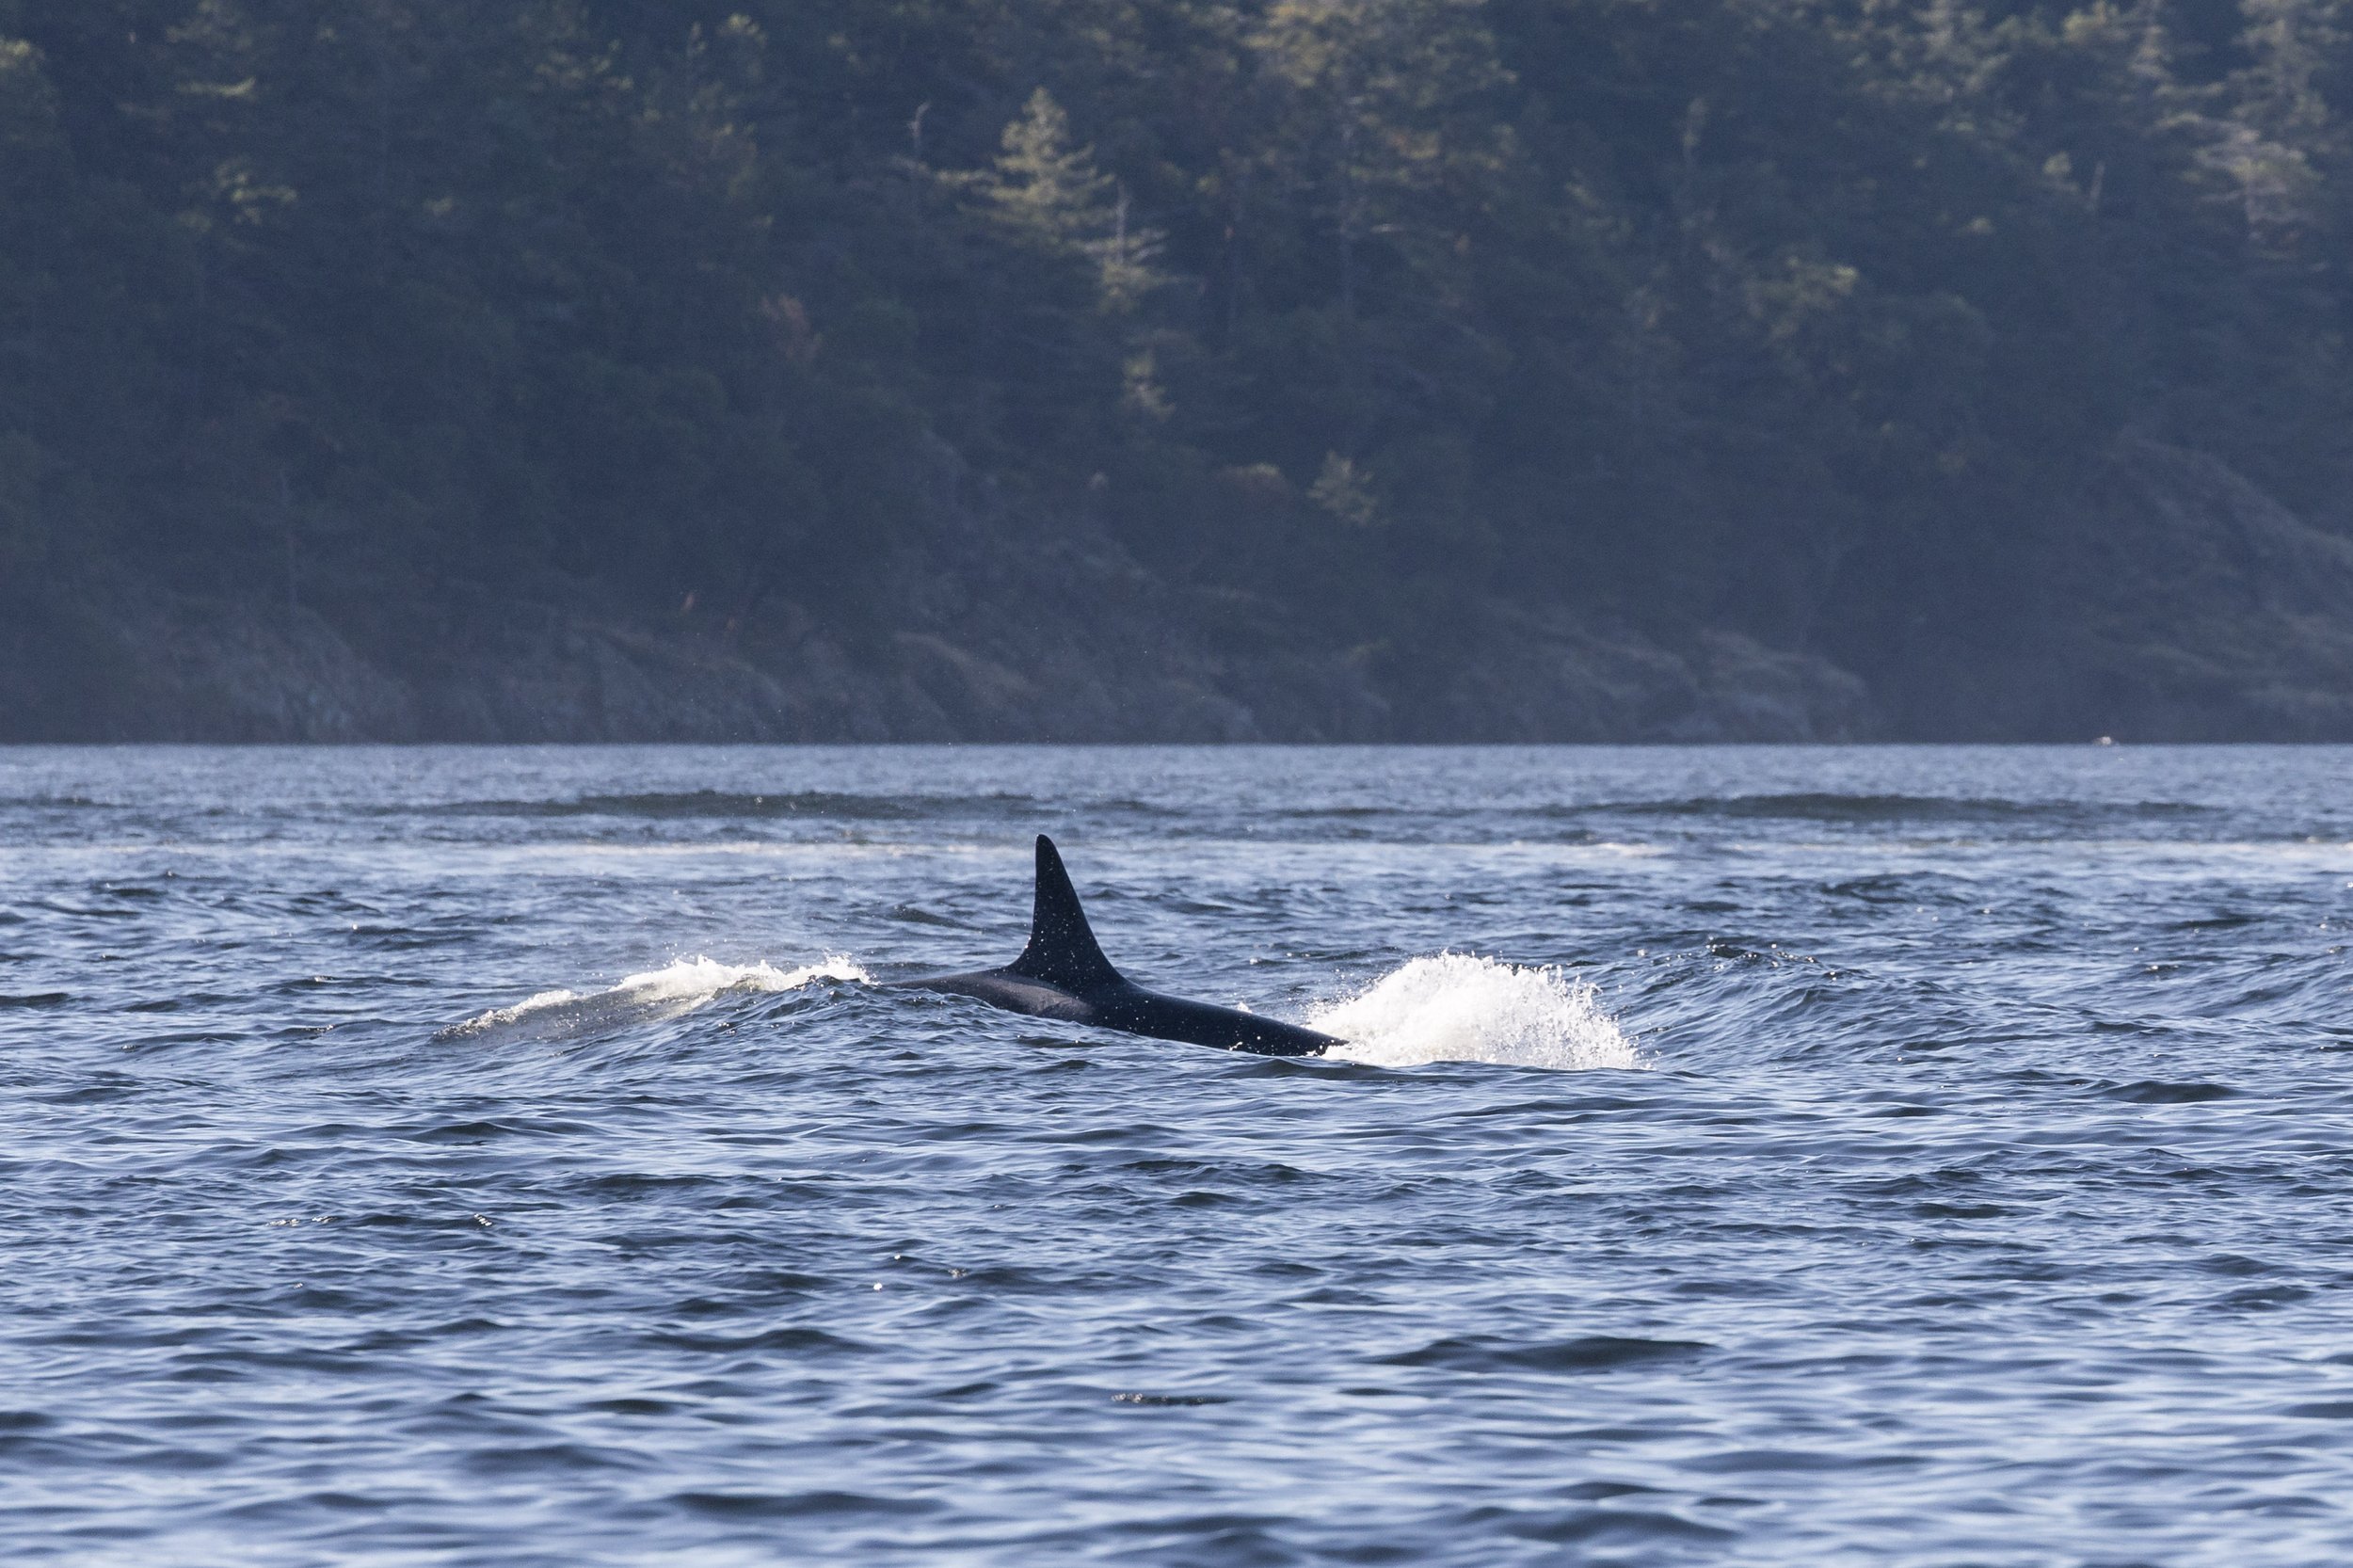
T101 Reef surfing the wake from a tugboat passing by. Photo by Jordan Robinson.
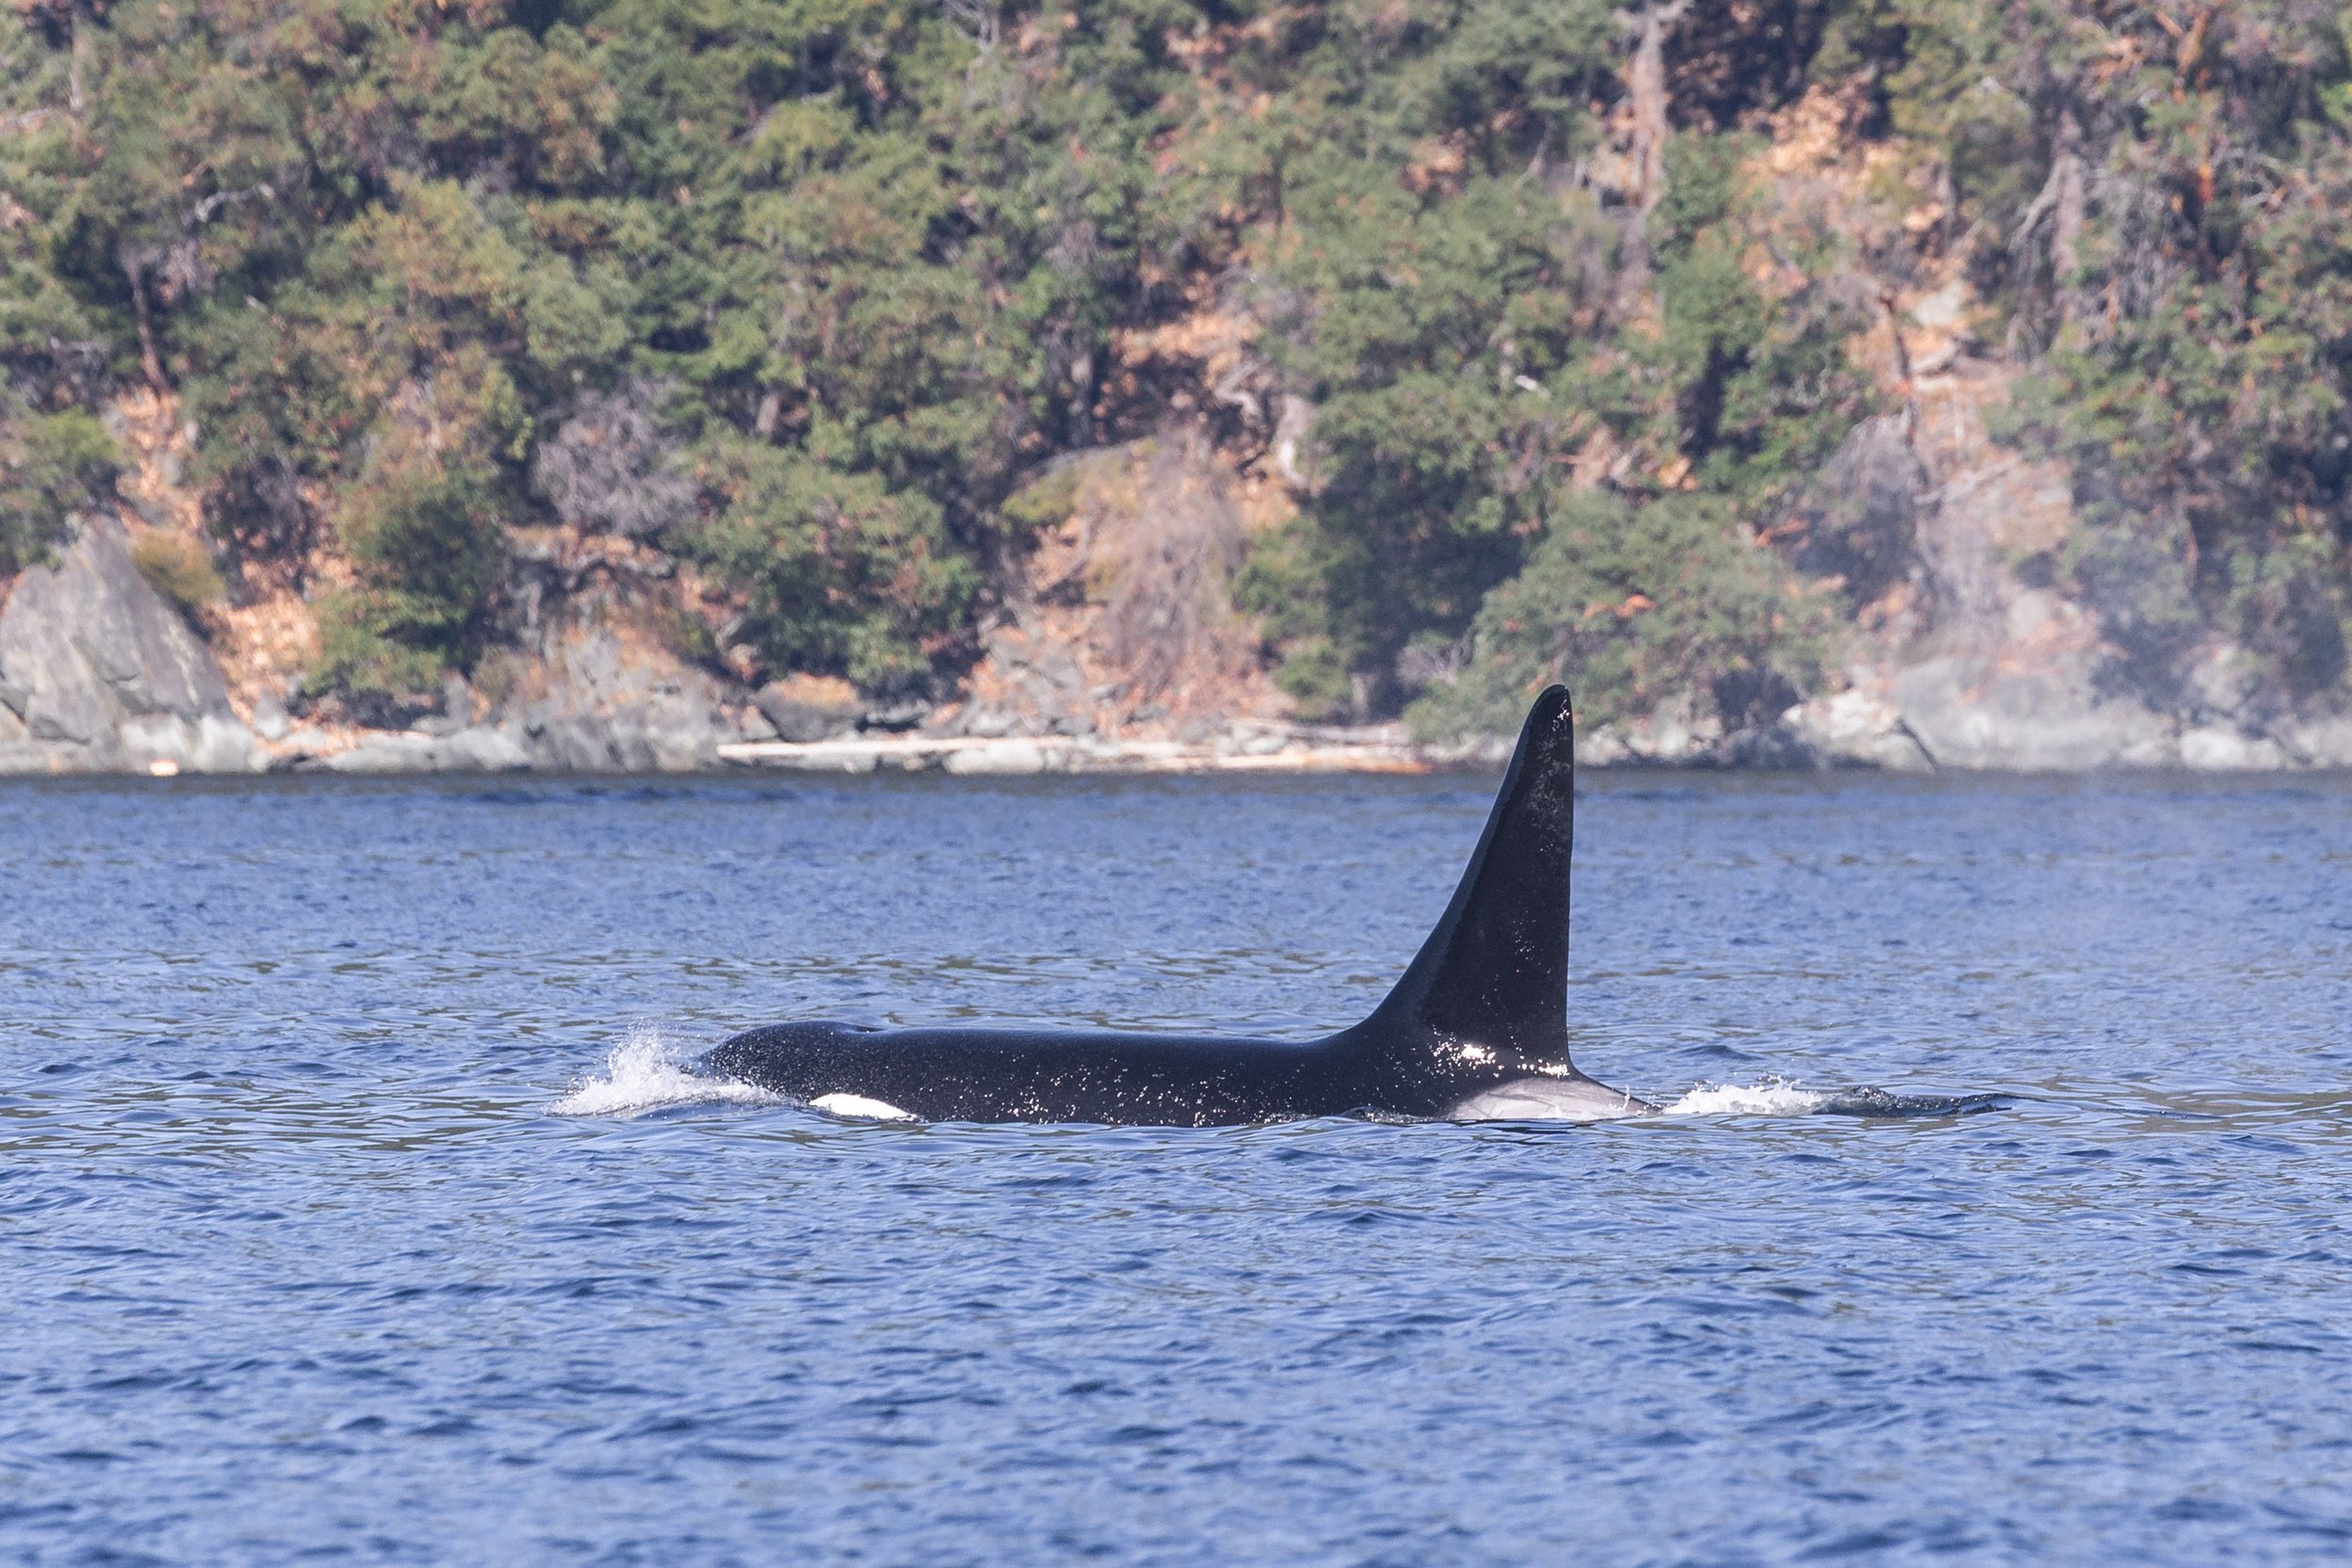
T101B Lagoon showing off his saddle patch as he surfaces. Photo by Jordan Robinson.
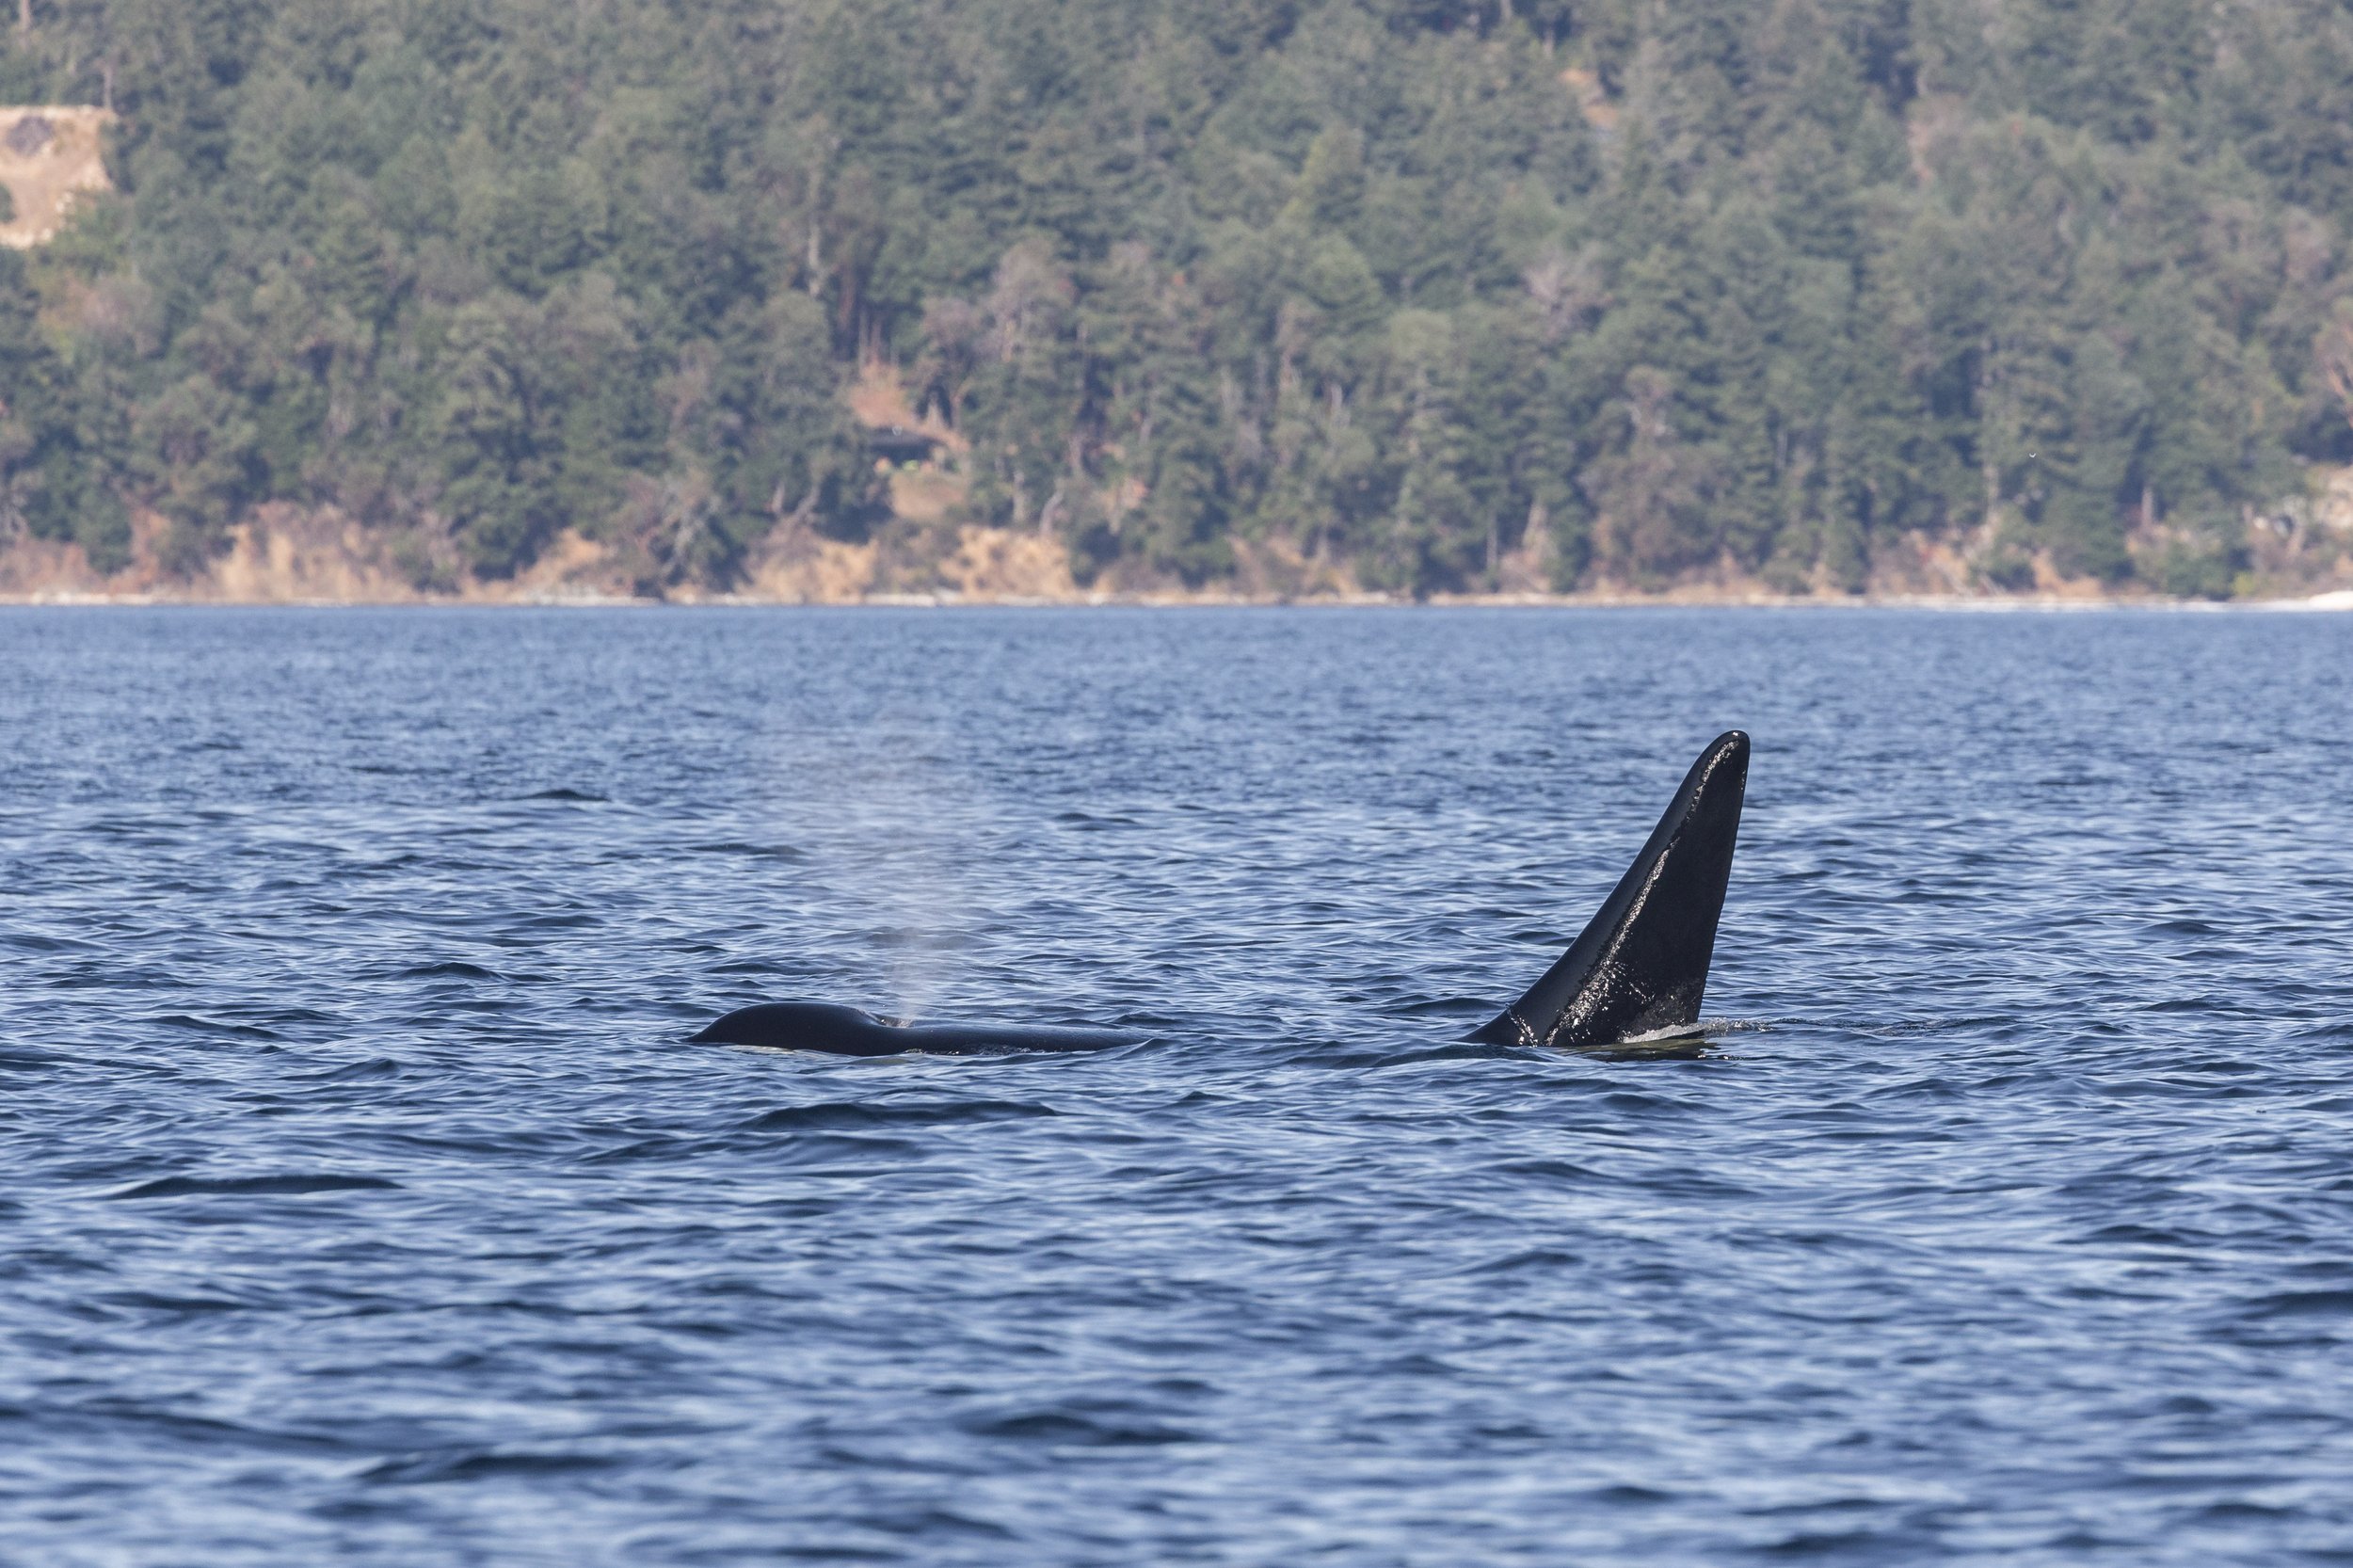
T101B Lagoon exhaling at the surface. Photo by Jordan Robinson.
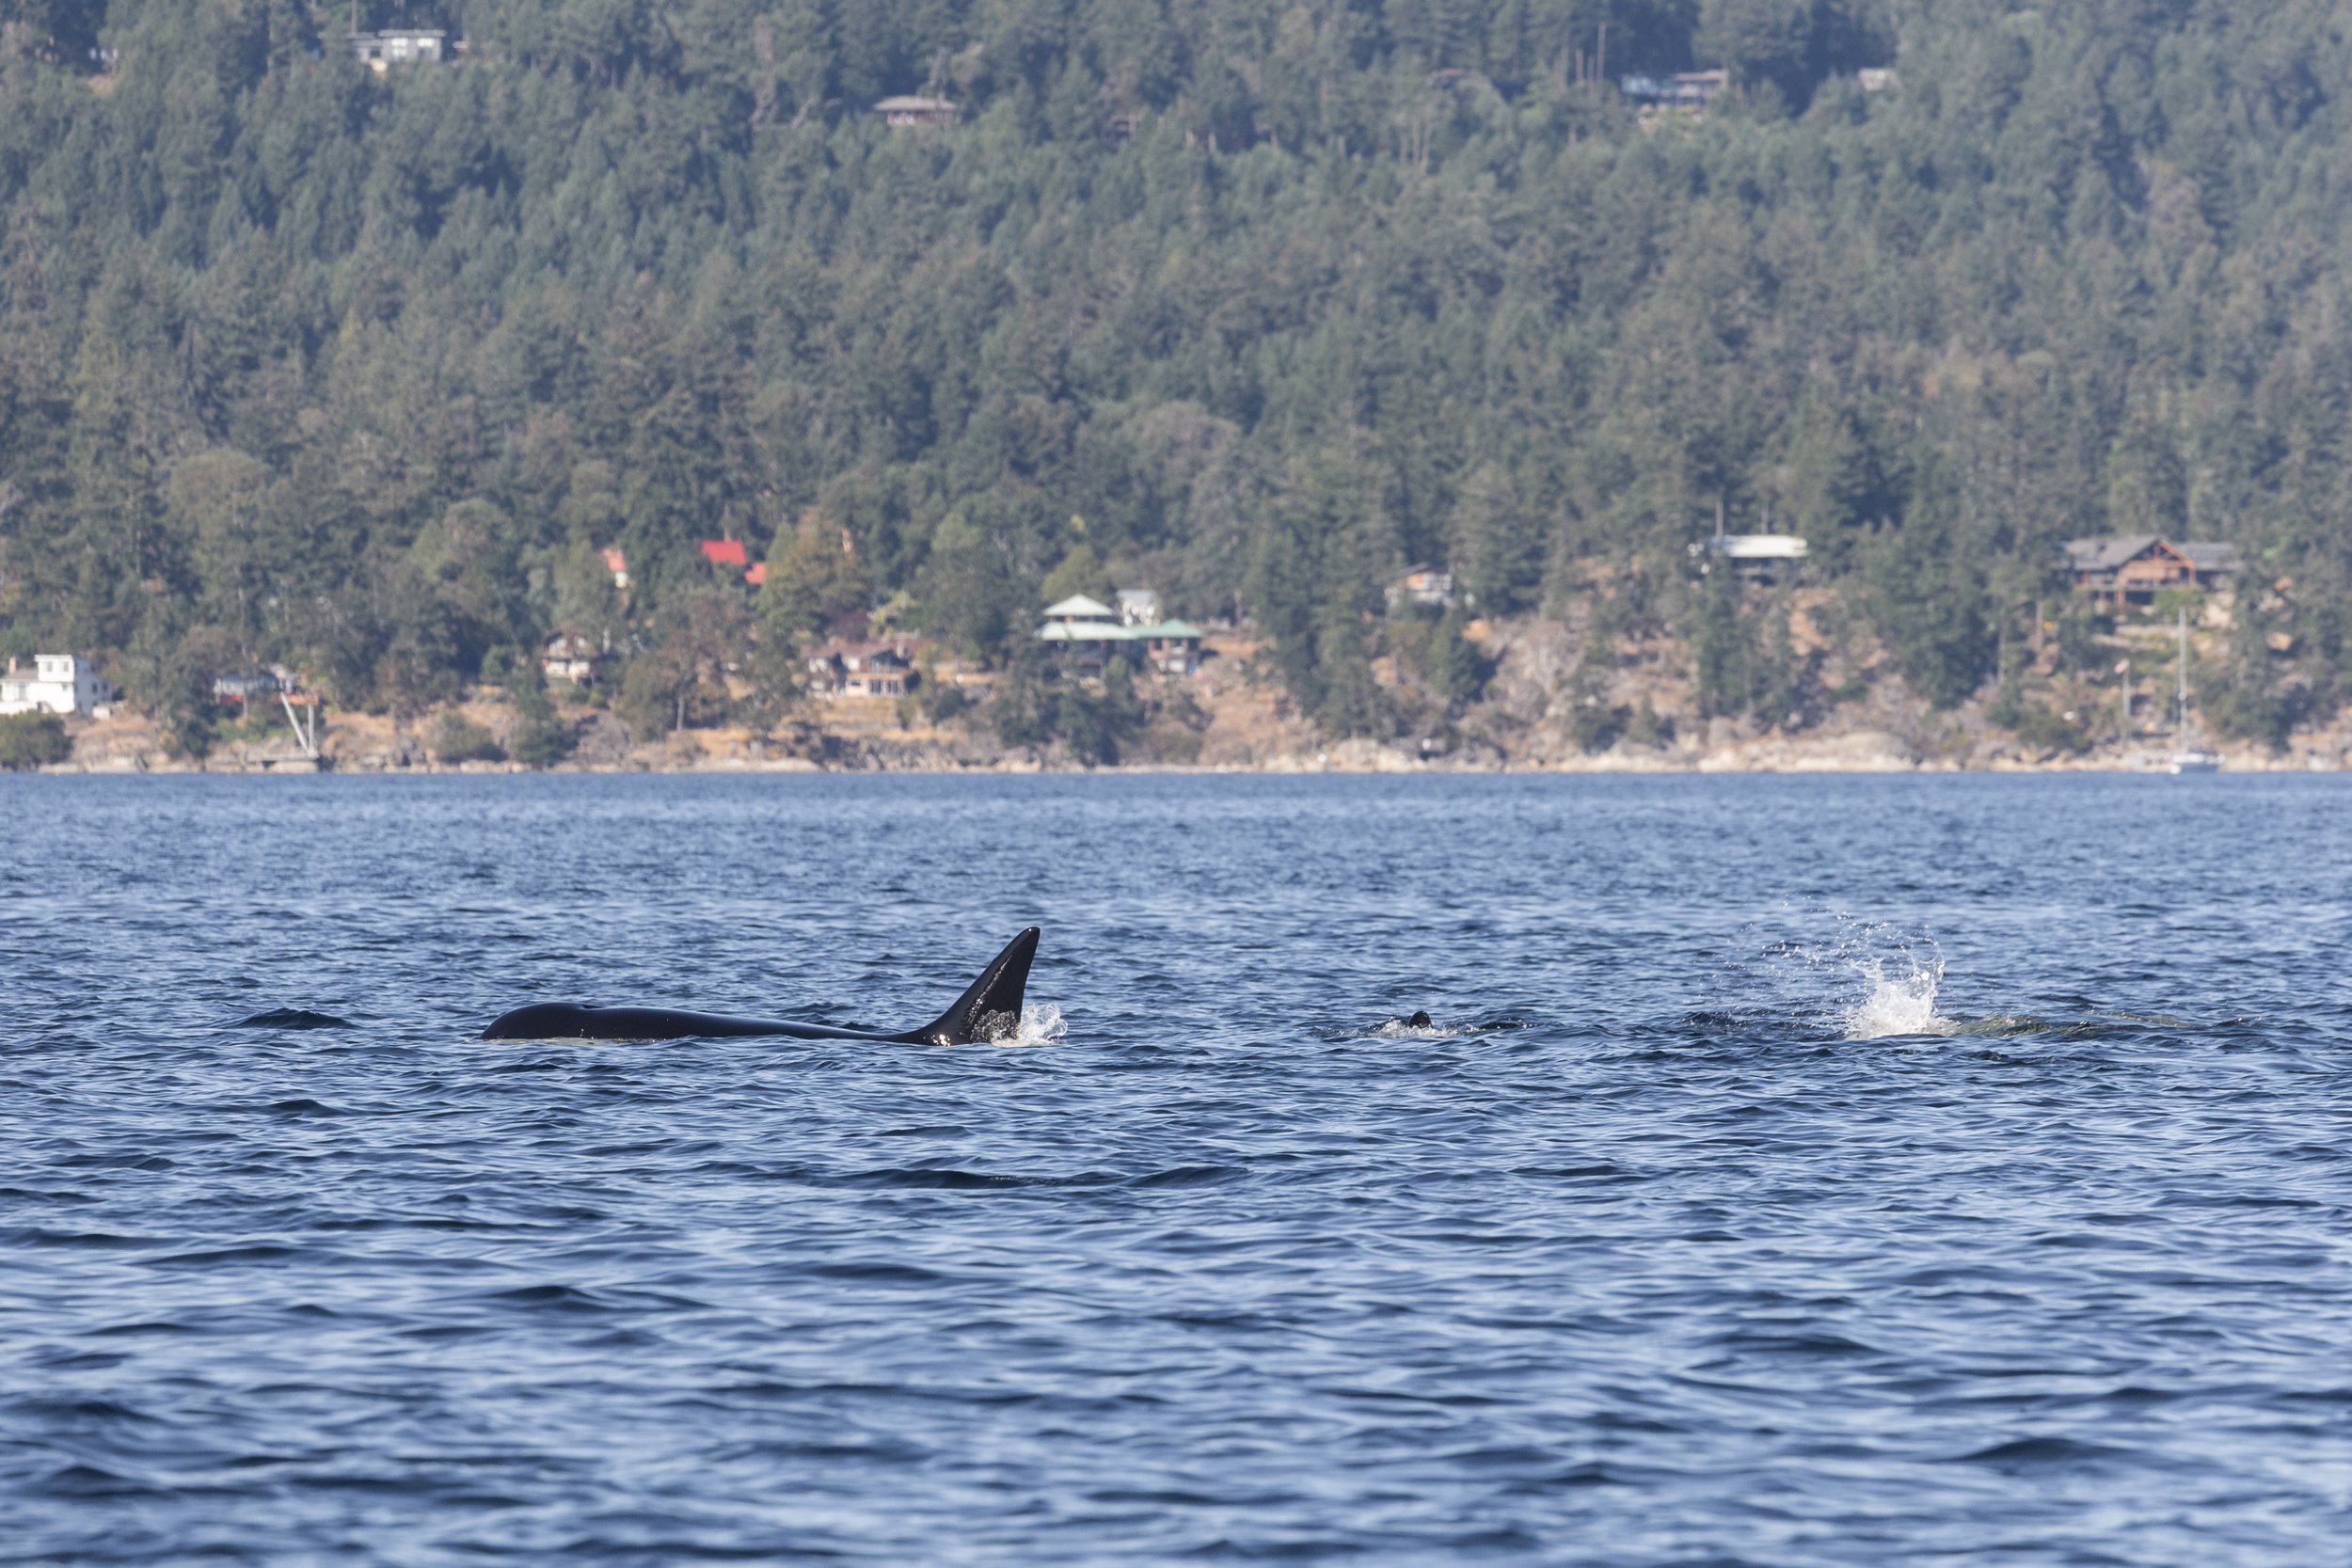
A great look at T101 Reef as her son T101B Lagoon splashes behind her. Photo by Jordan Robinson.
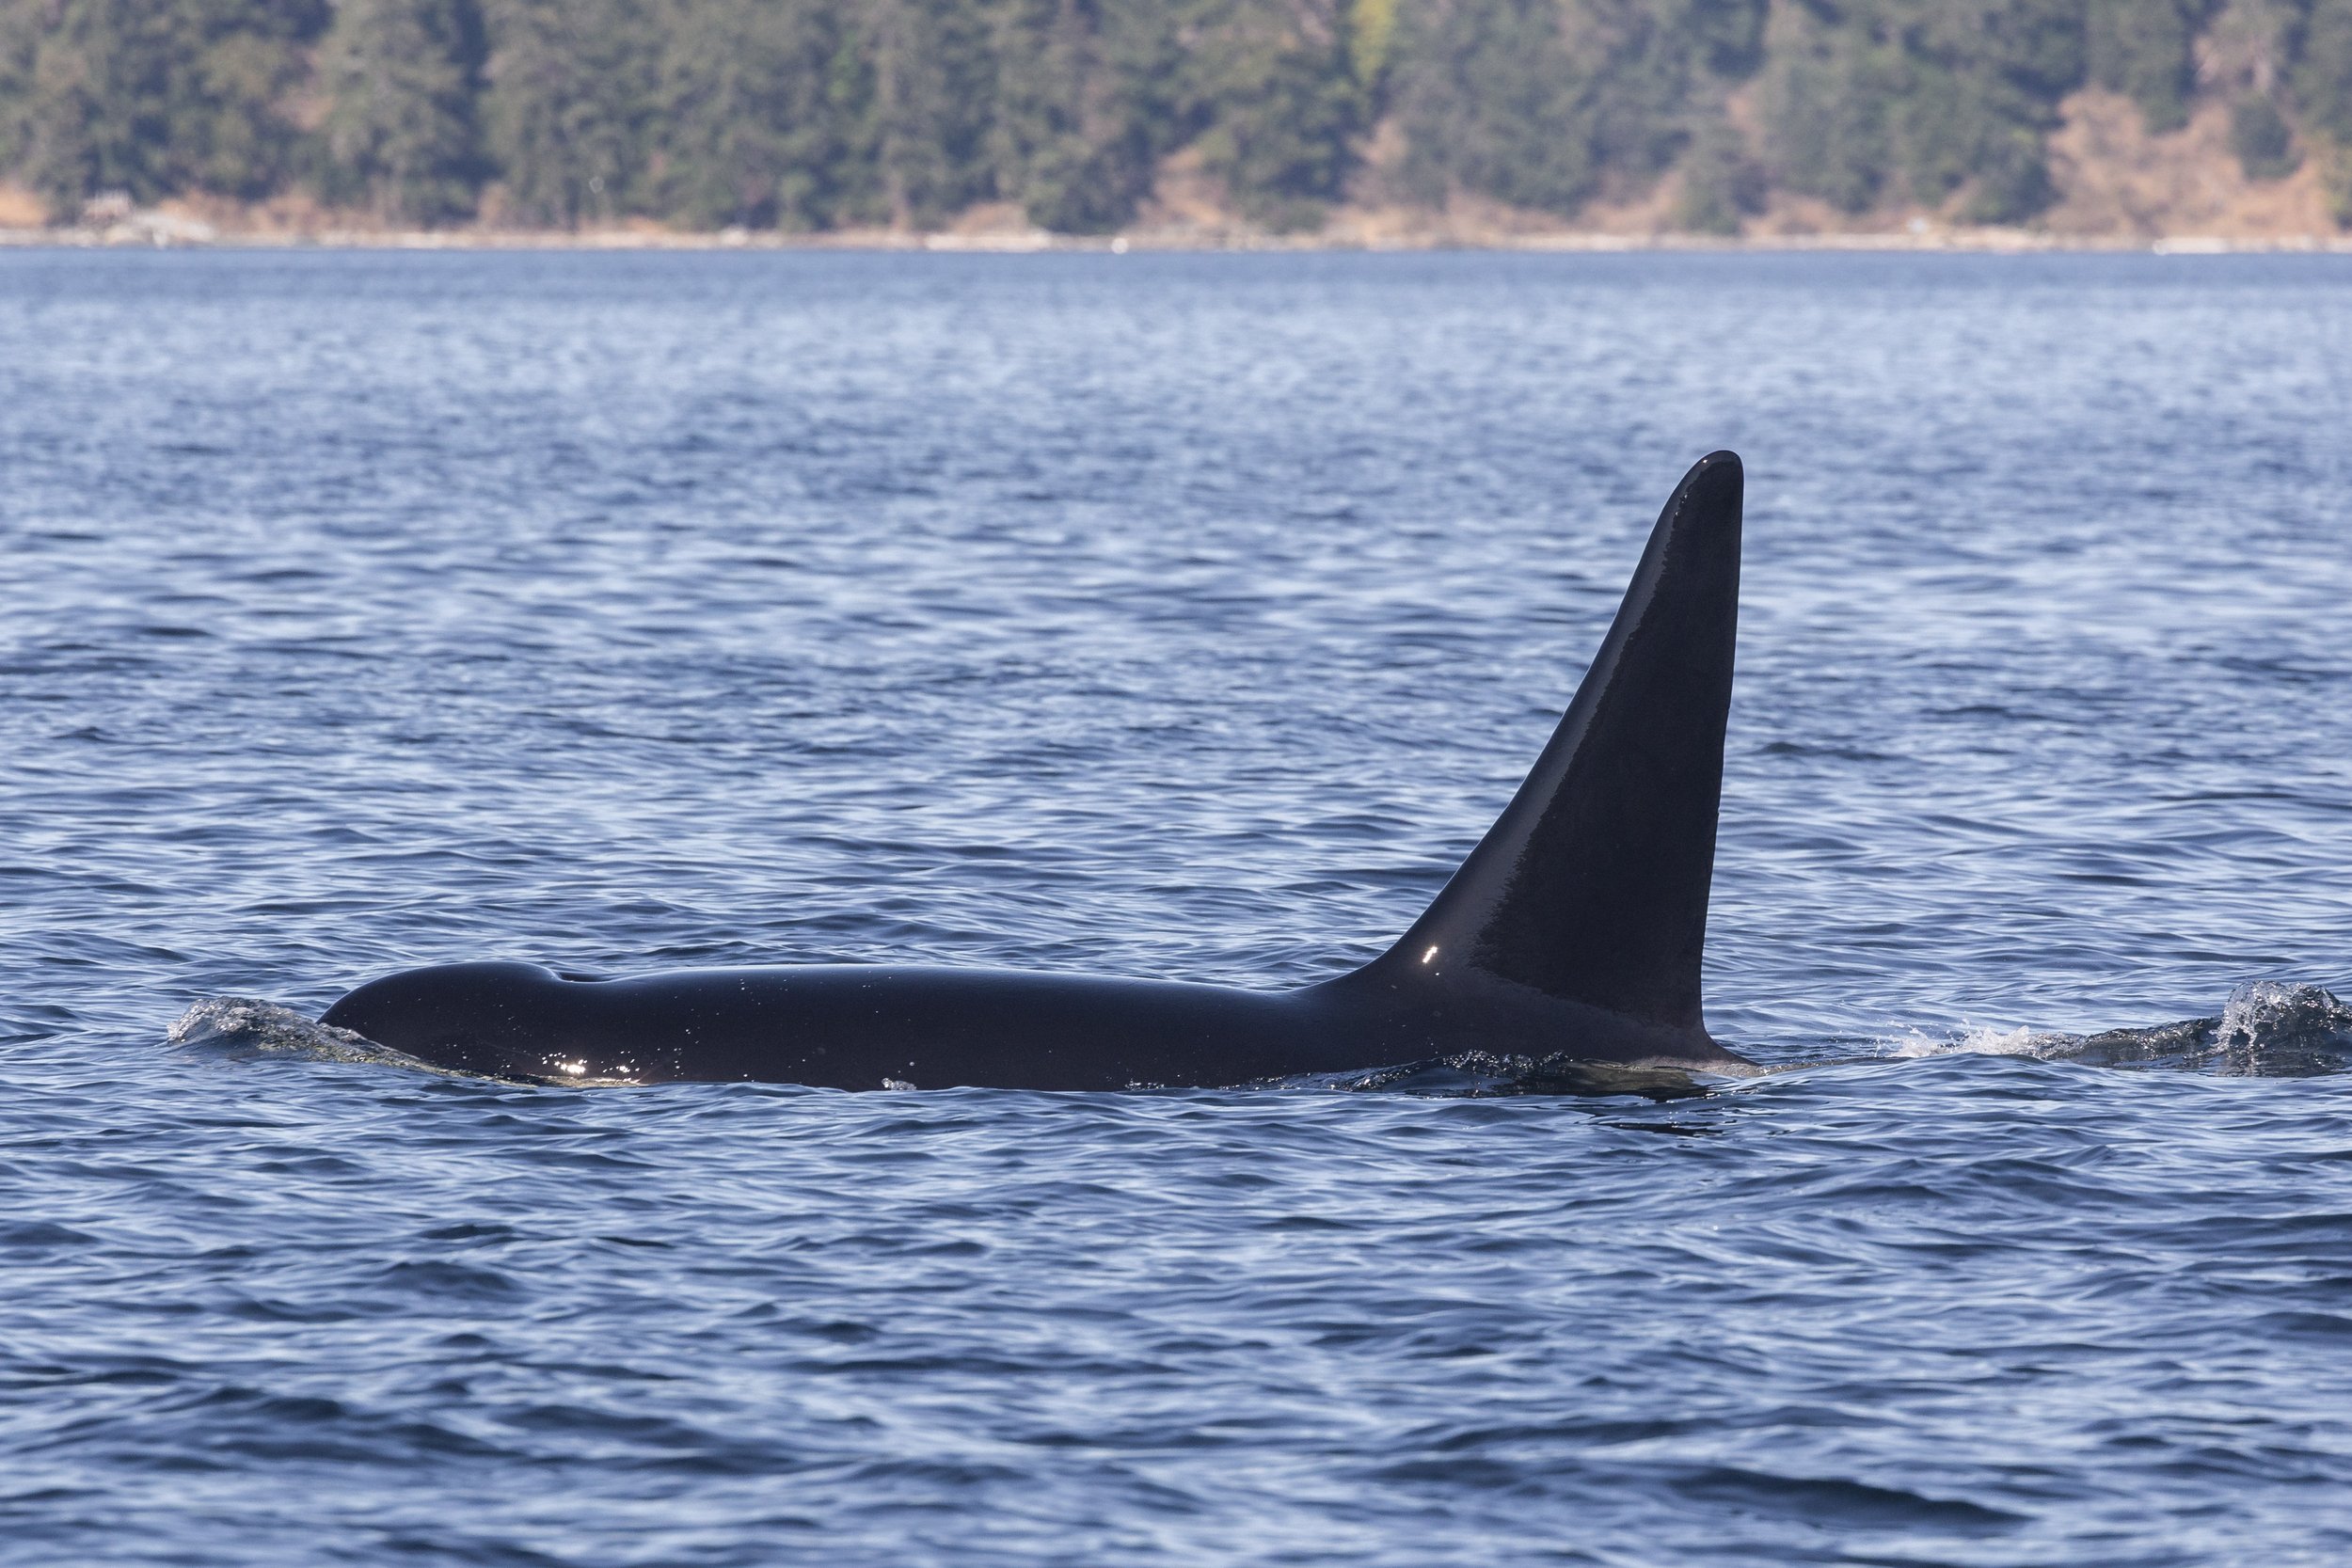
A fantastic look at T101B Lagoon as he surfaces in Stuart Channel. Photo by Jordan Robinson.
The T046Bs
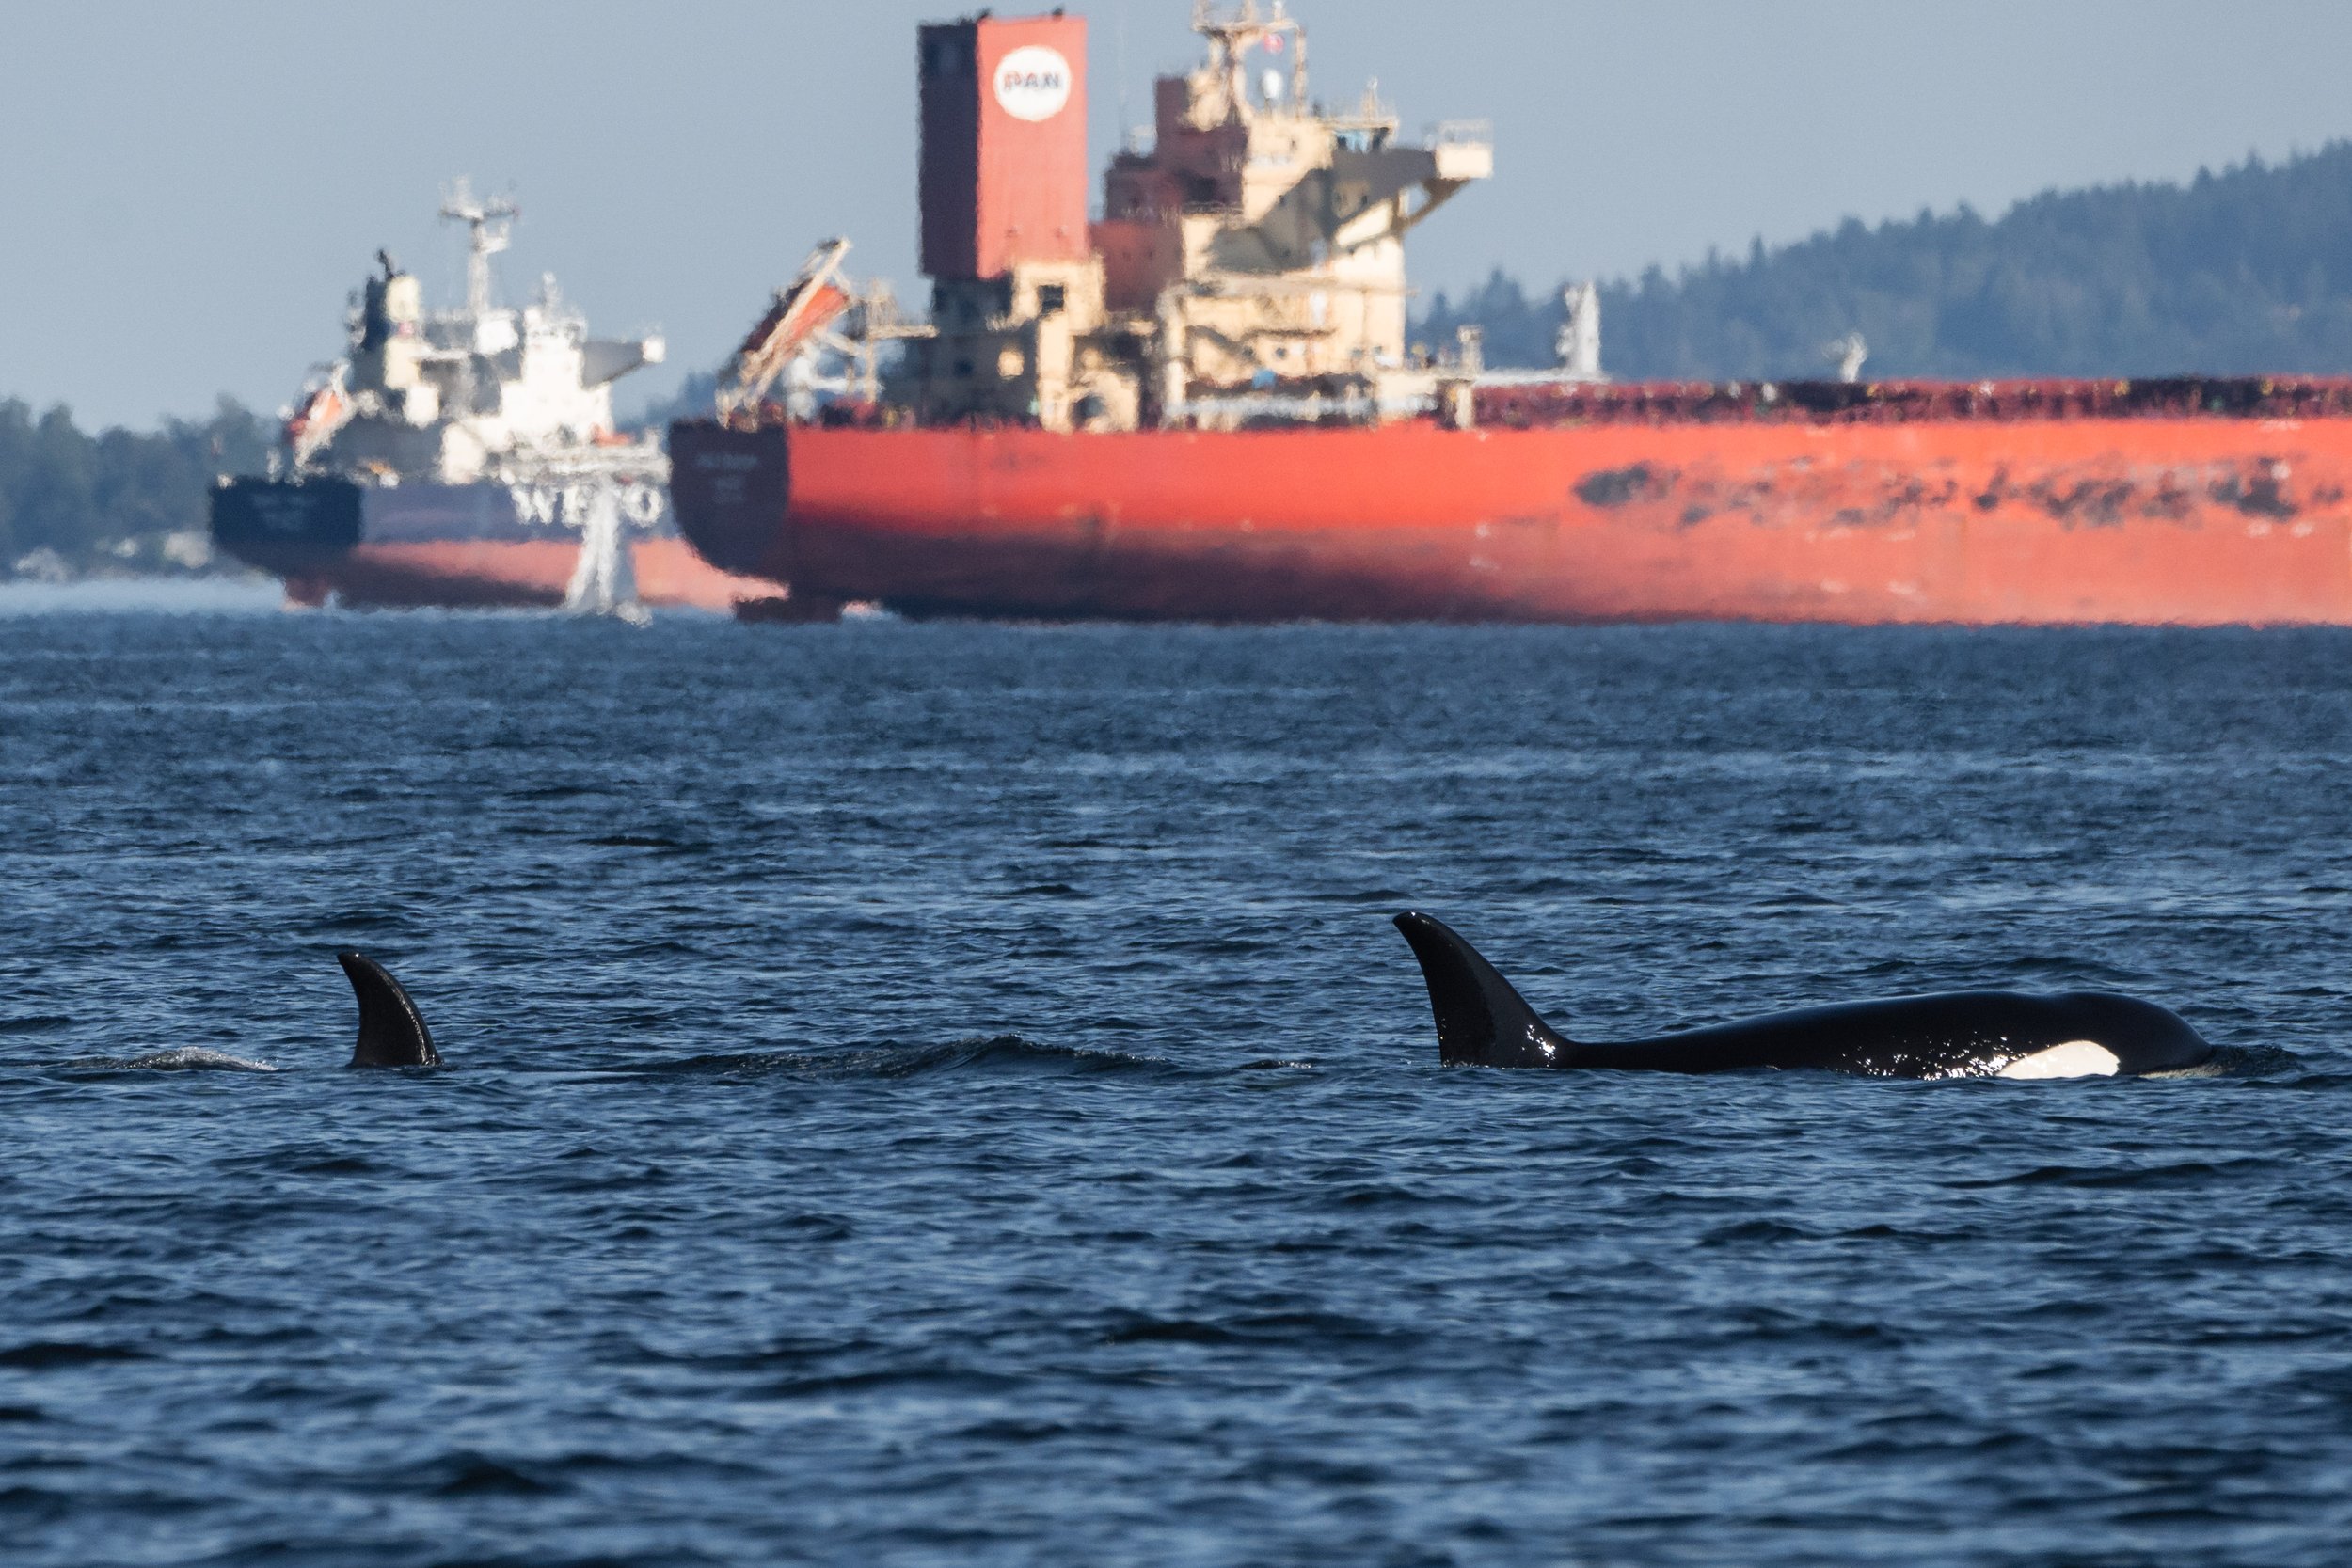
T046B Raksha surfacing with T046B6 Sol. Photo by Val Watson.
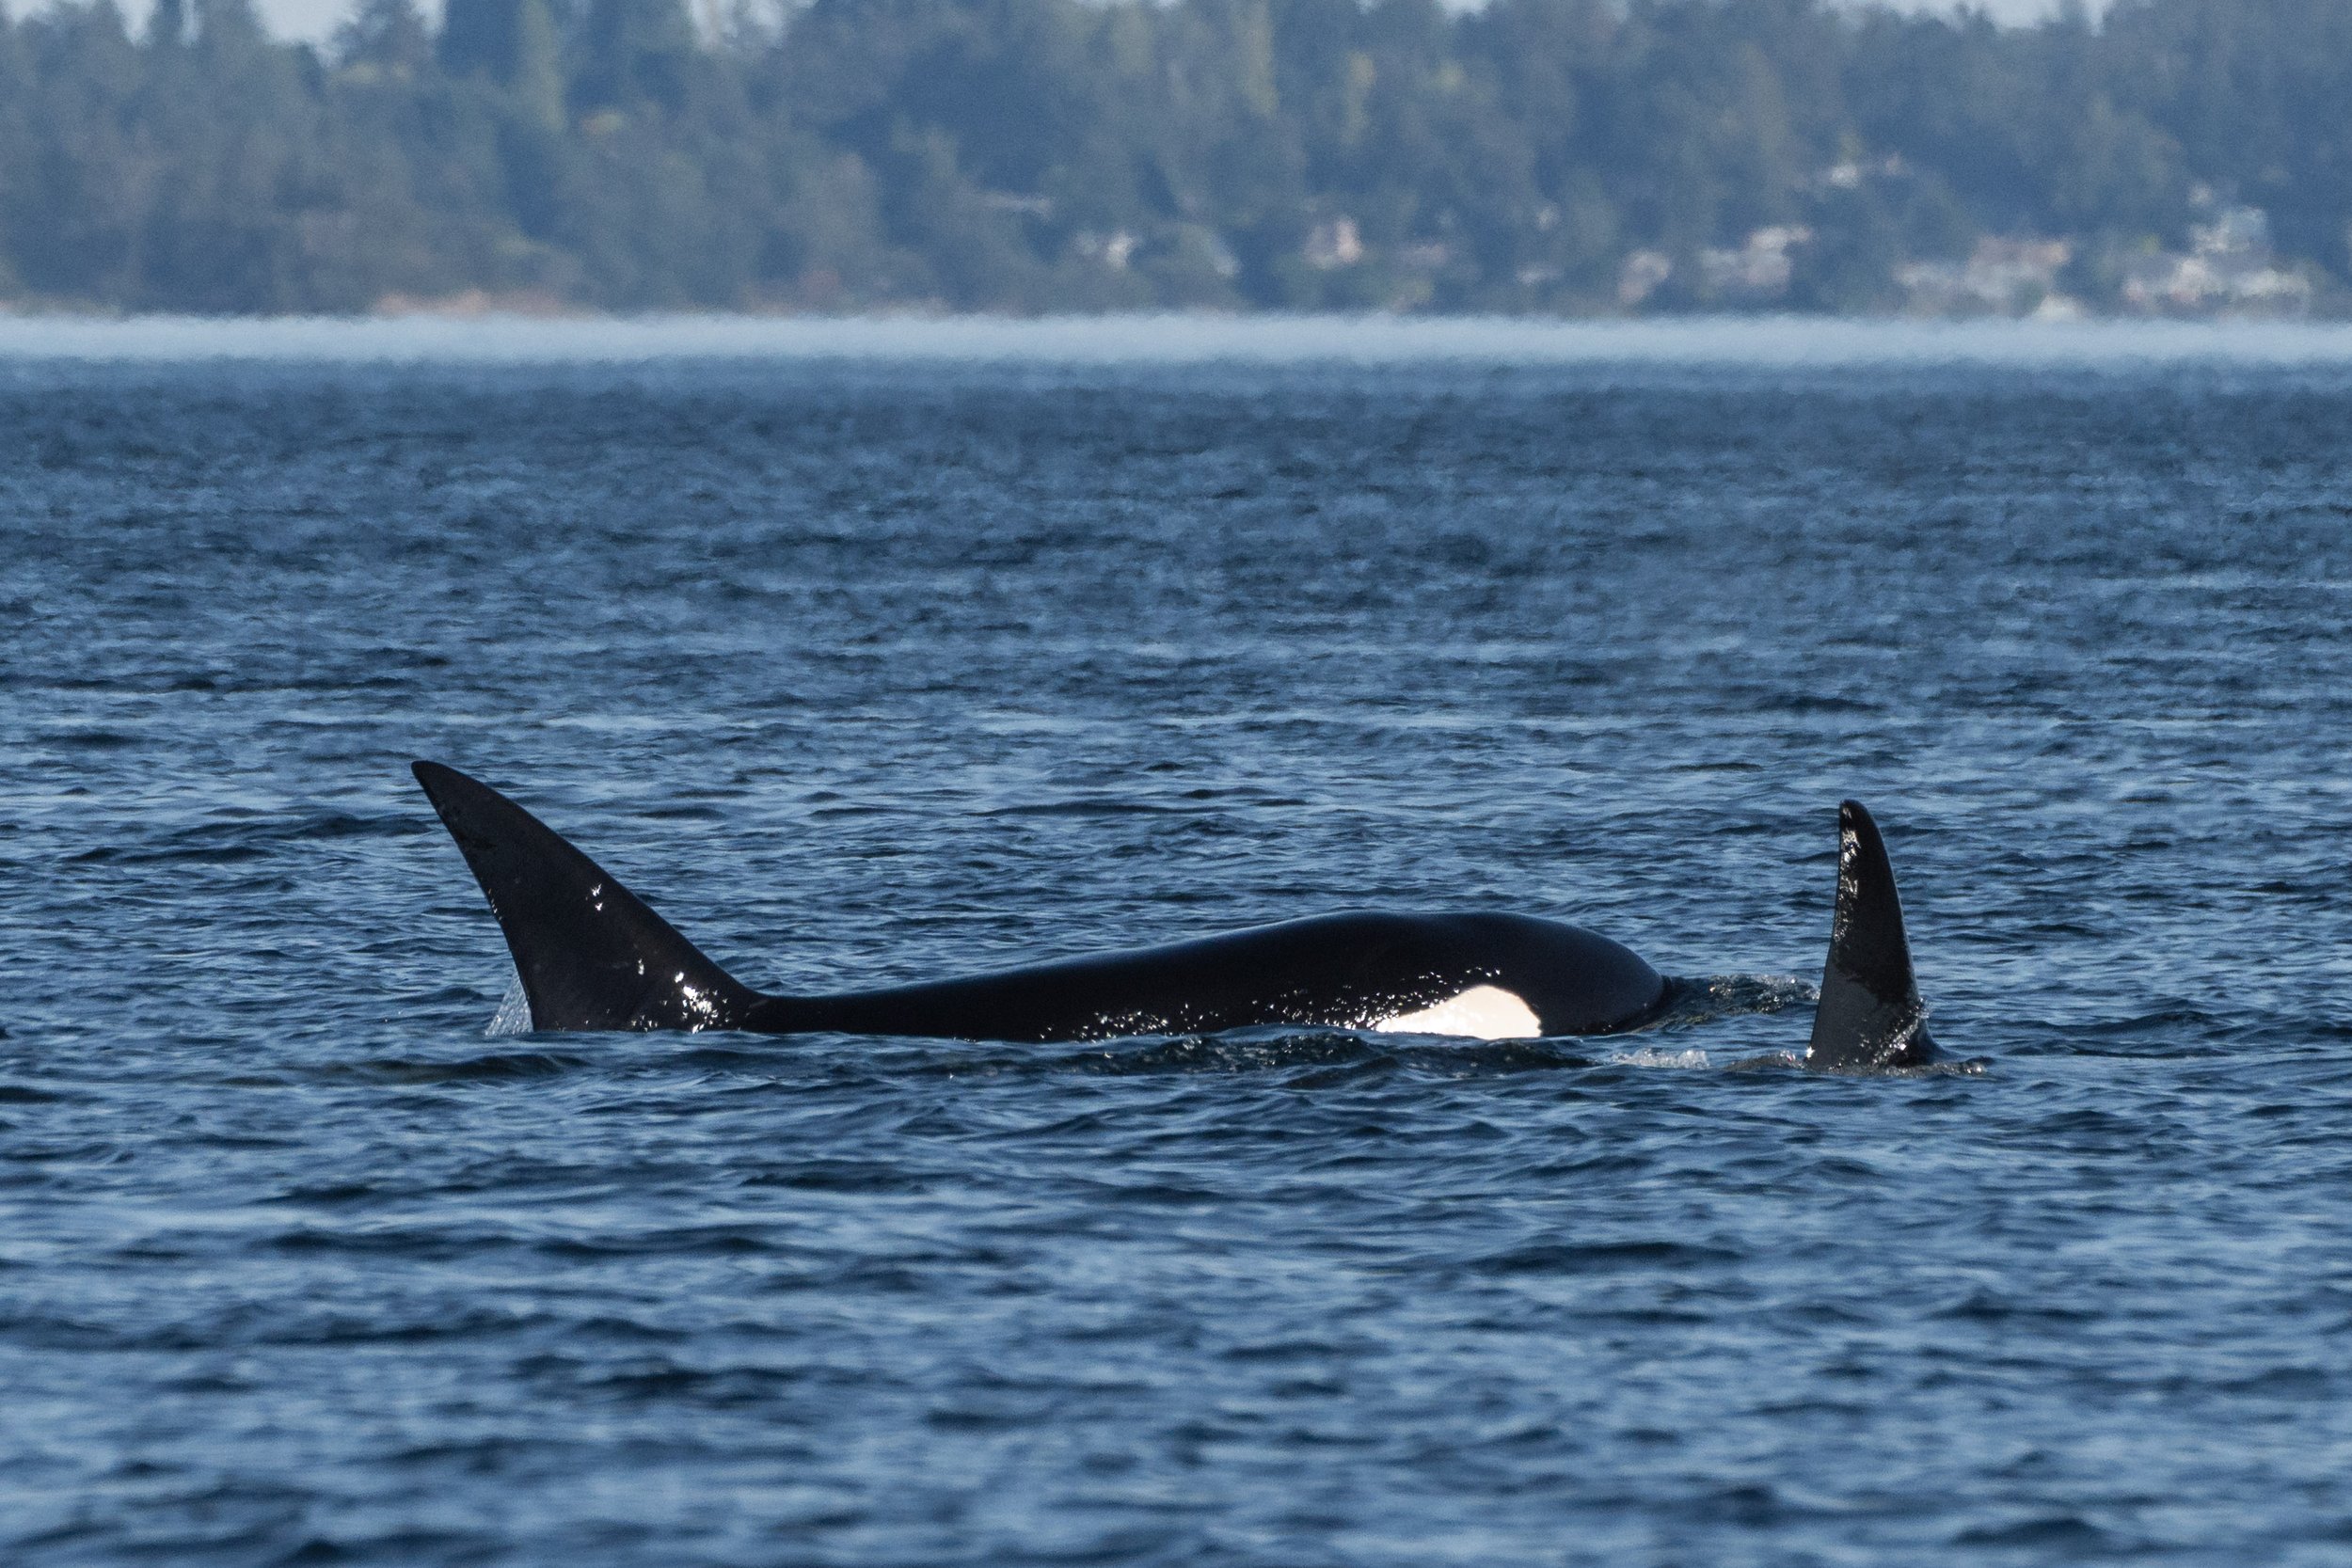
T046B4 Quiver surfacing next to another. Photo by Val Watson.
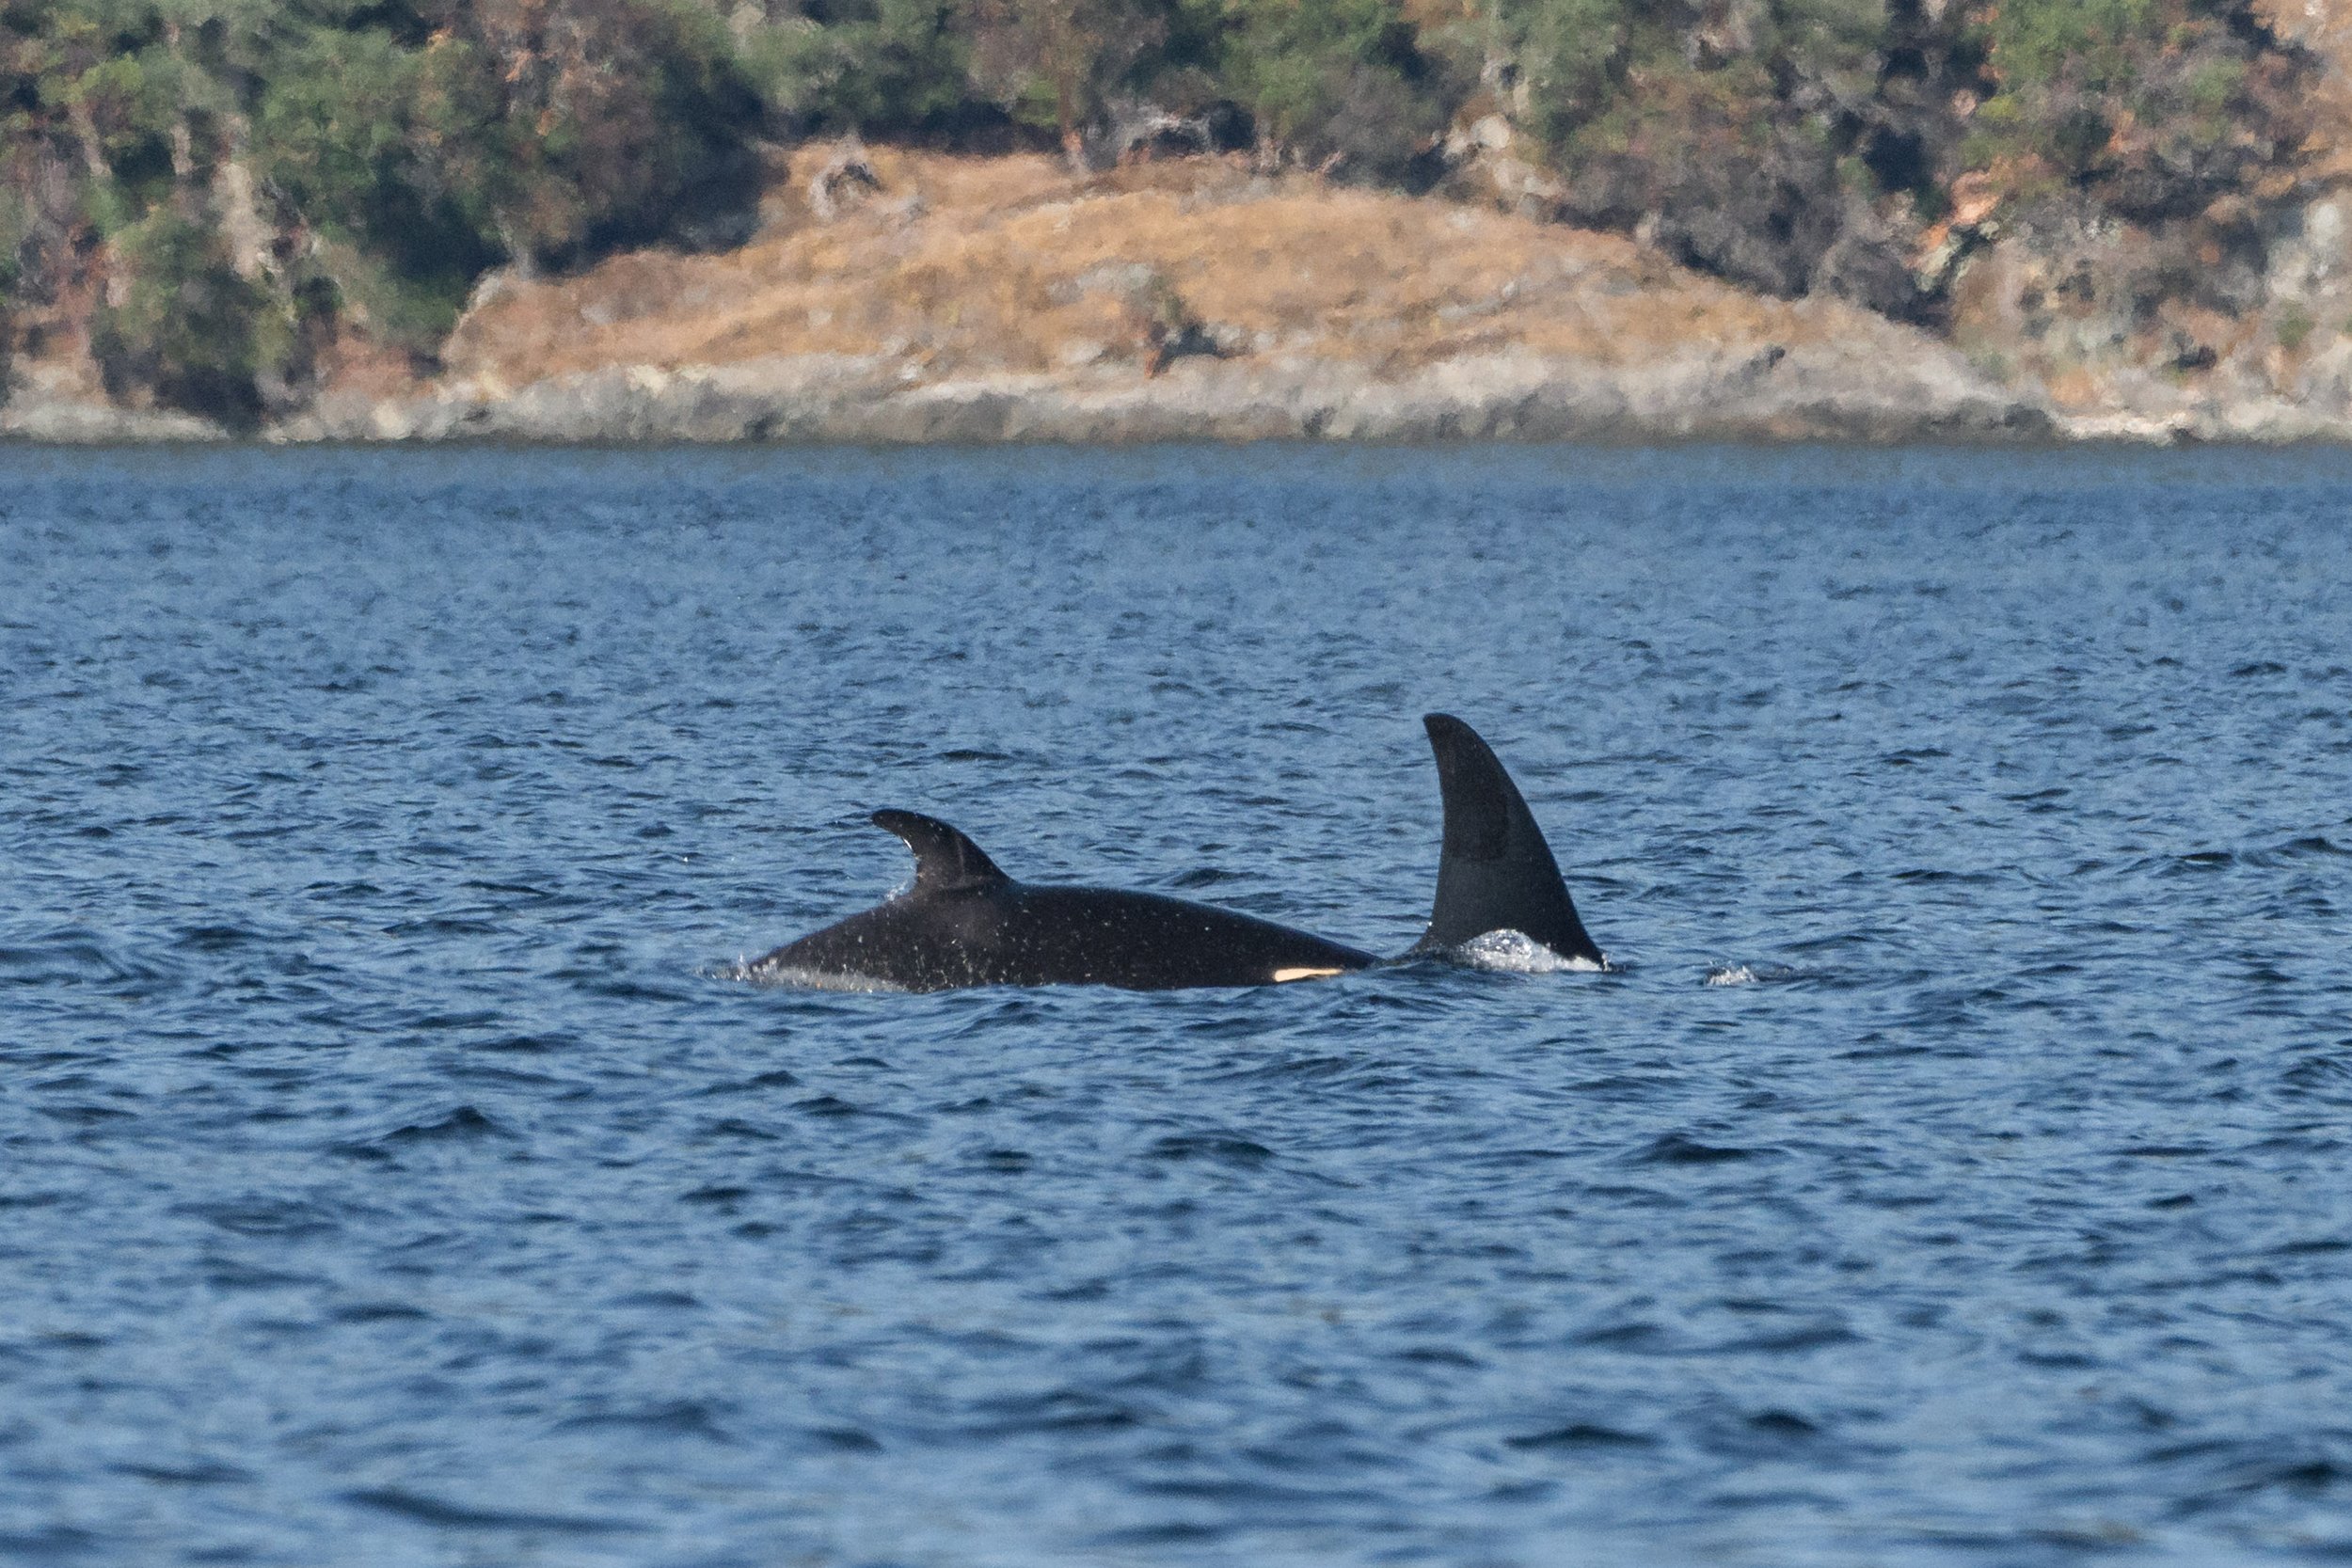
T046B8 Pi surfacing next to mom, T046B Raksha. Photo by Val Watson.
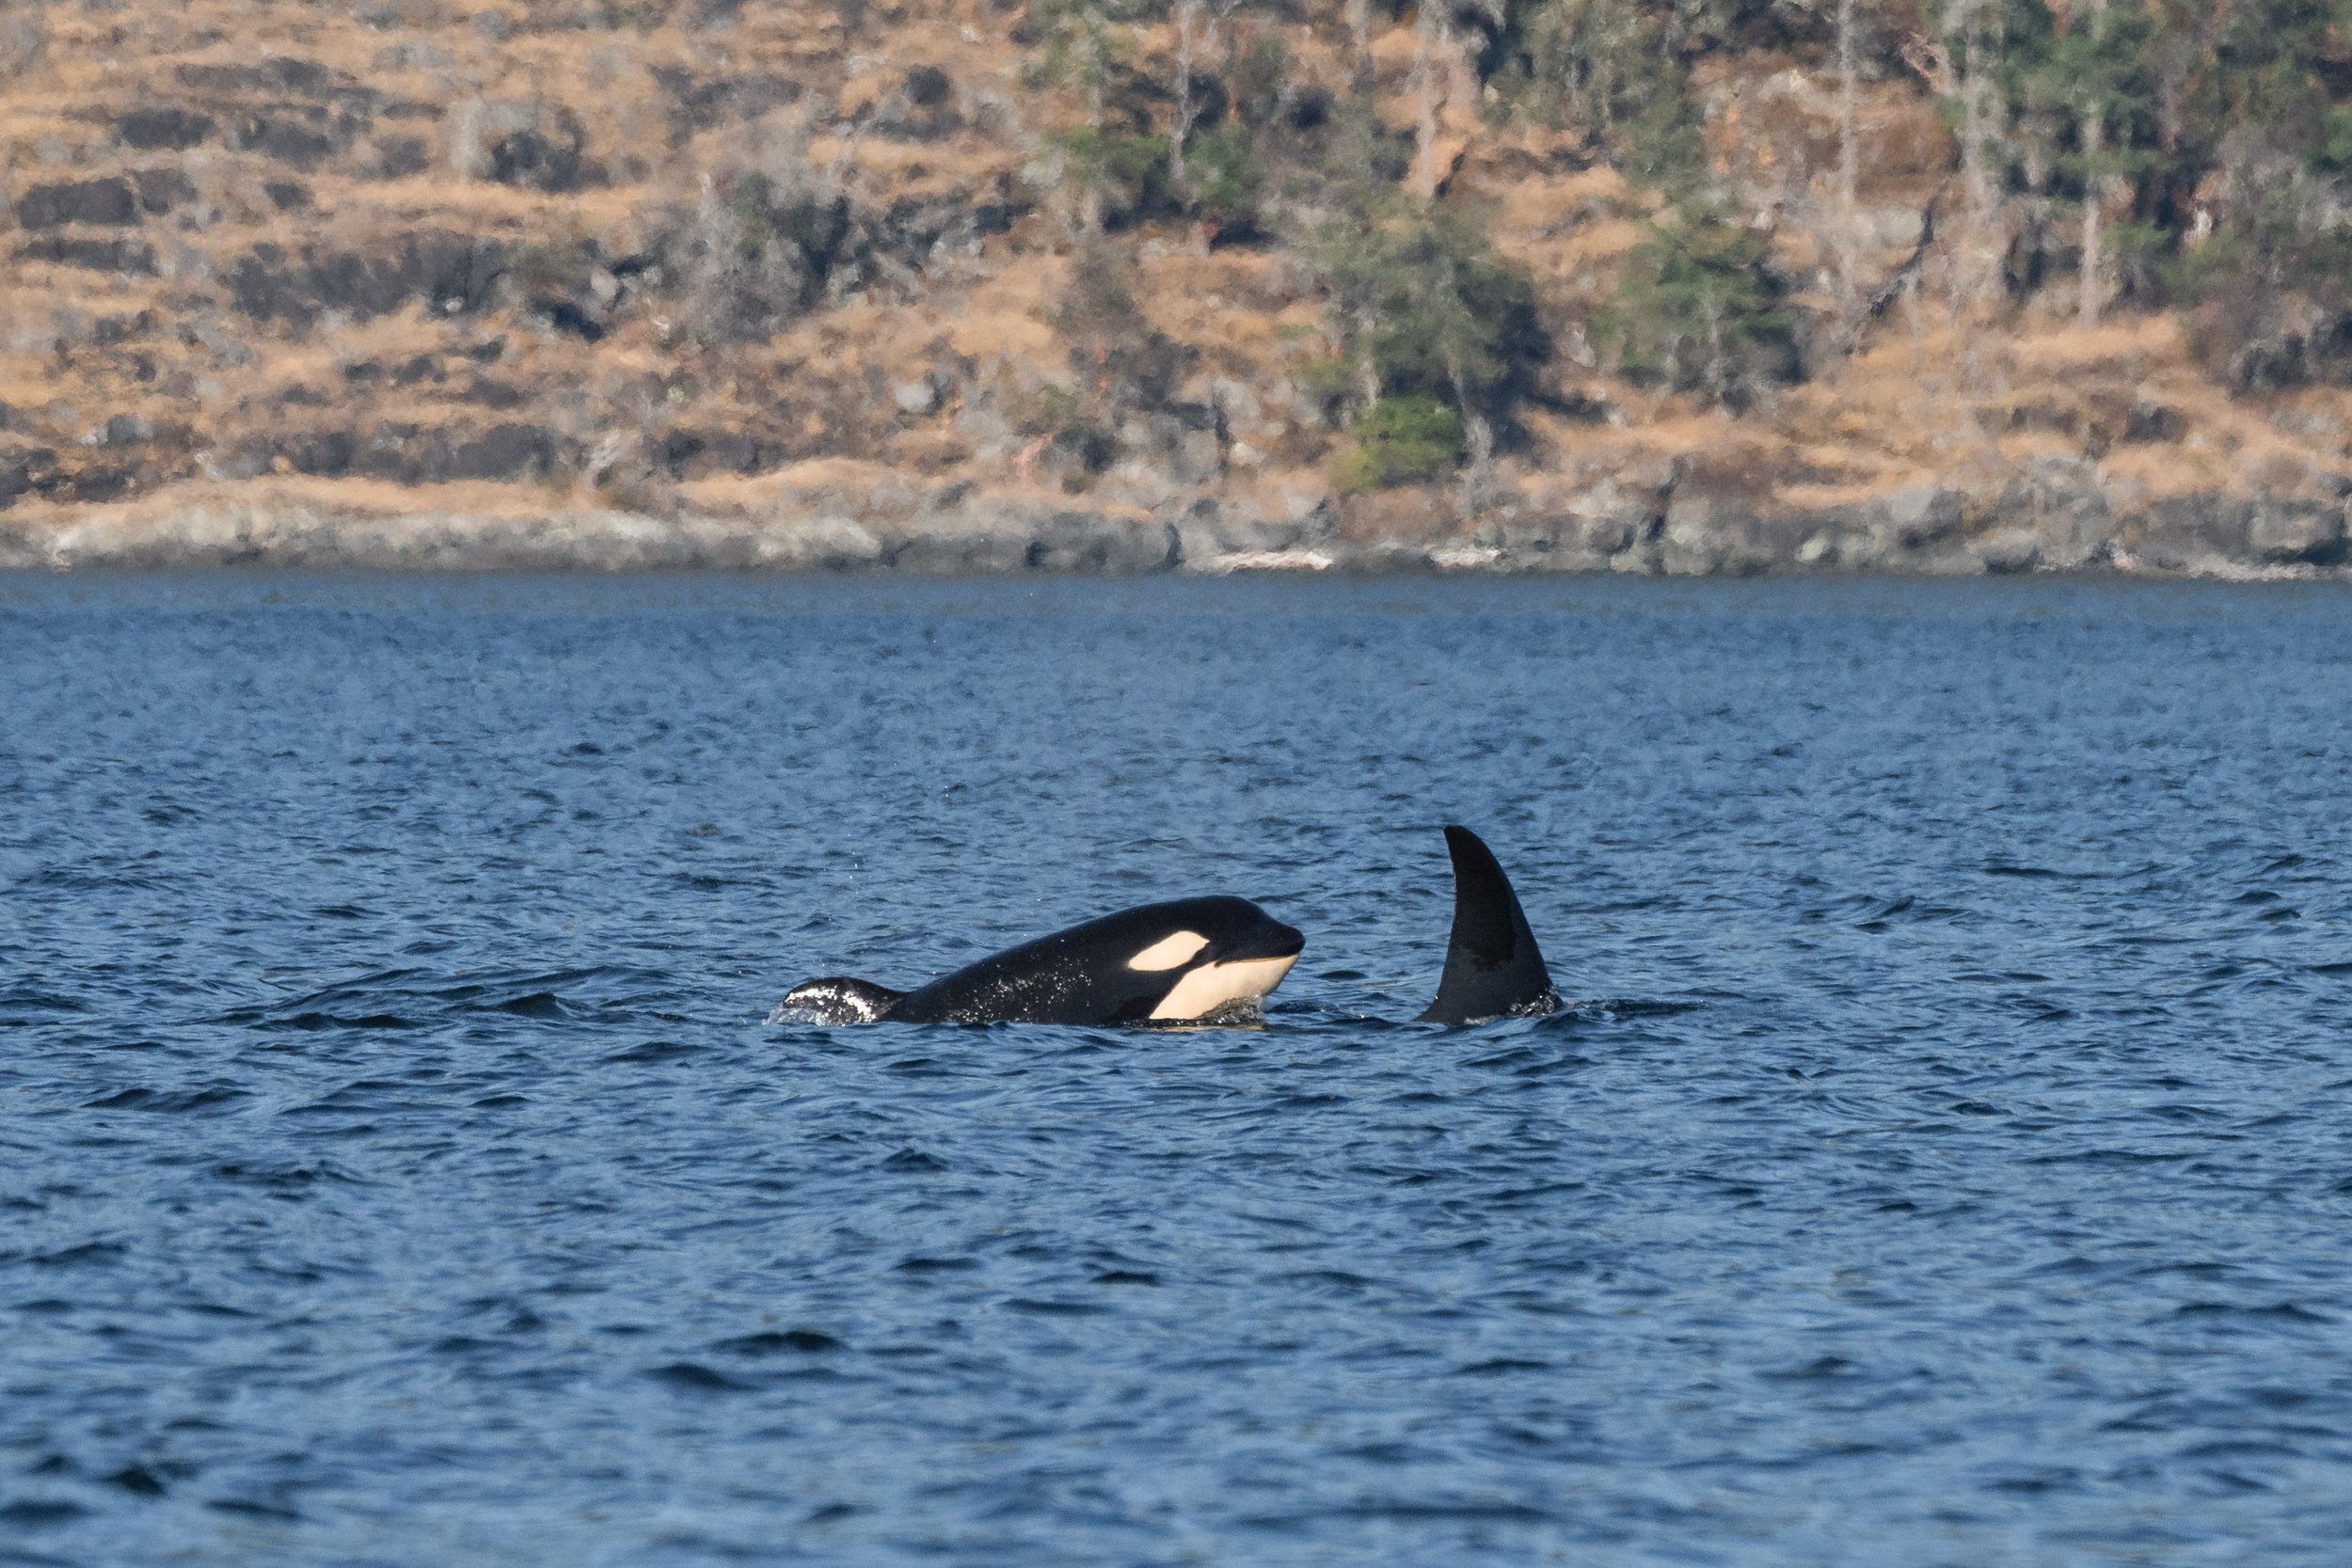
T046B8 Pi showing off their adorable face as they surface next to mom, T046B Raksha. Photo by Val Watson.
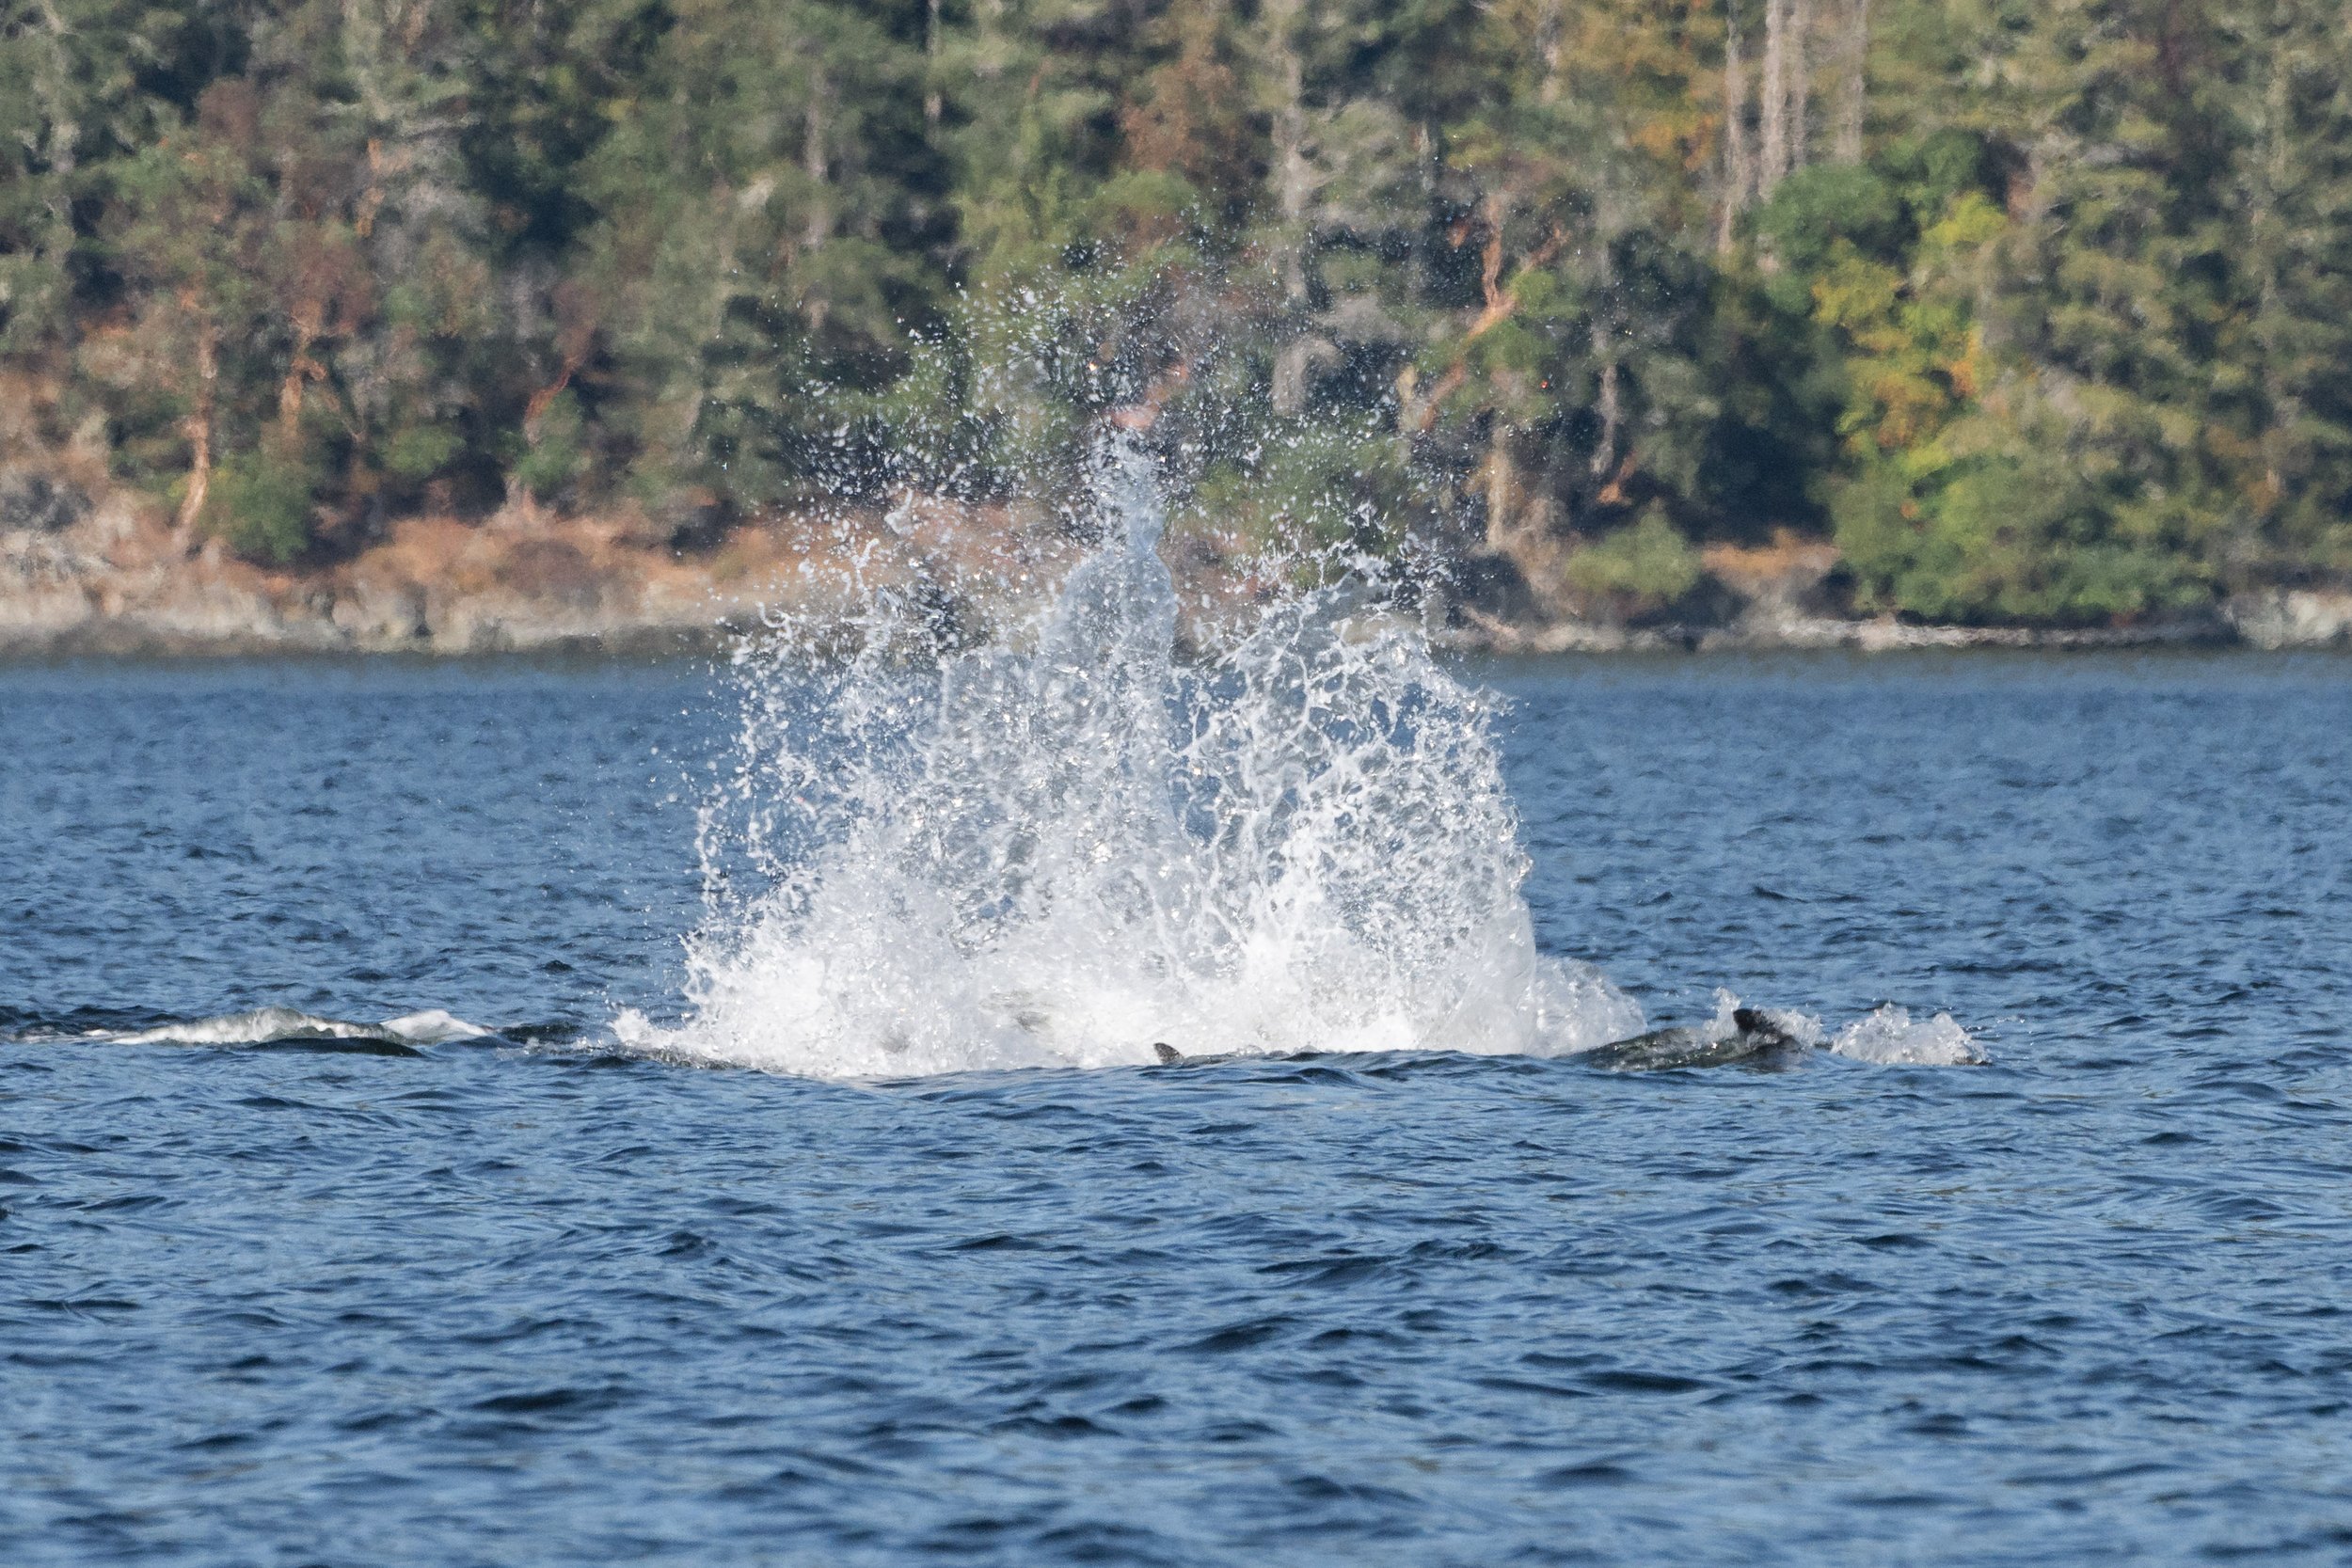
A big splash from the T046Bs as a hunt starts. Photo by Val Watson.
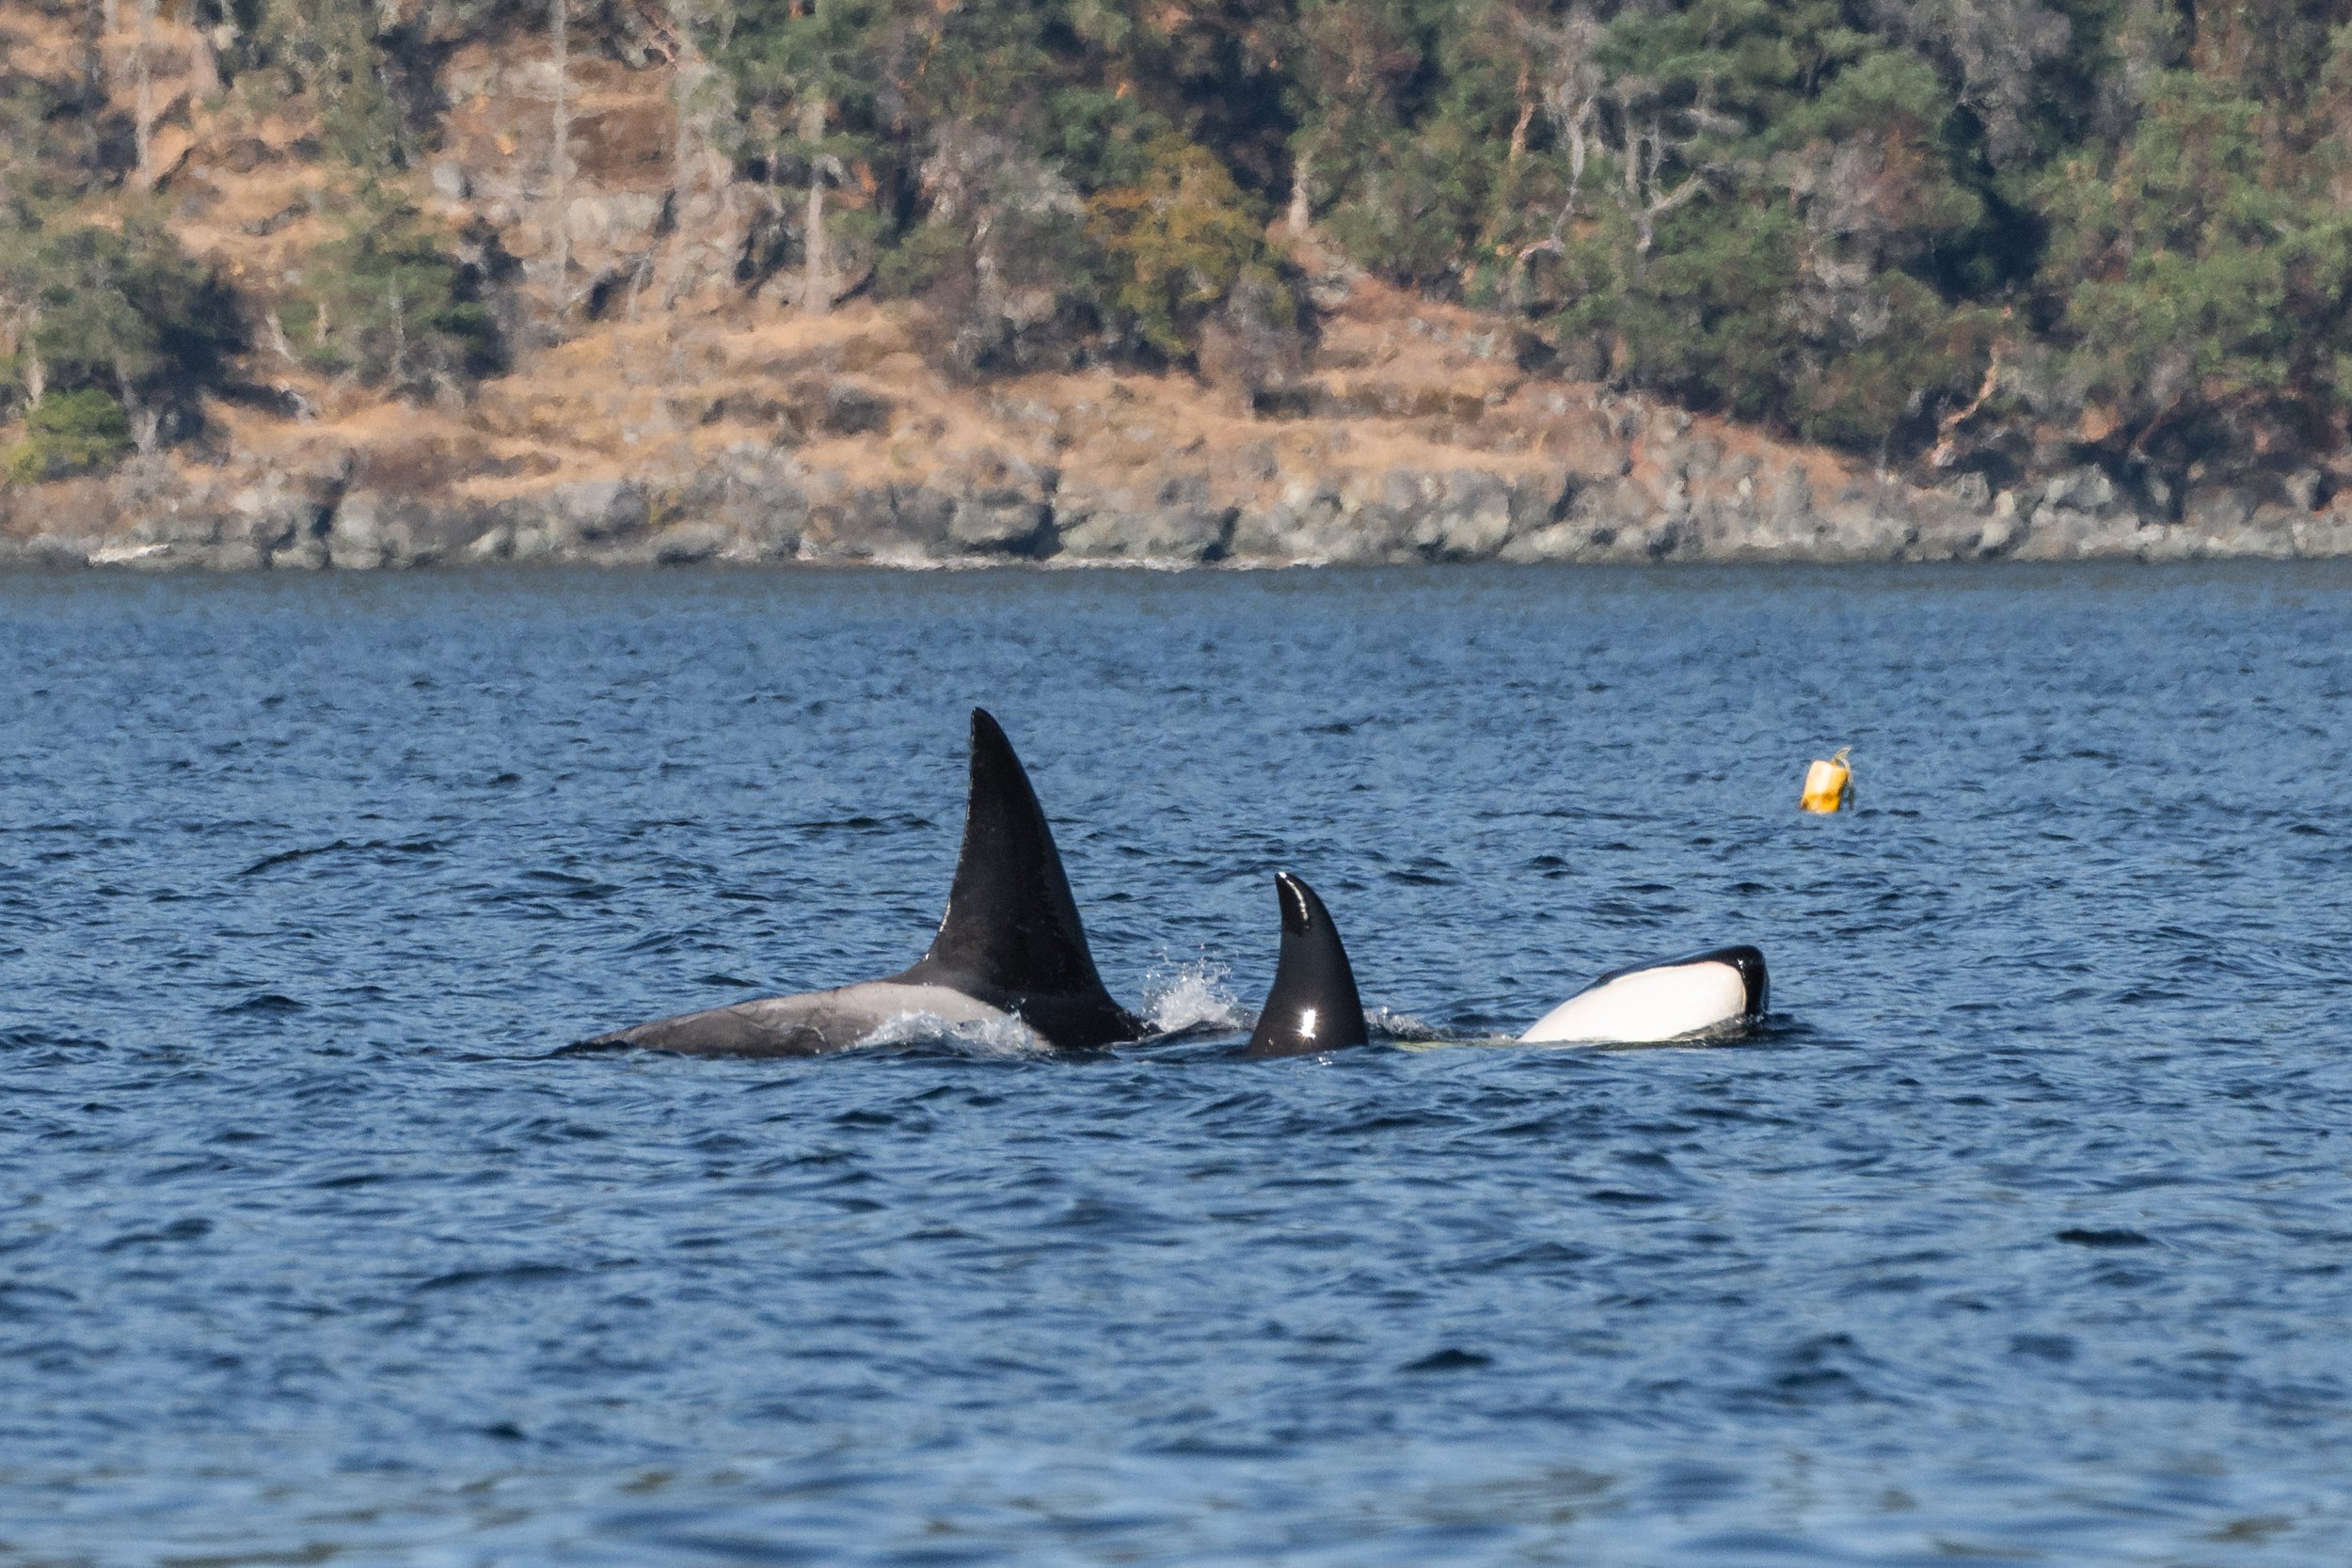
T046B3 Sedna surfacing next to T046B6 Sol and another swimming sideways. Photo by Val Watson.
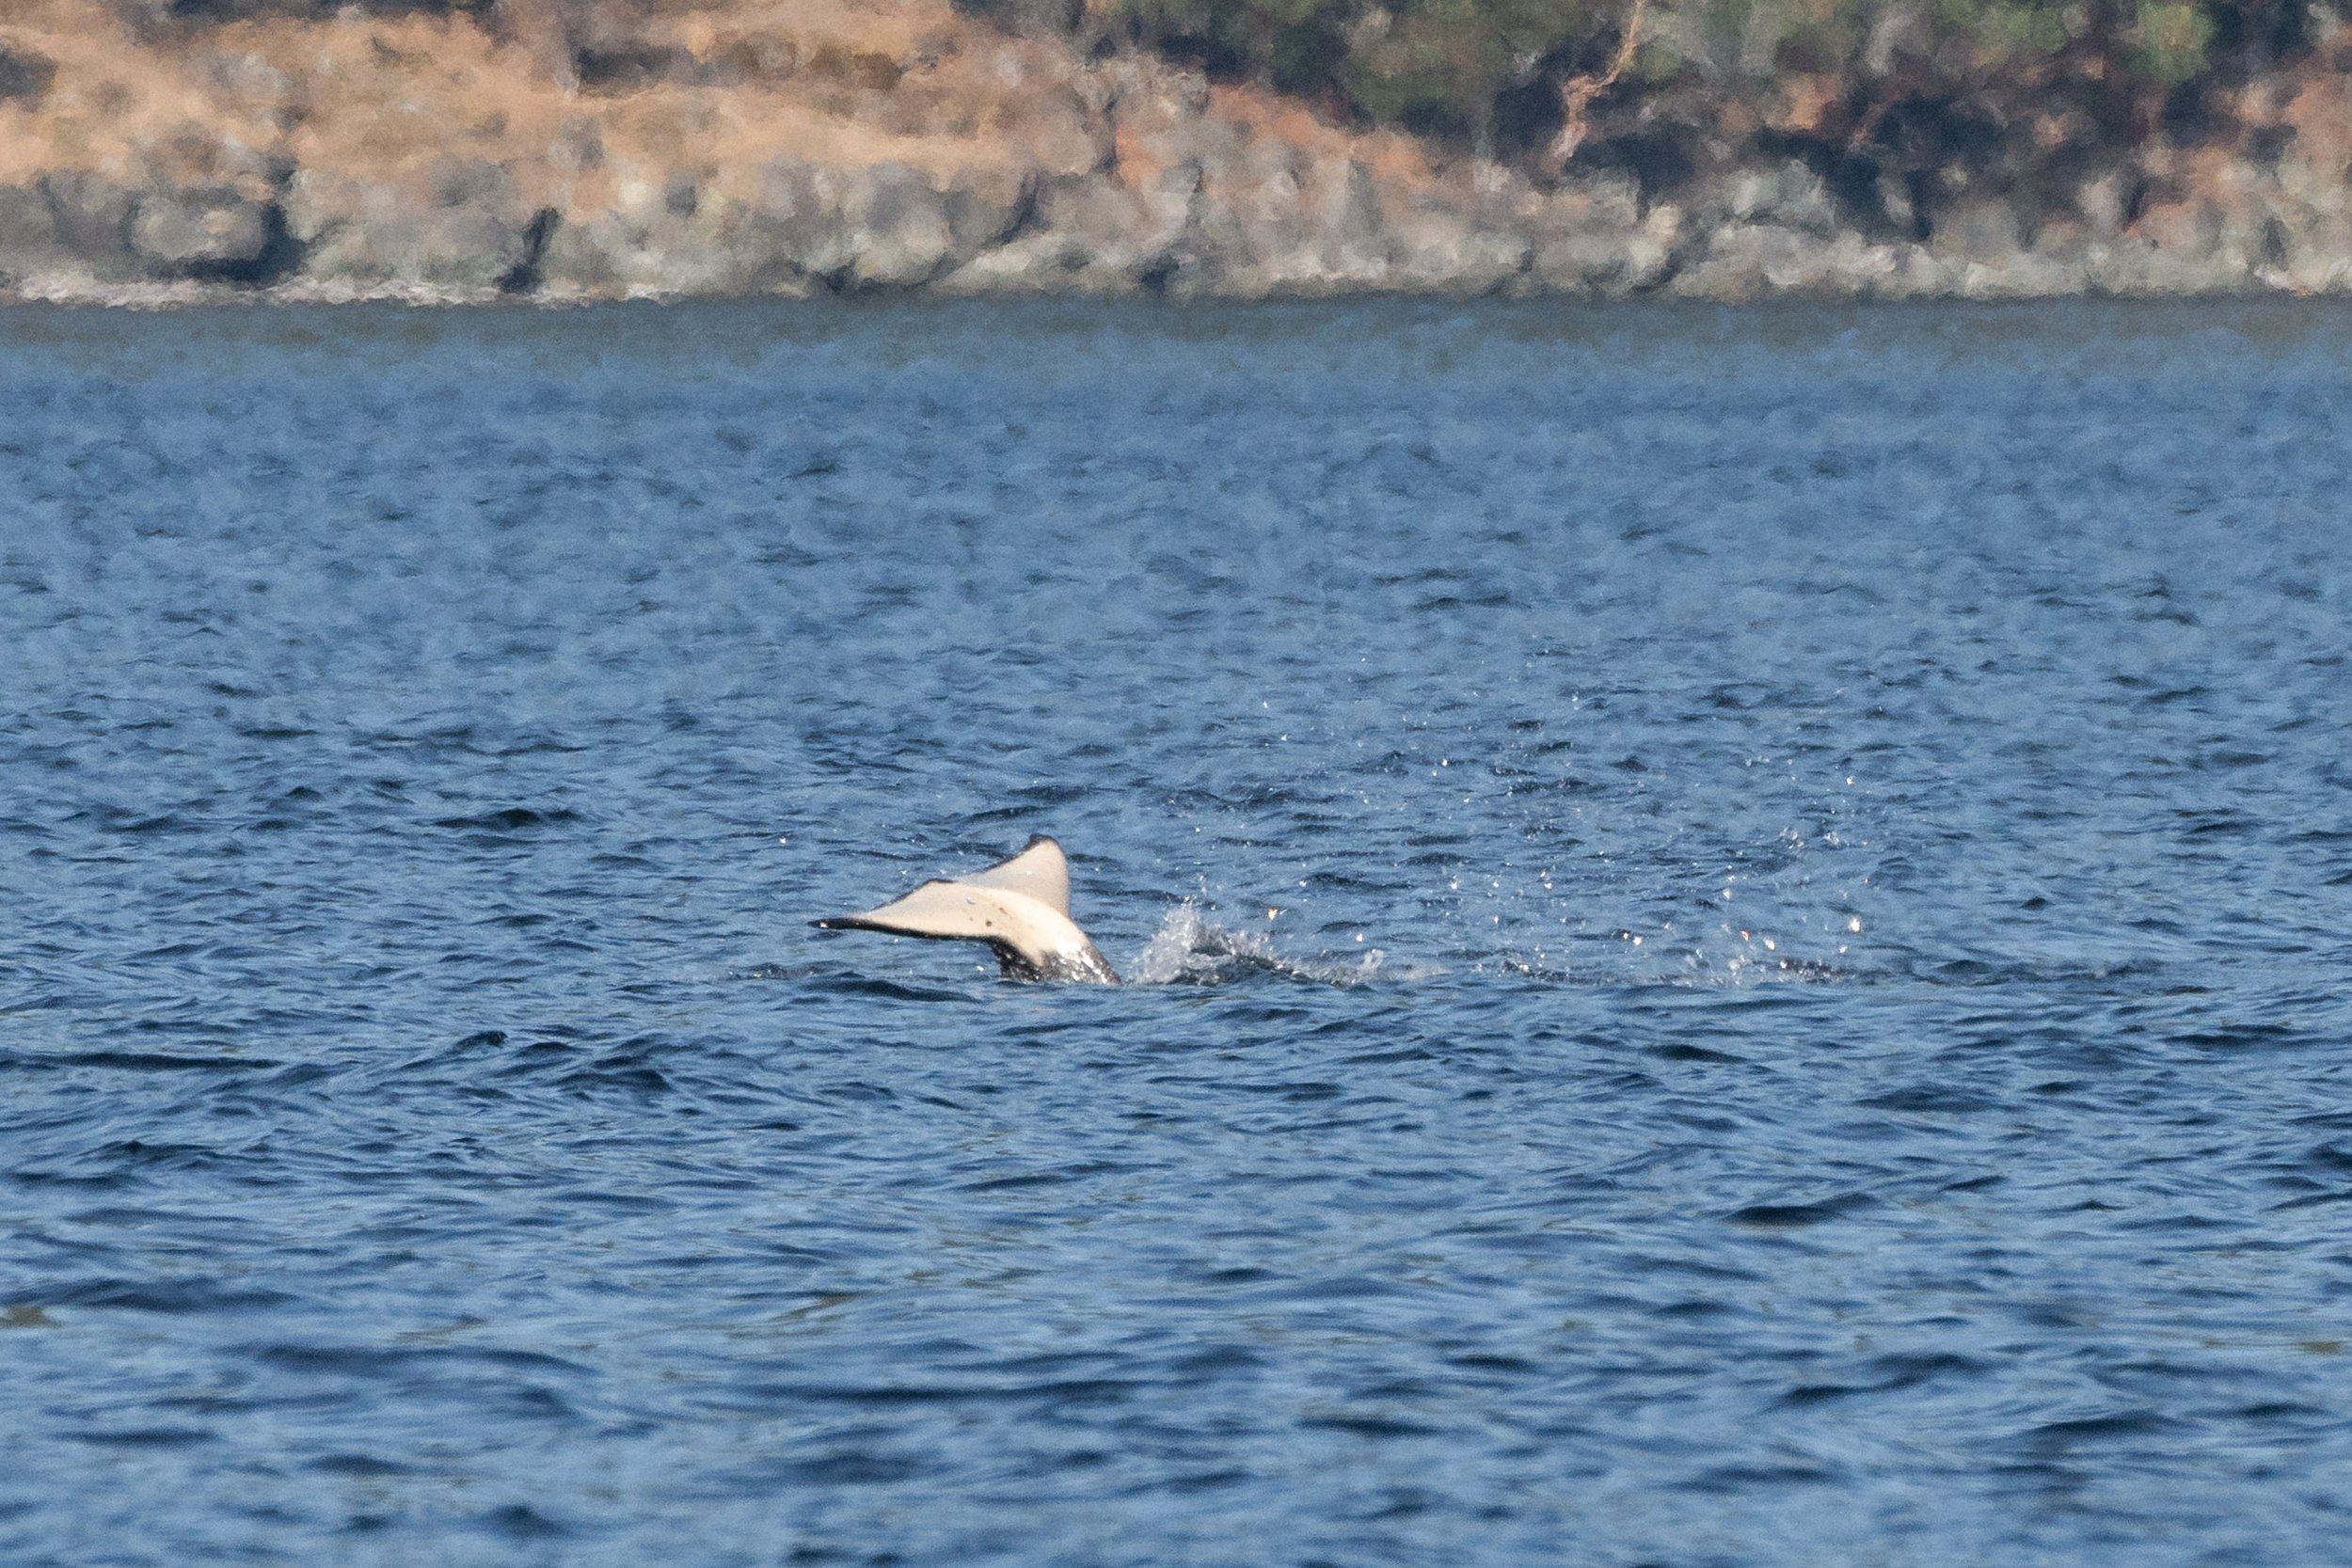
A lovely tail slap from one of the youngsters. Photo by Val Watson.
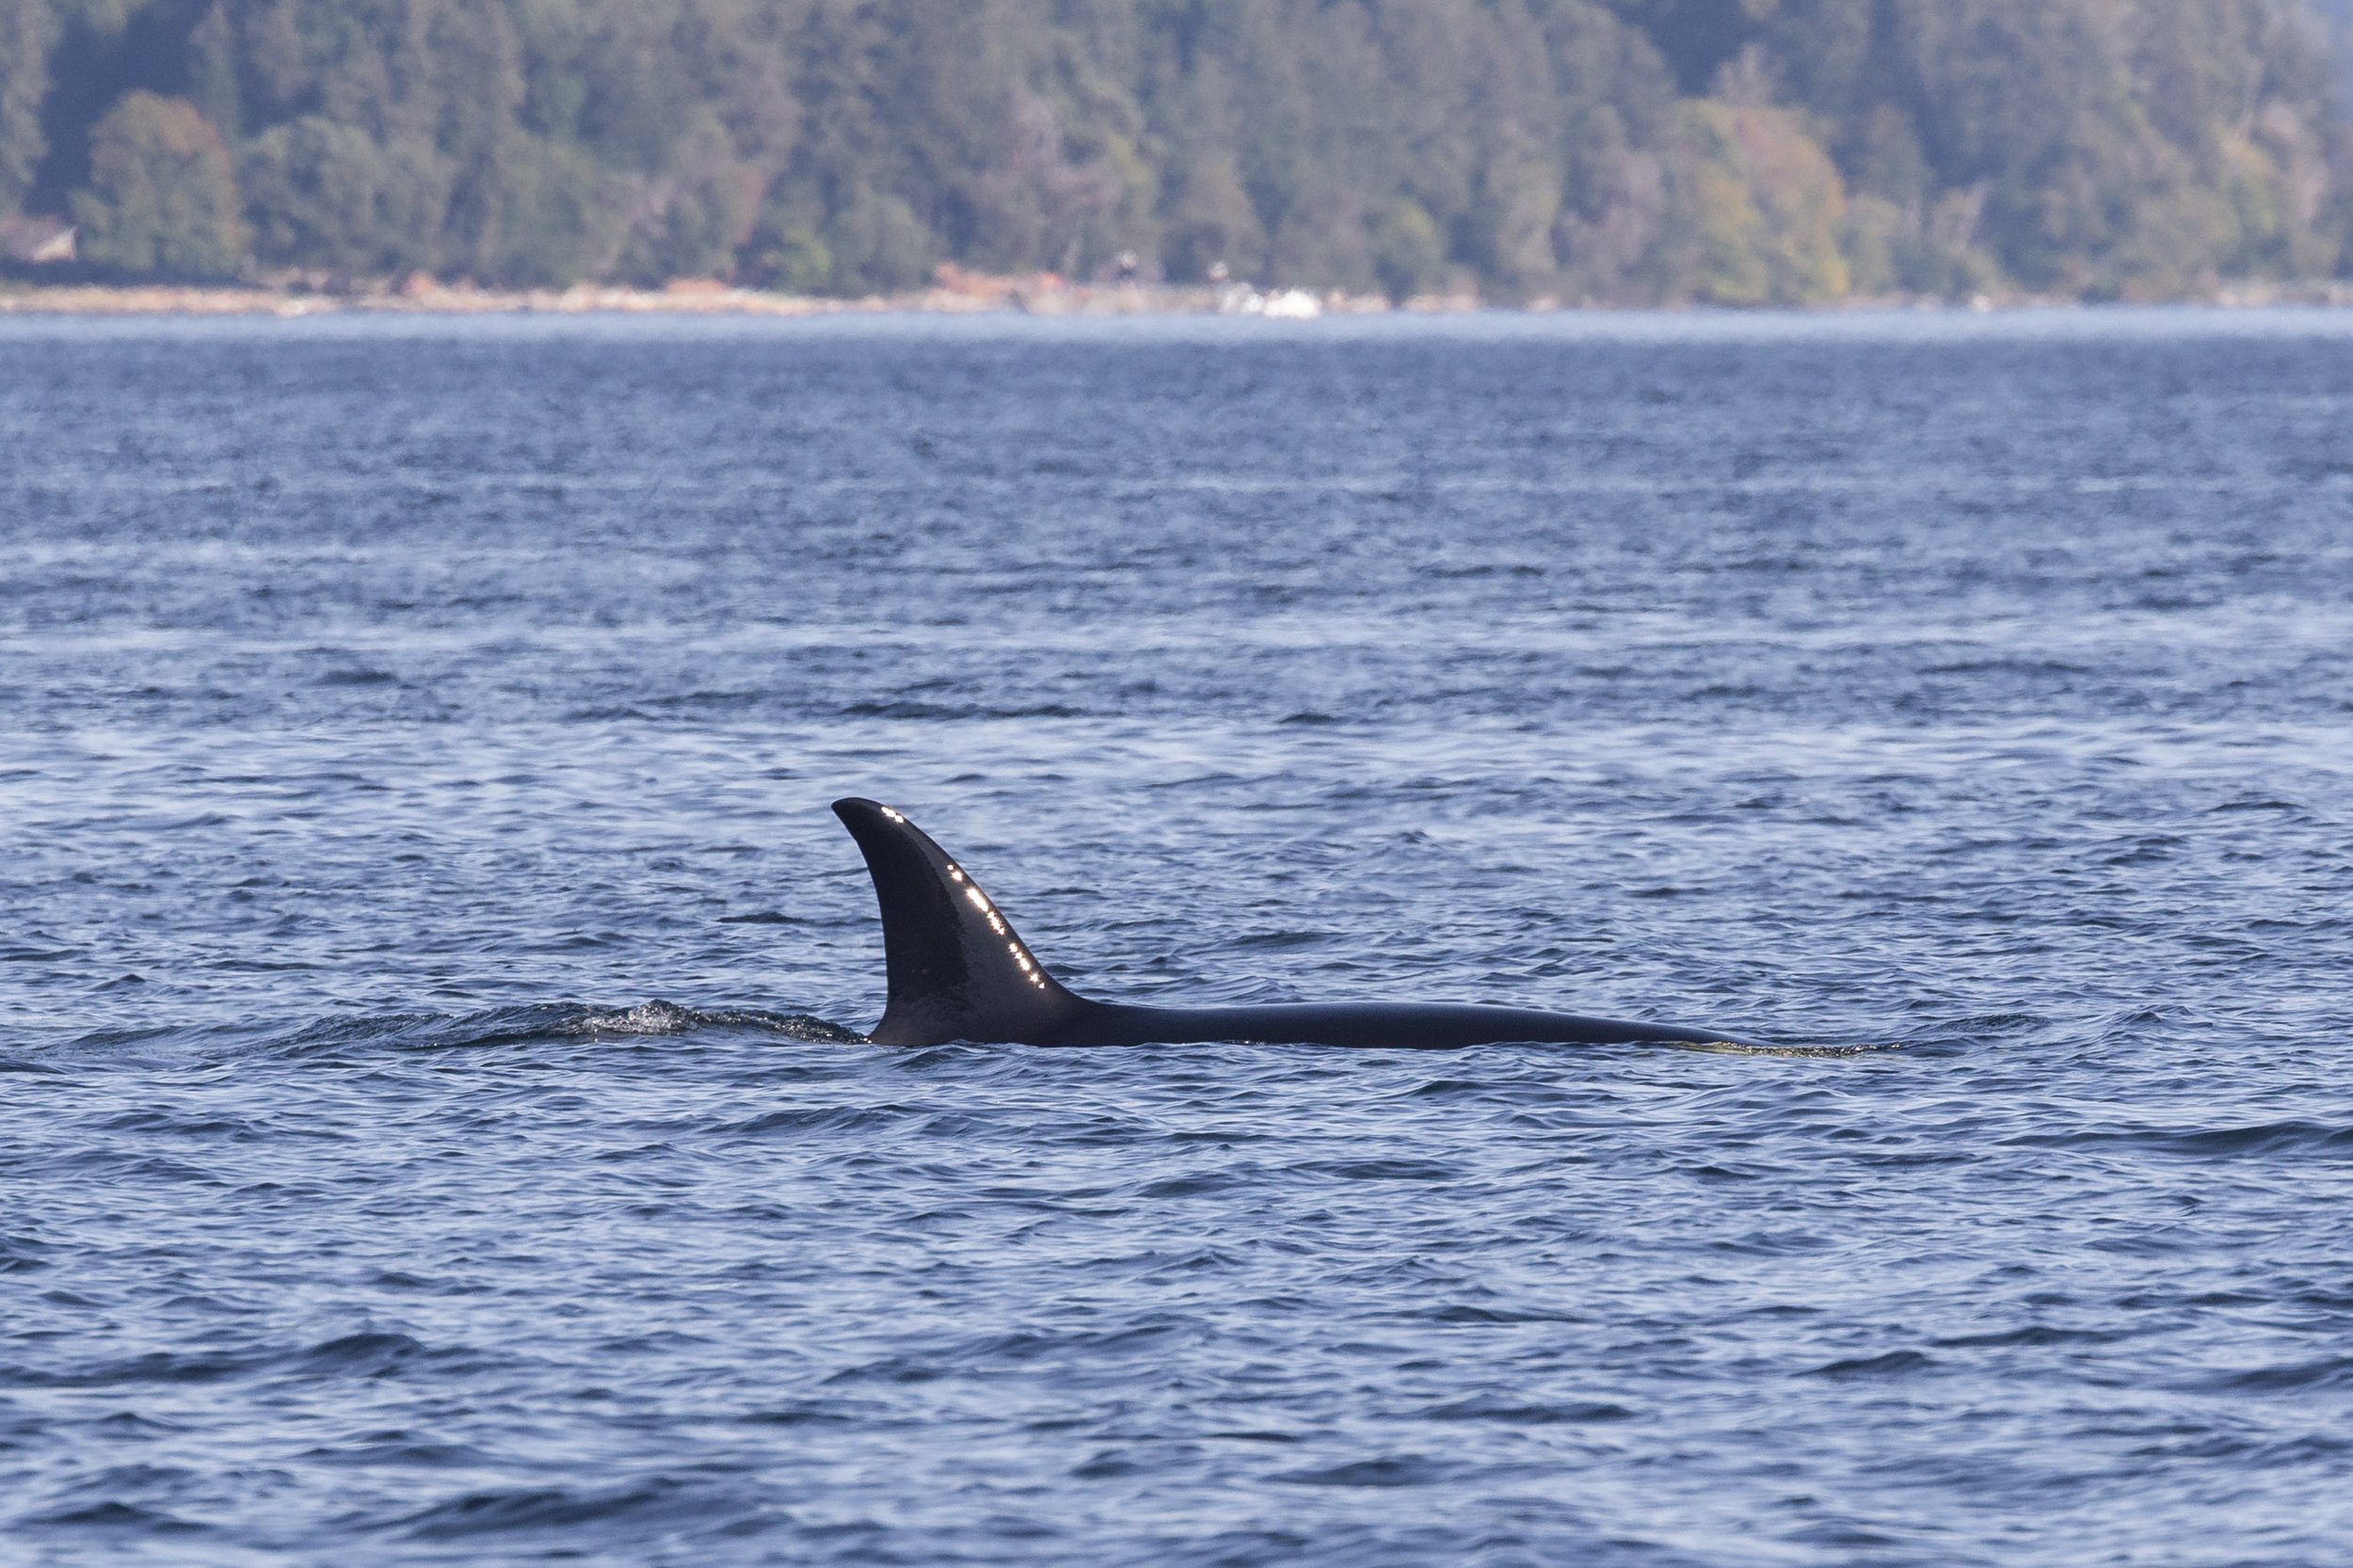
T046B Raksha surfacing. Photo by Jordan Robinson.
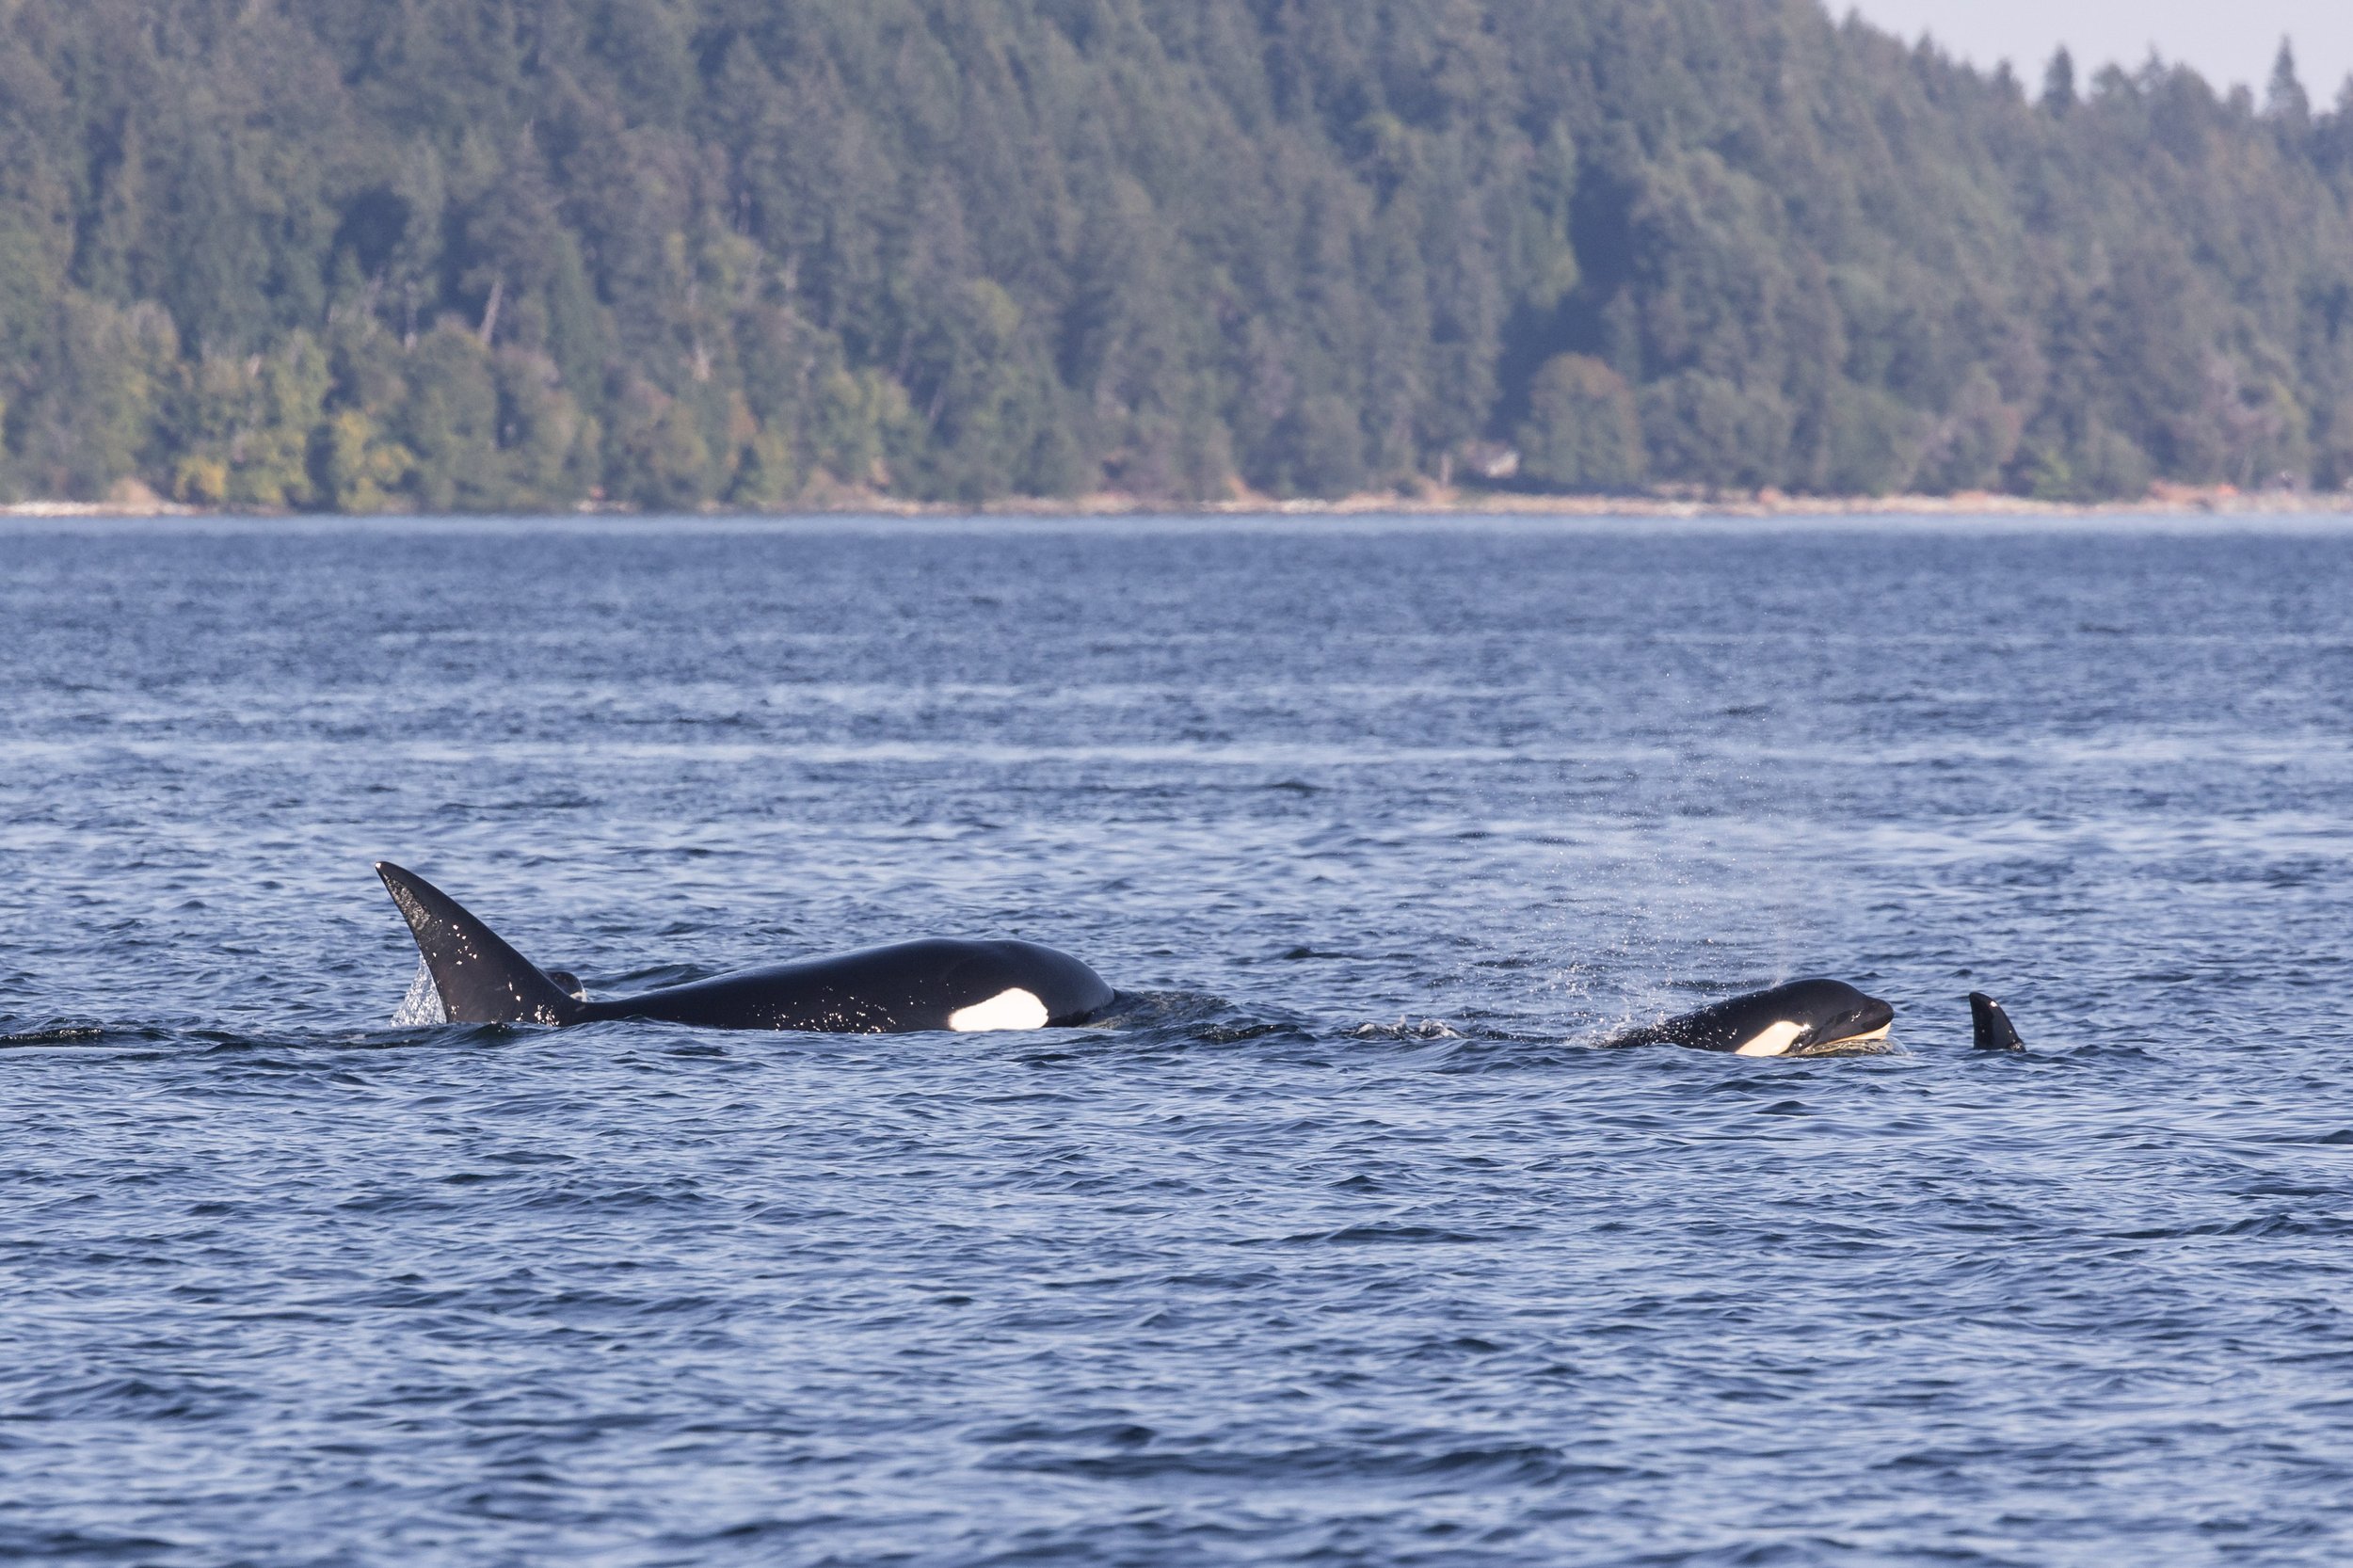
T046B4 Quiver surfacing next to T046B8 Pi. Photo by Jordan Robinson.
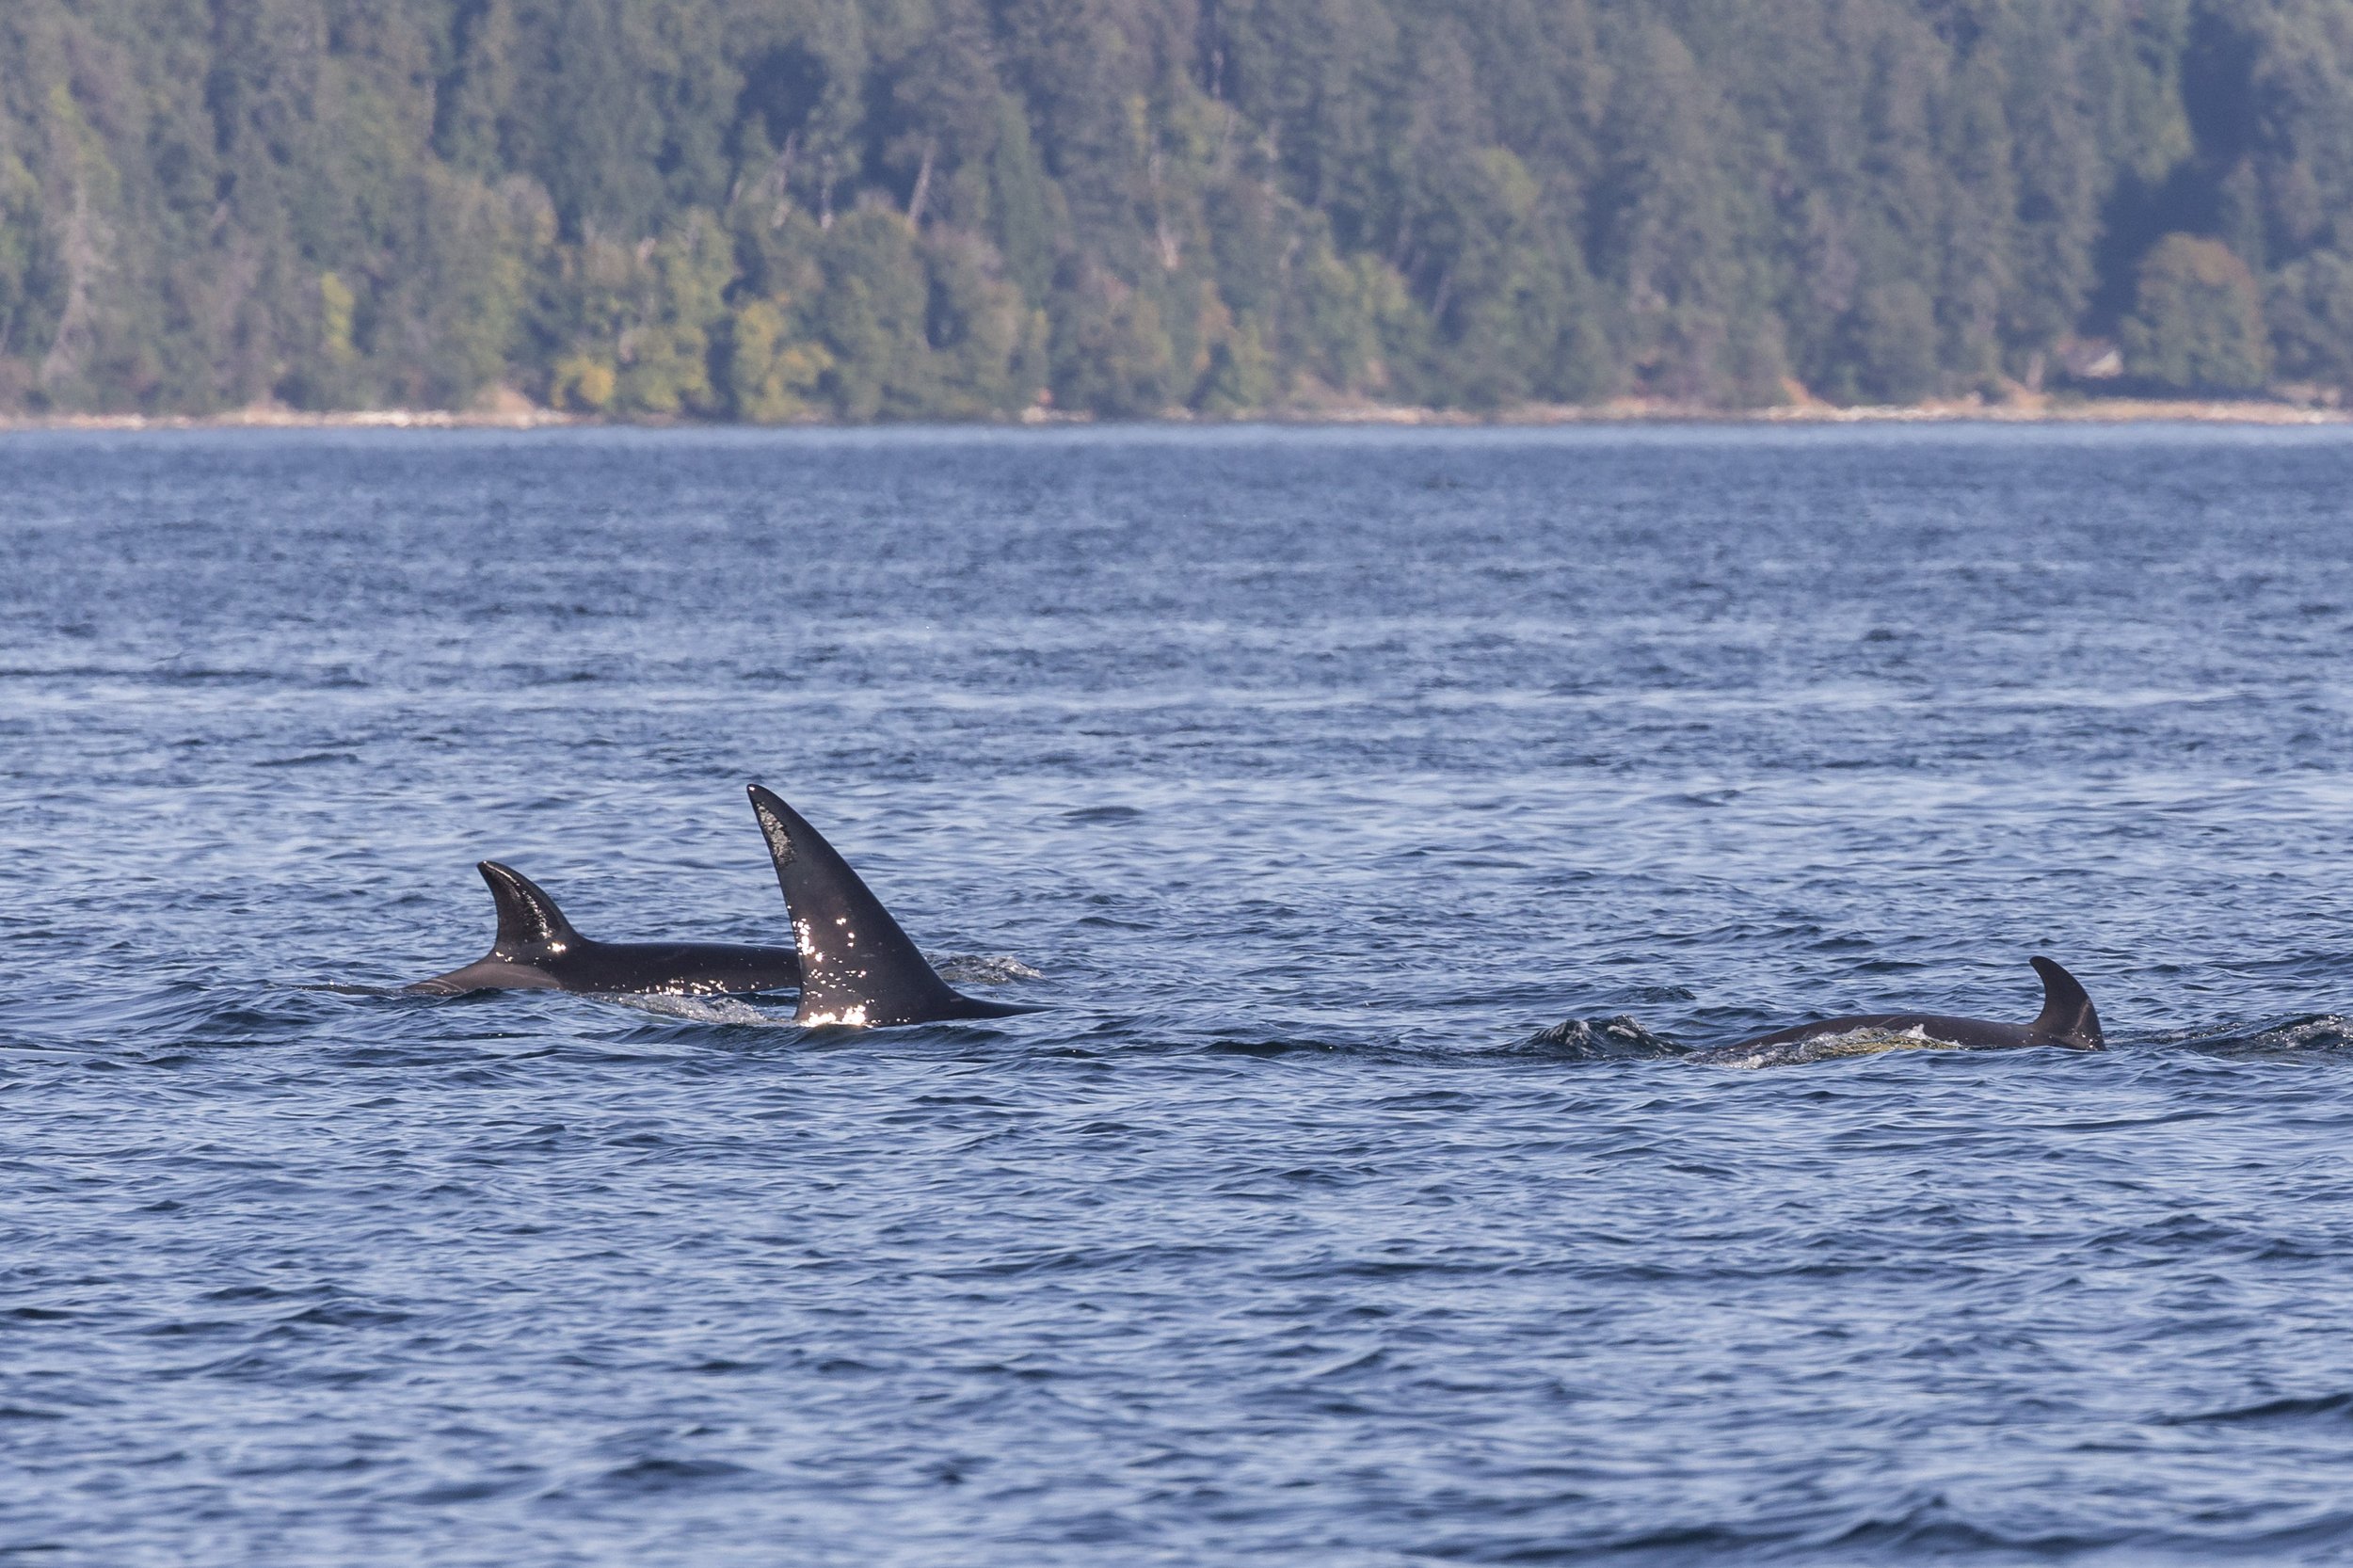
T046B3A Munro, T036B4 Quiver, and T046B8 Pi all surfacing together. Photo by Jordan Robinson.
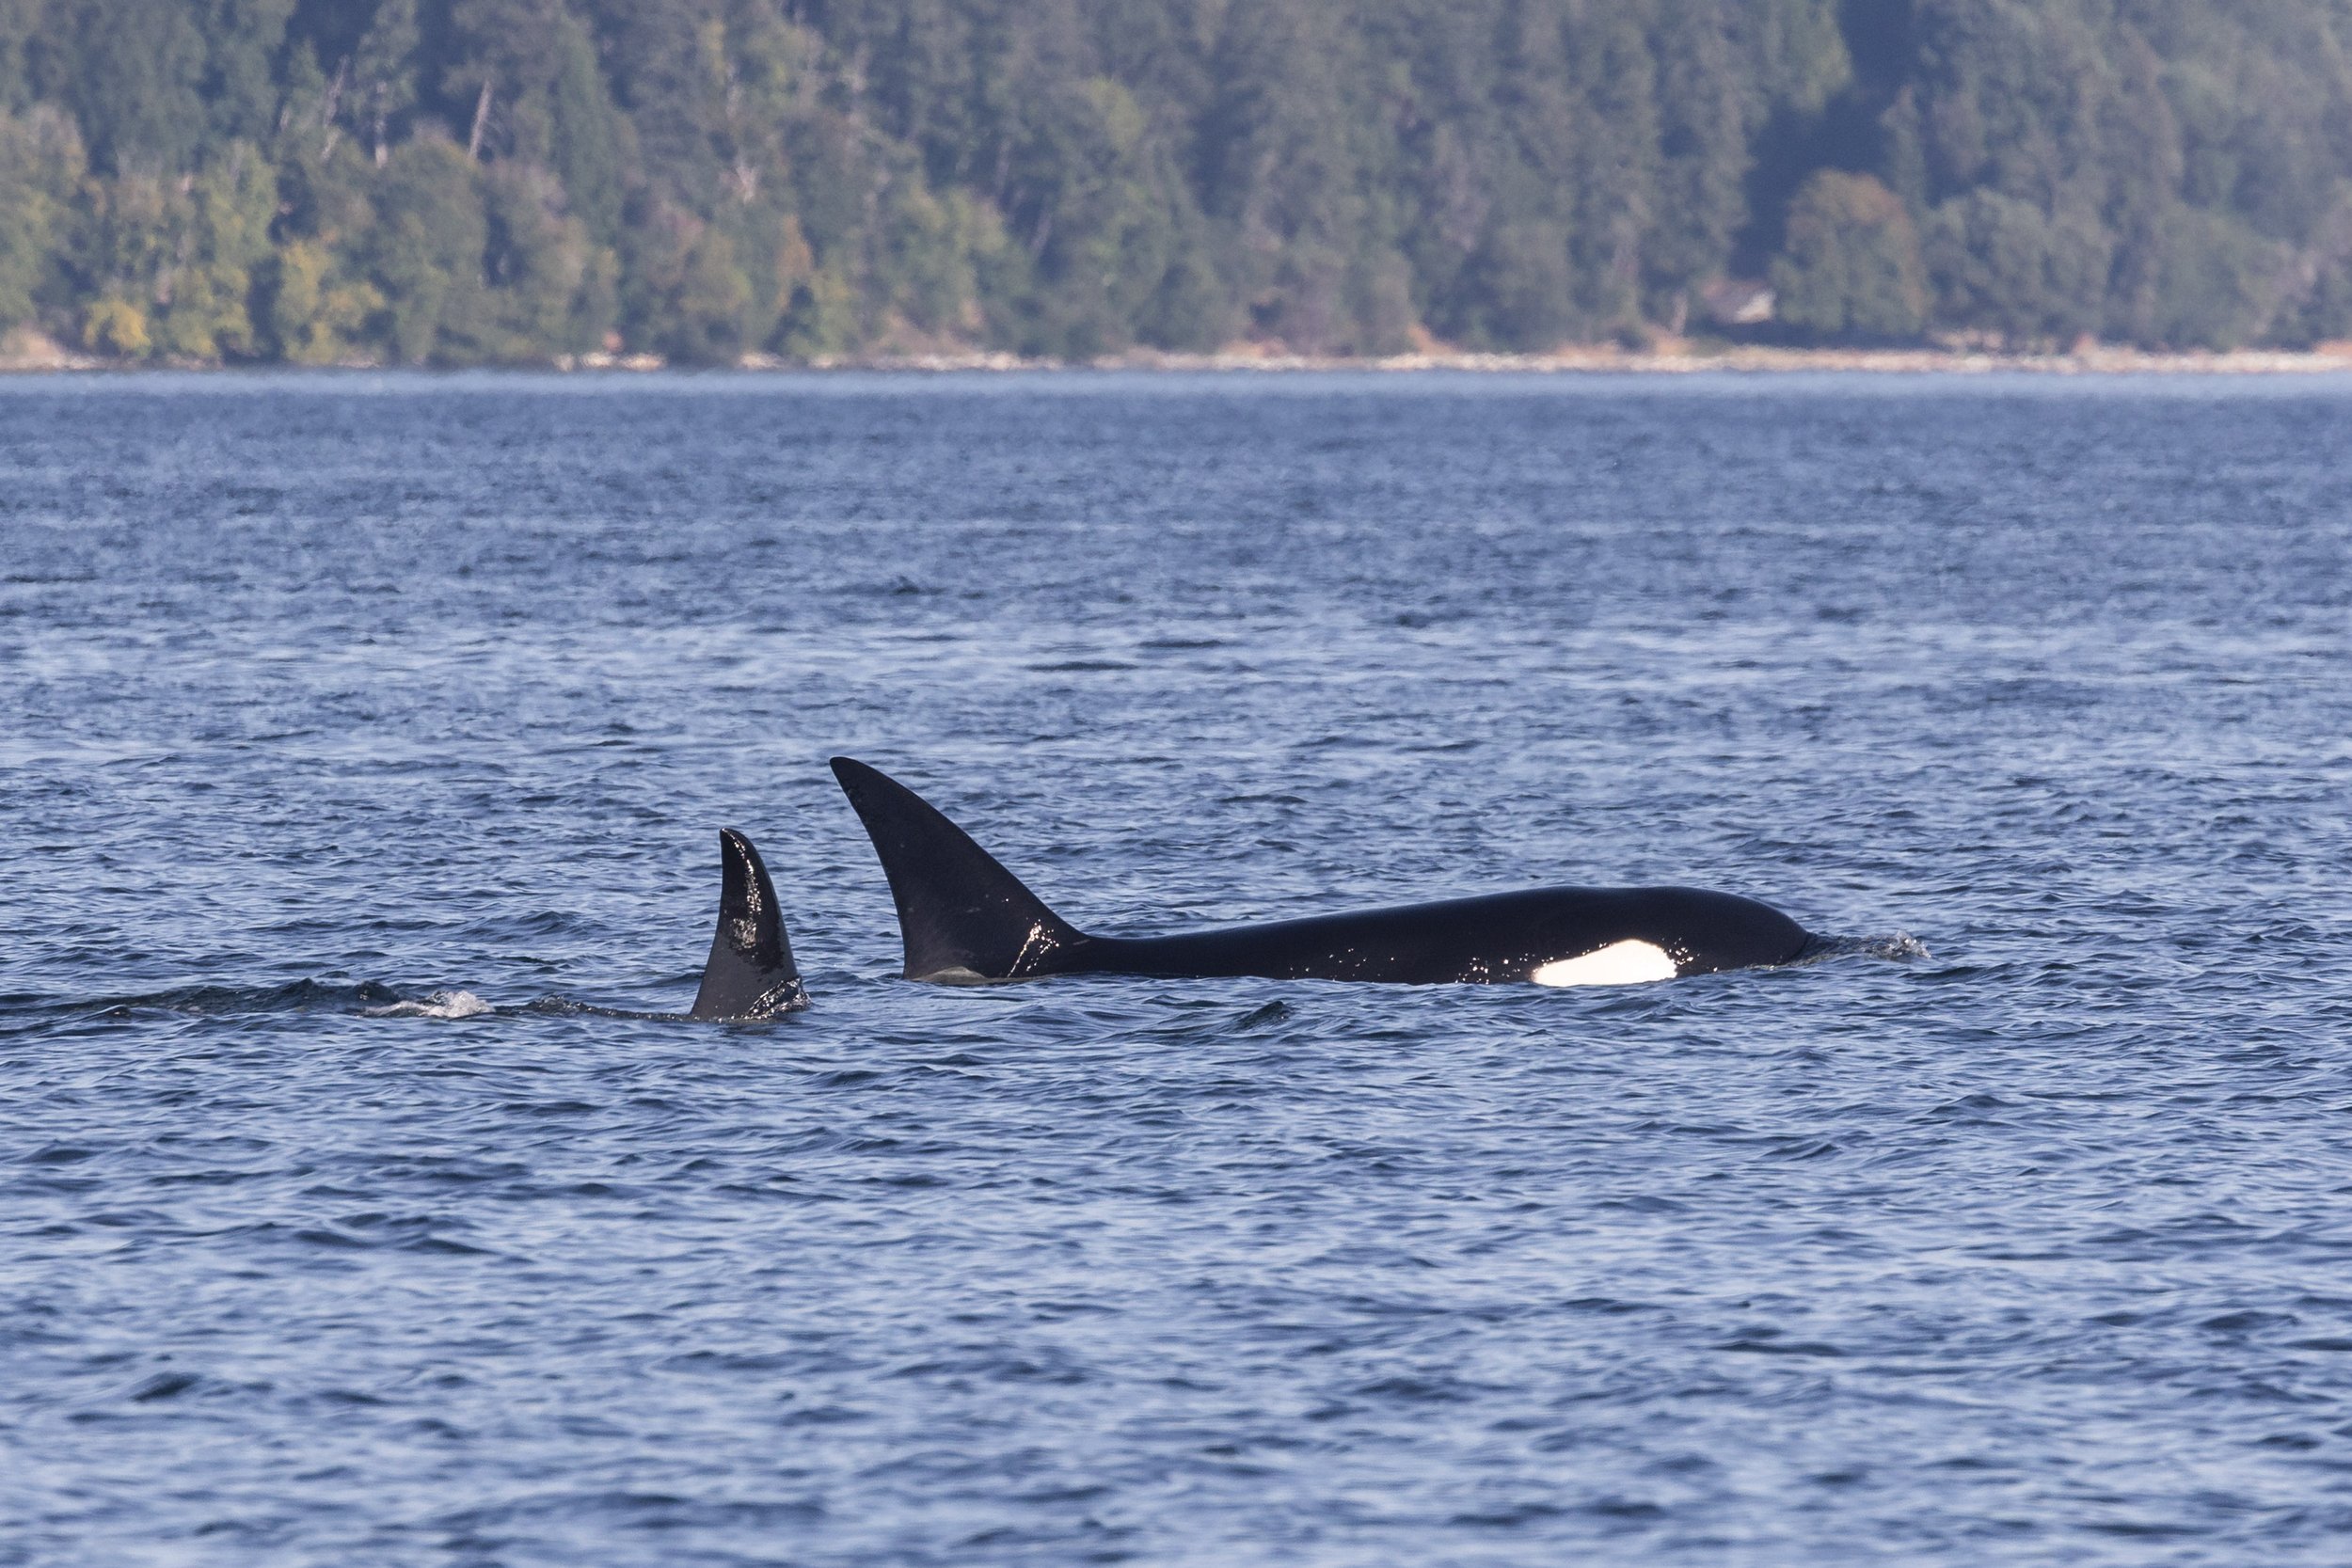
T046B4 Quiver surfacing next to their mom, T046B Raksha. Photo by Jordan Robinson.
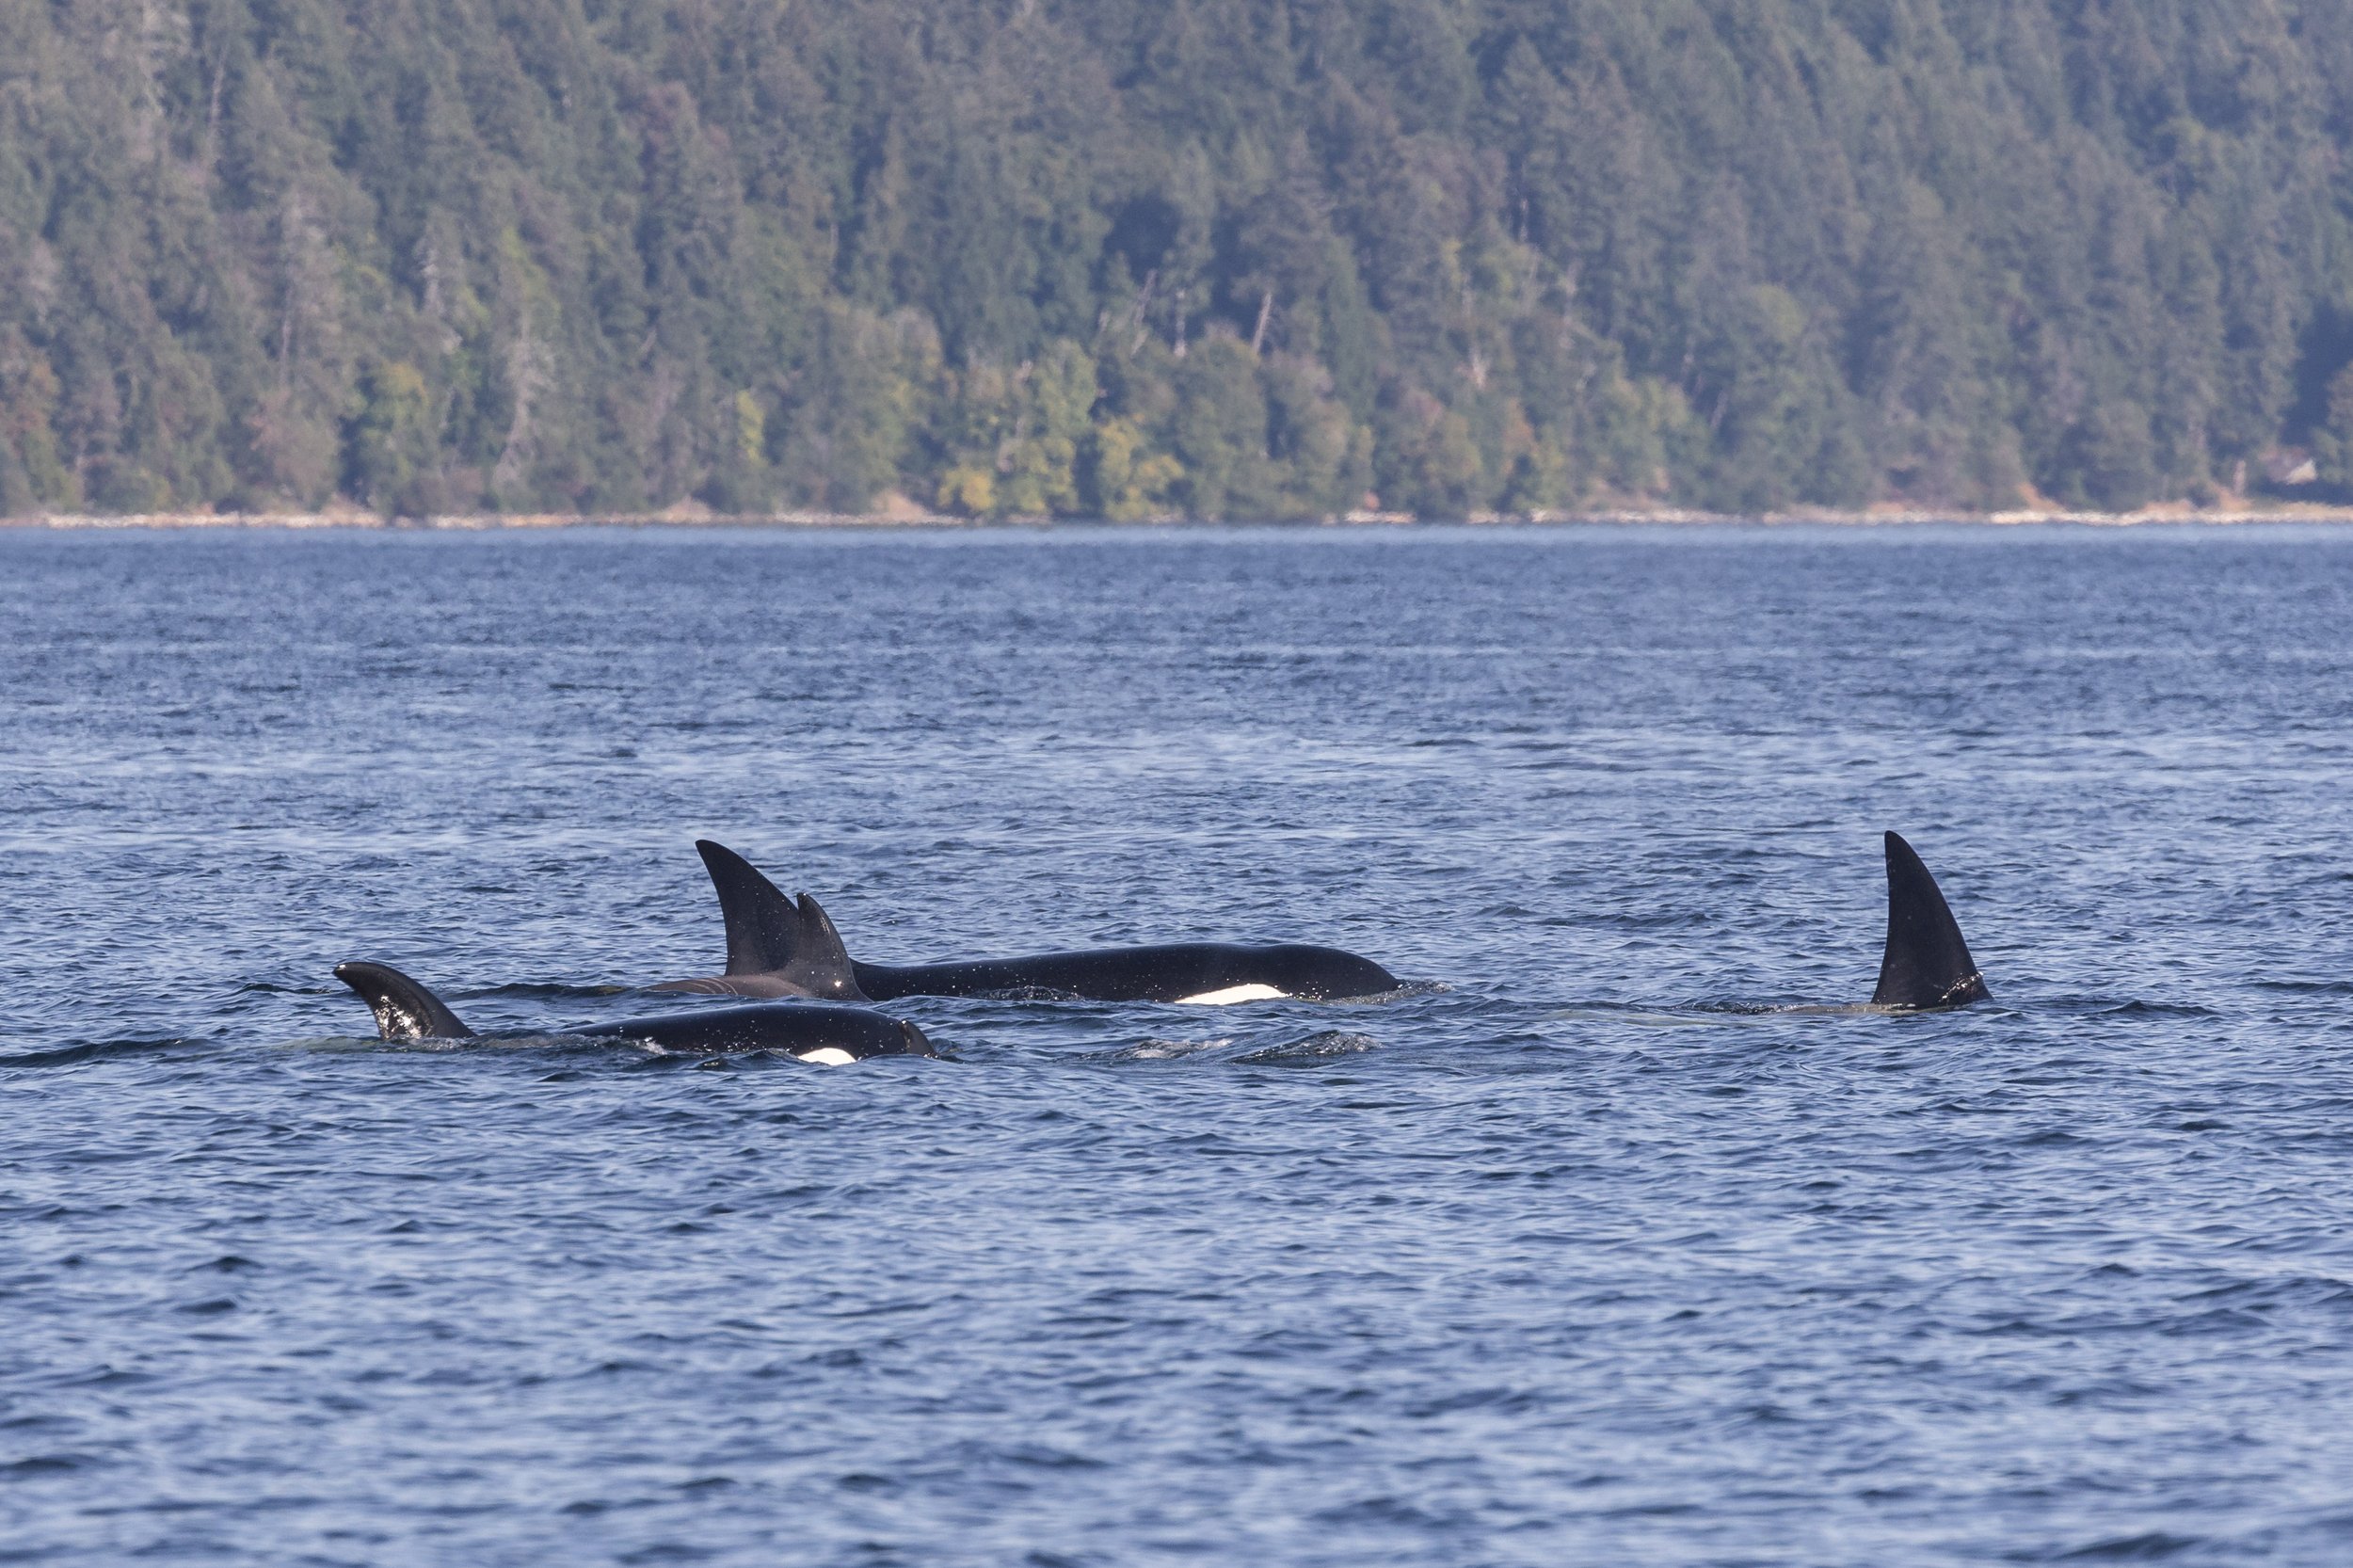
T046B3 Sedna with her calf, T046B3A Munro surfacing side by side, with T046B6 Sol and T046B4 Quiver surfacing around them. Photo by Jordan Robinson.
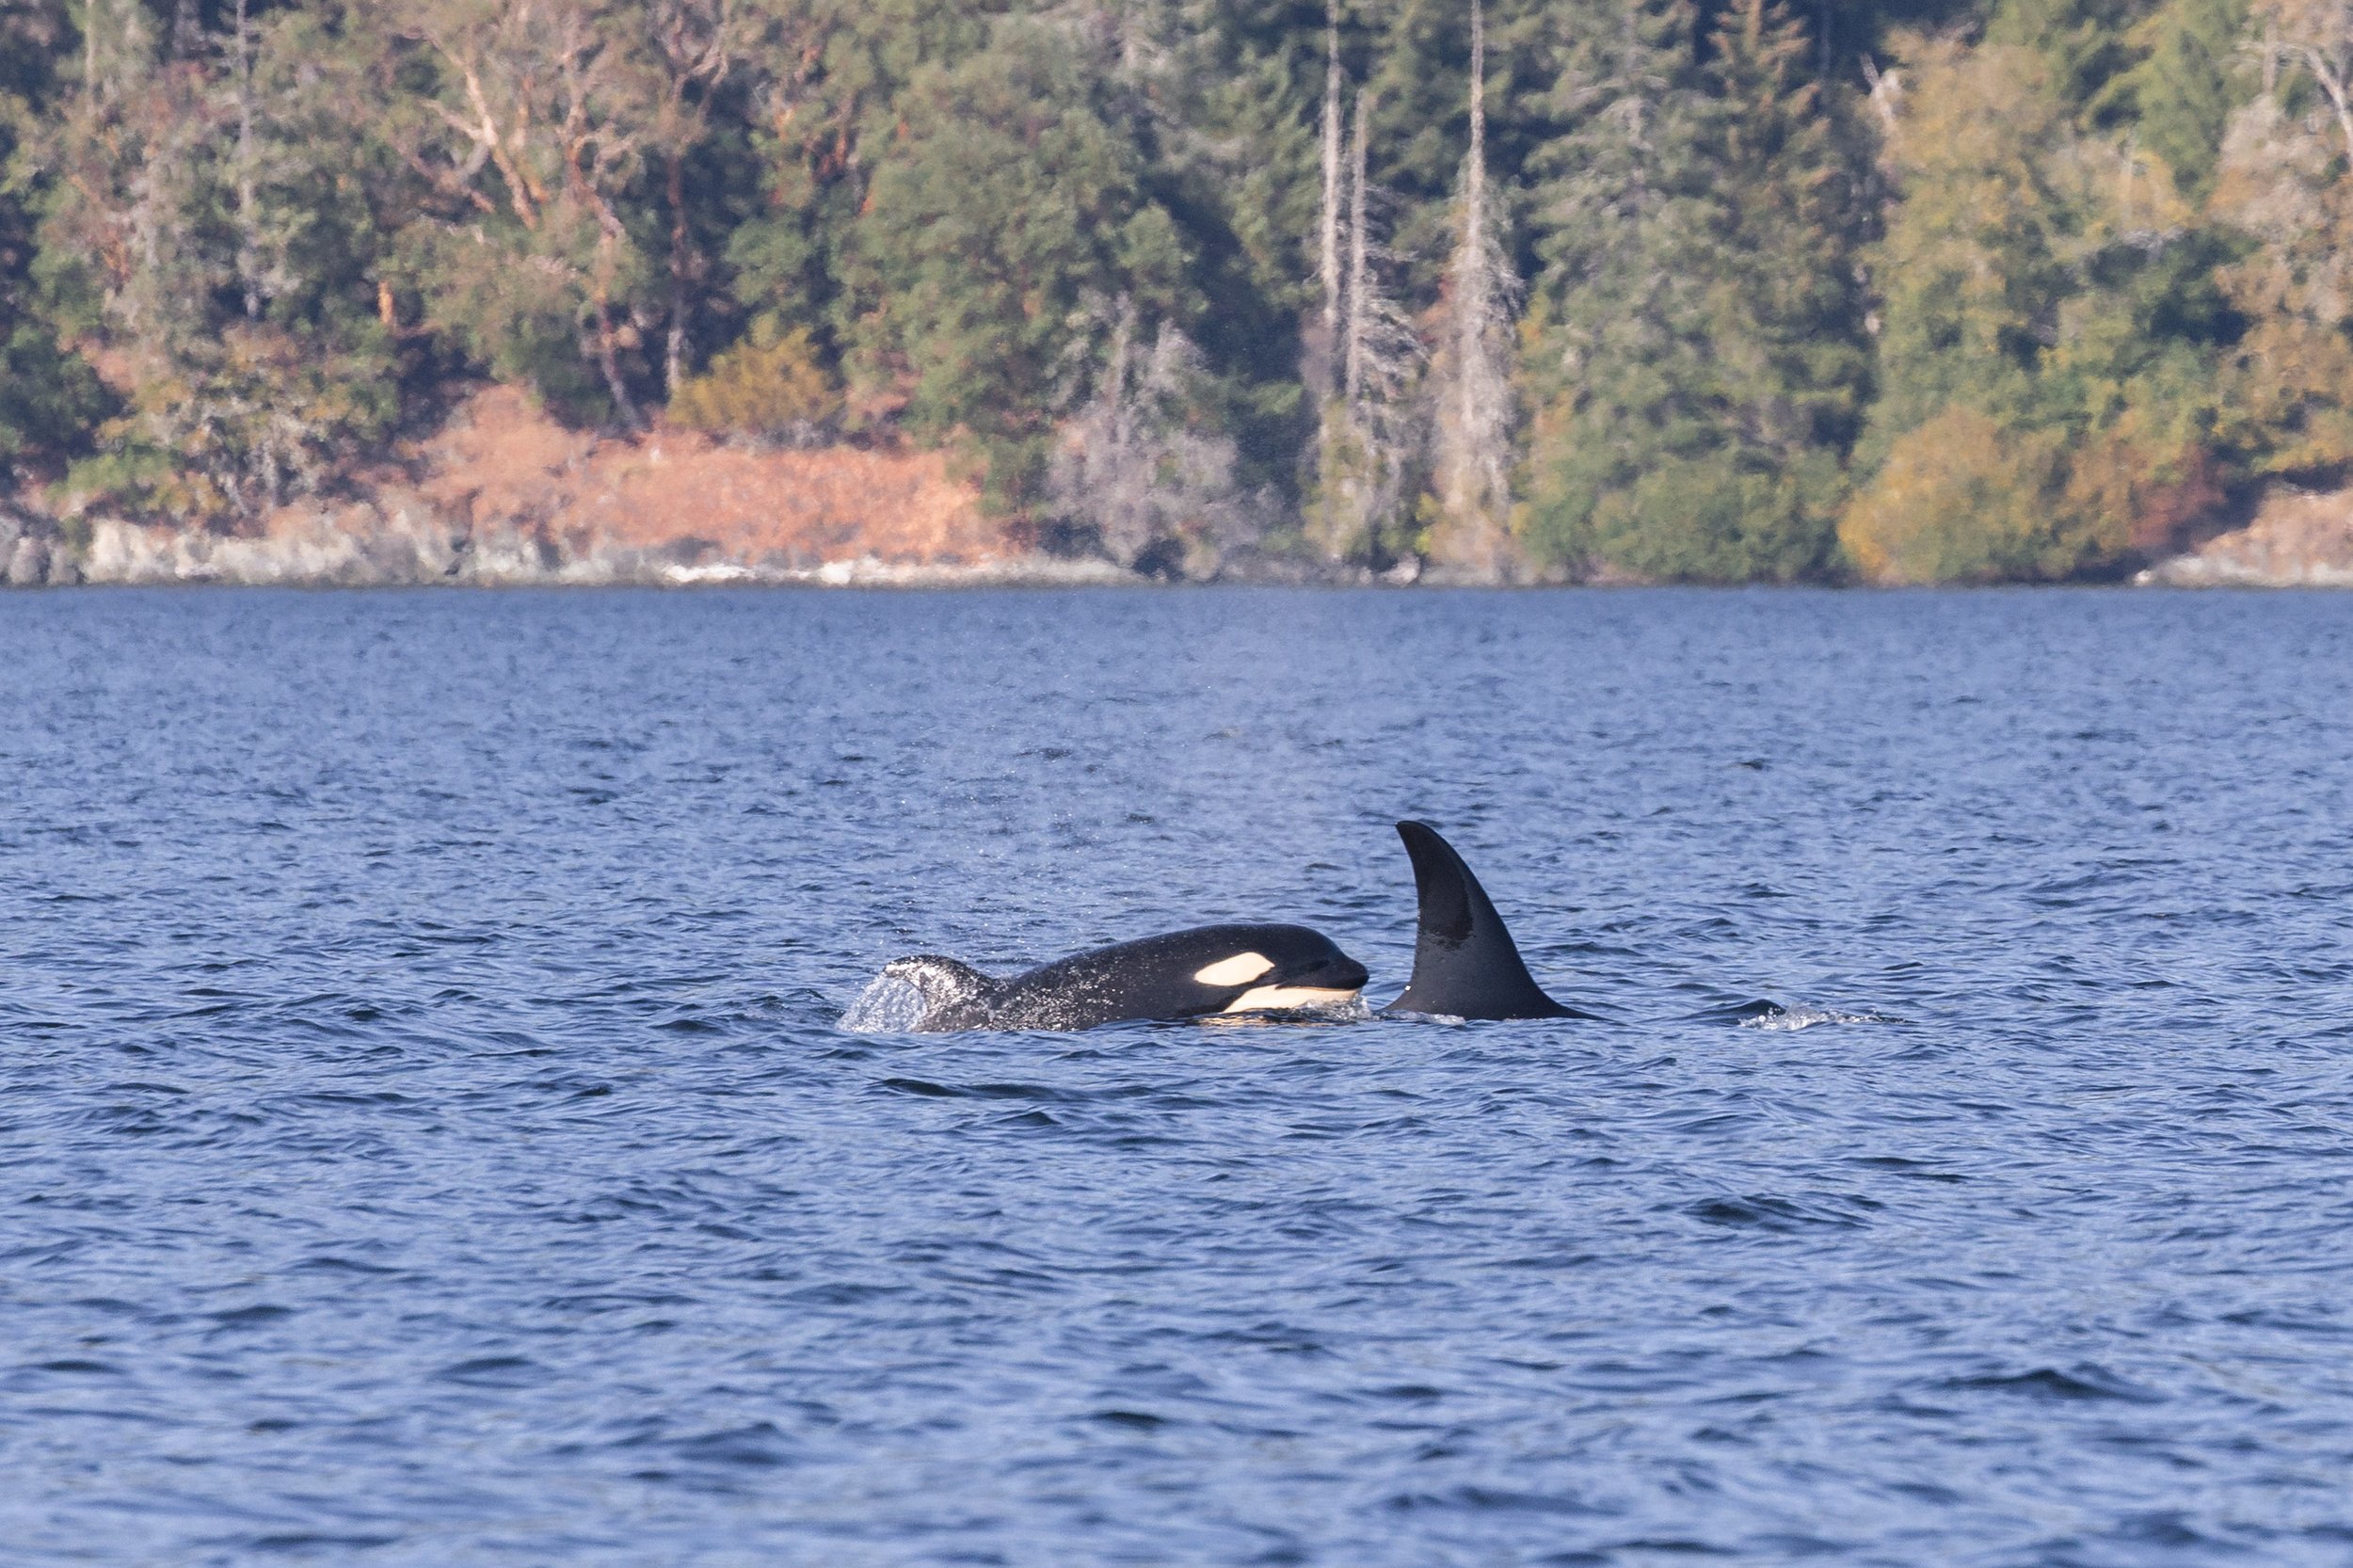
T046B Raksha surfacing with T046B8 Pi. Photo by Jordan Robinson.
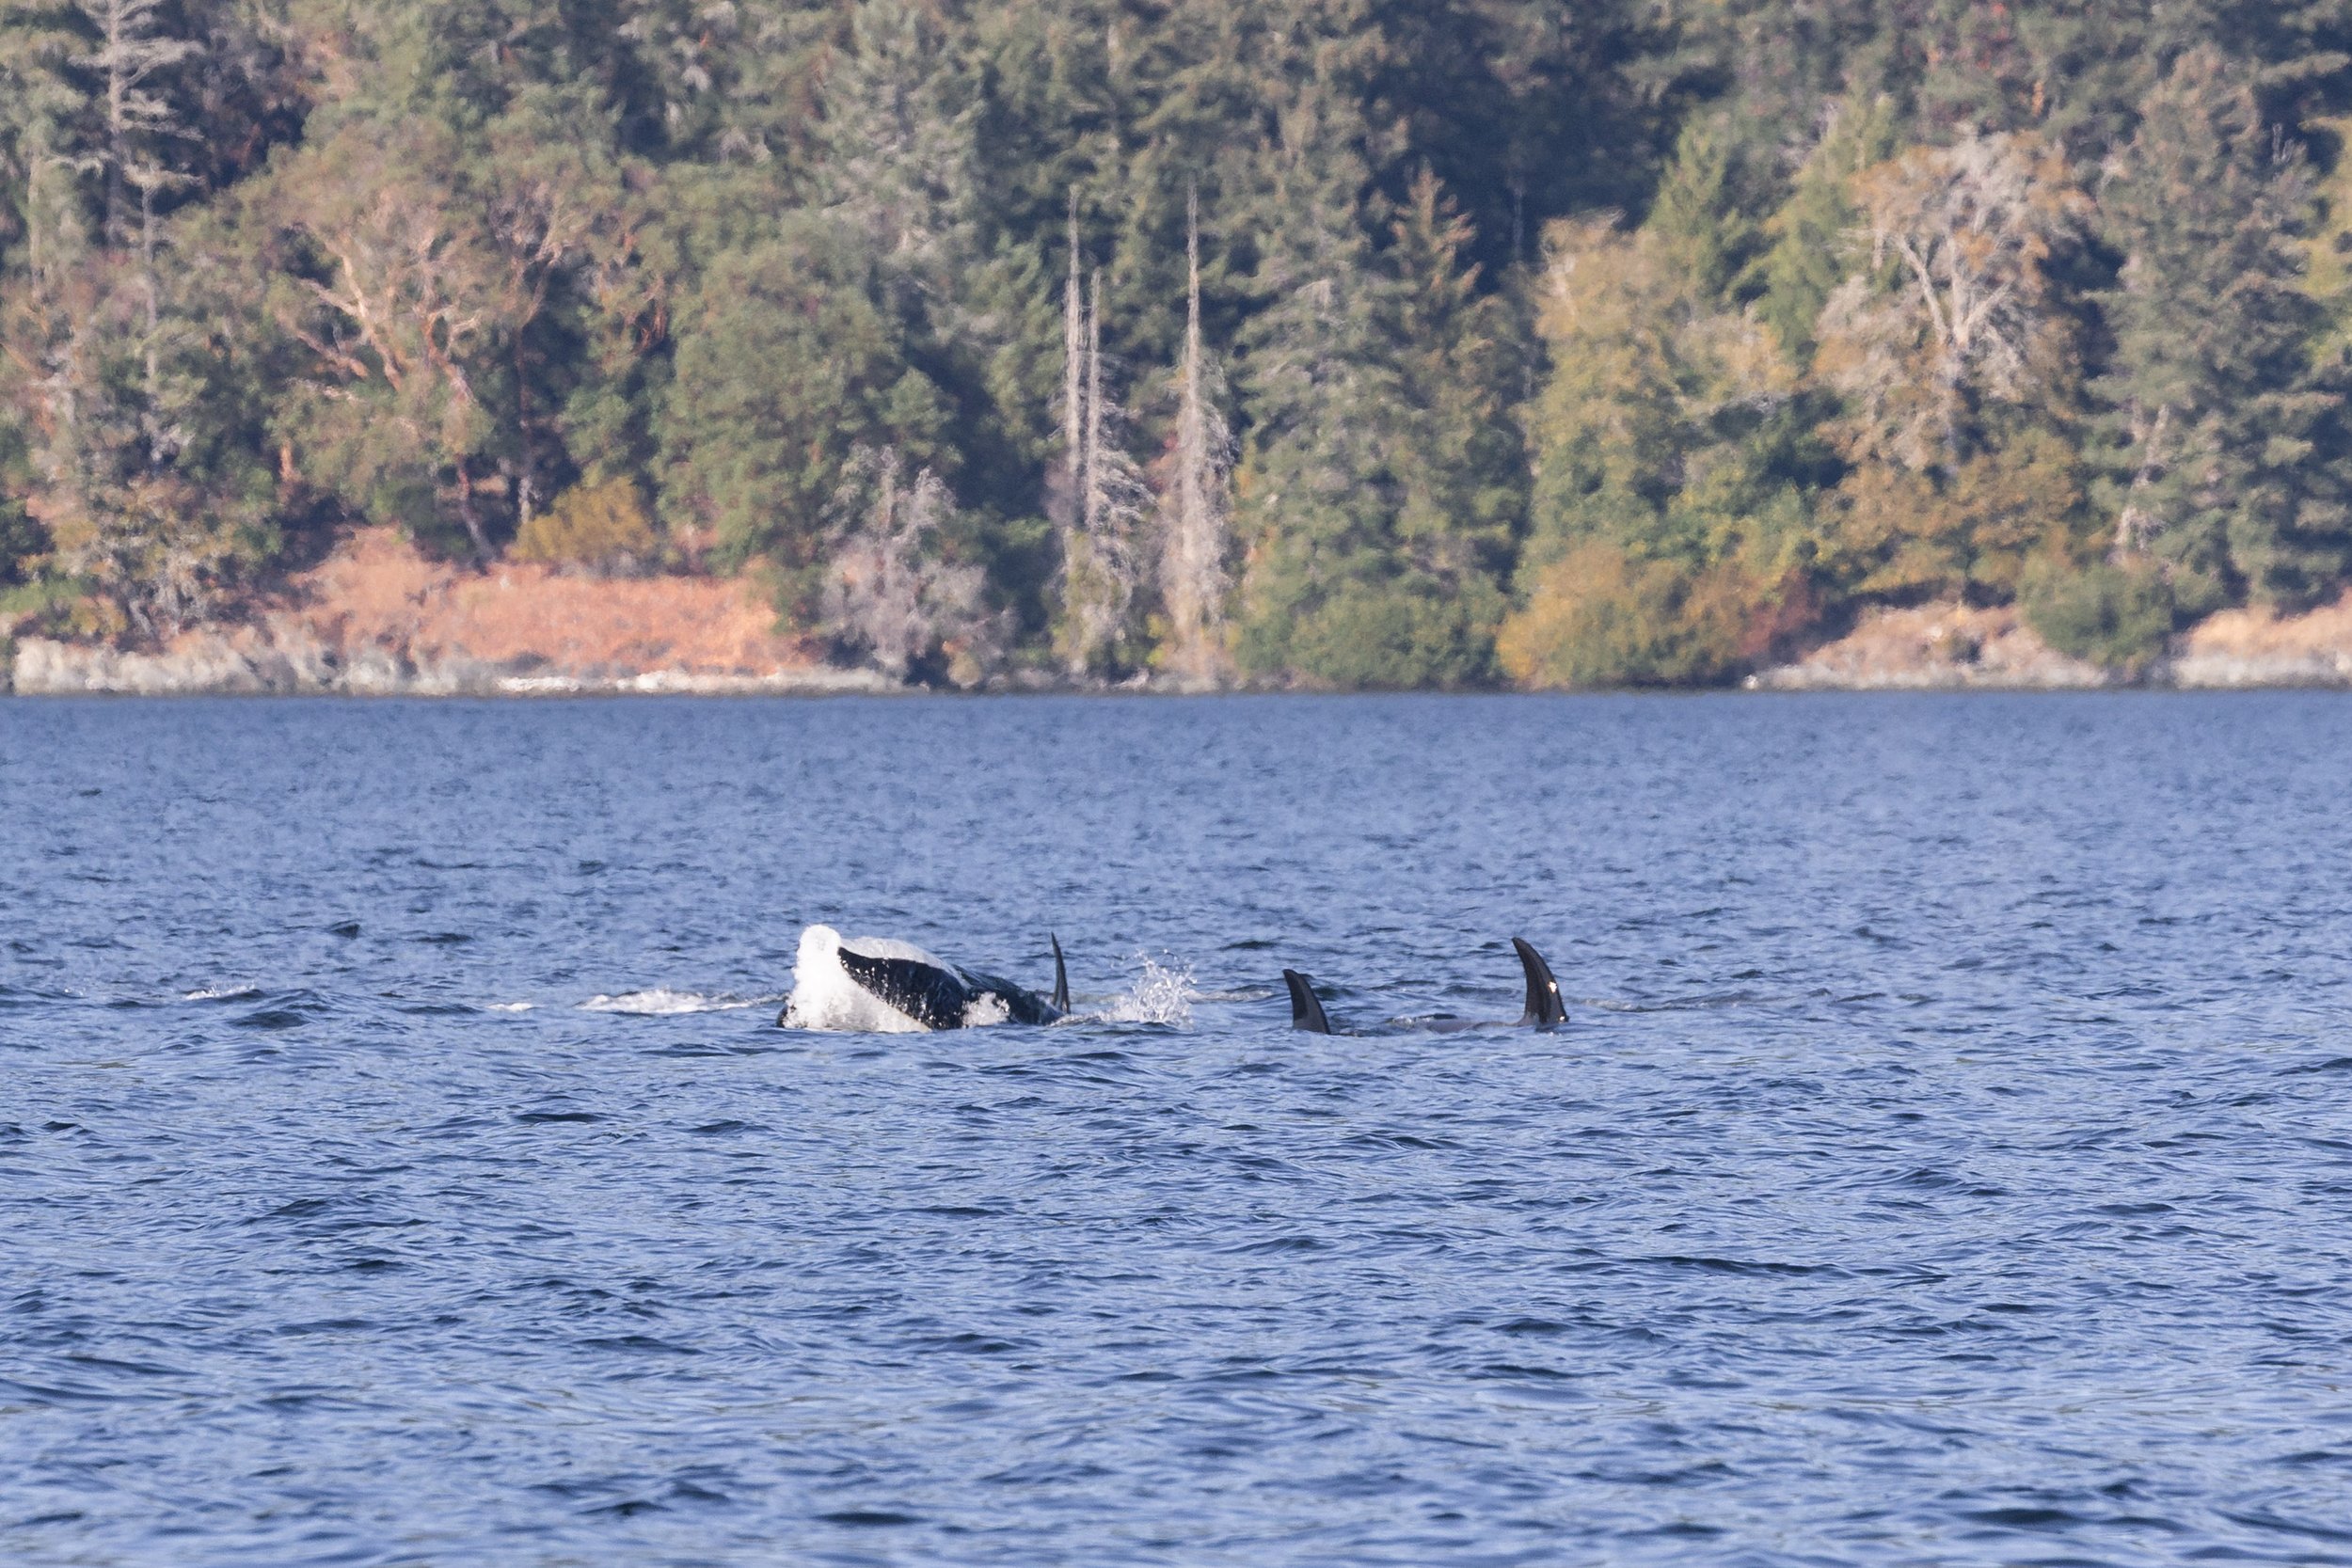
A big tail slap from one of the T046Bs. Photo by Jordan Robinson.
Stinky Rock
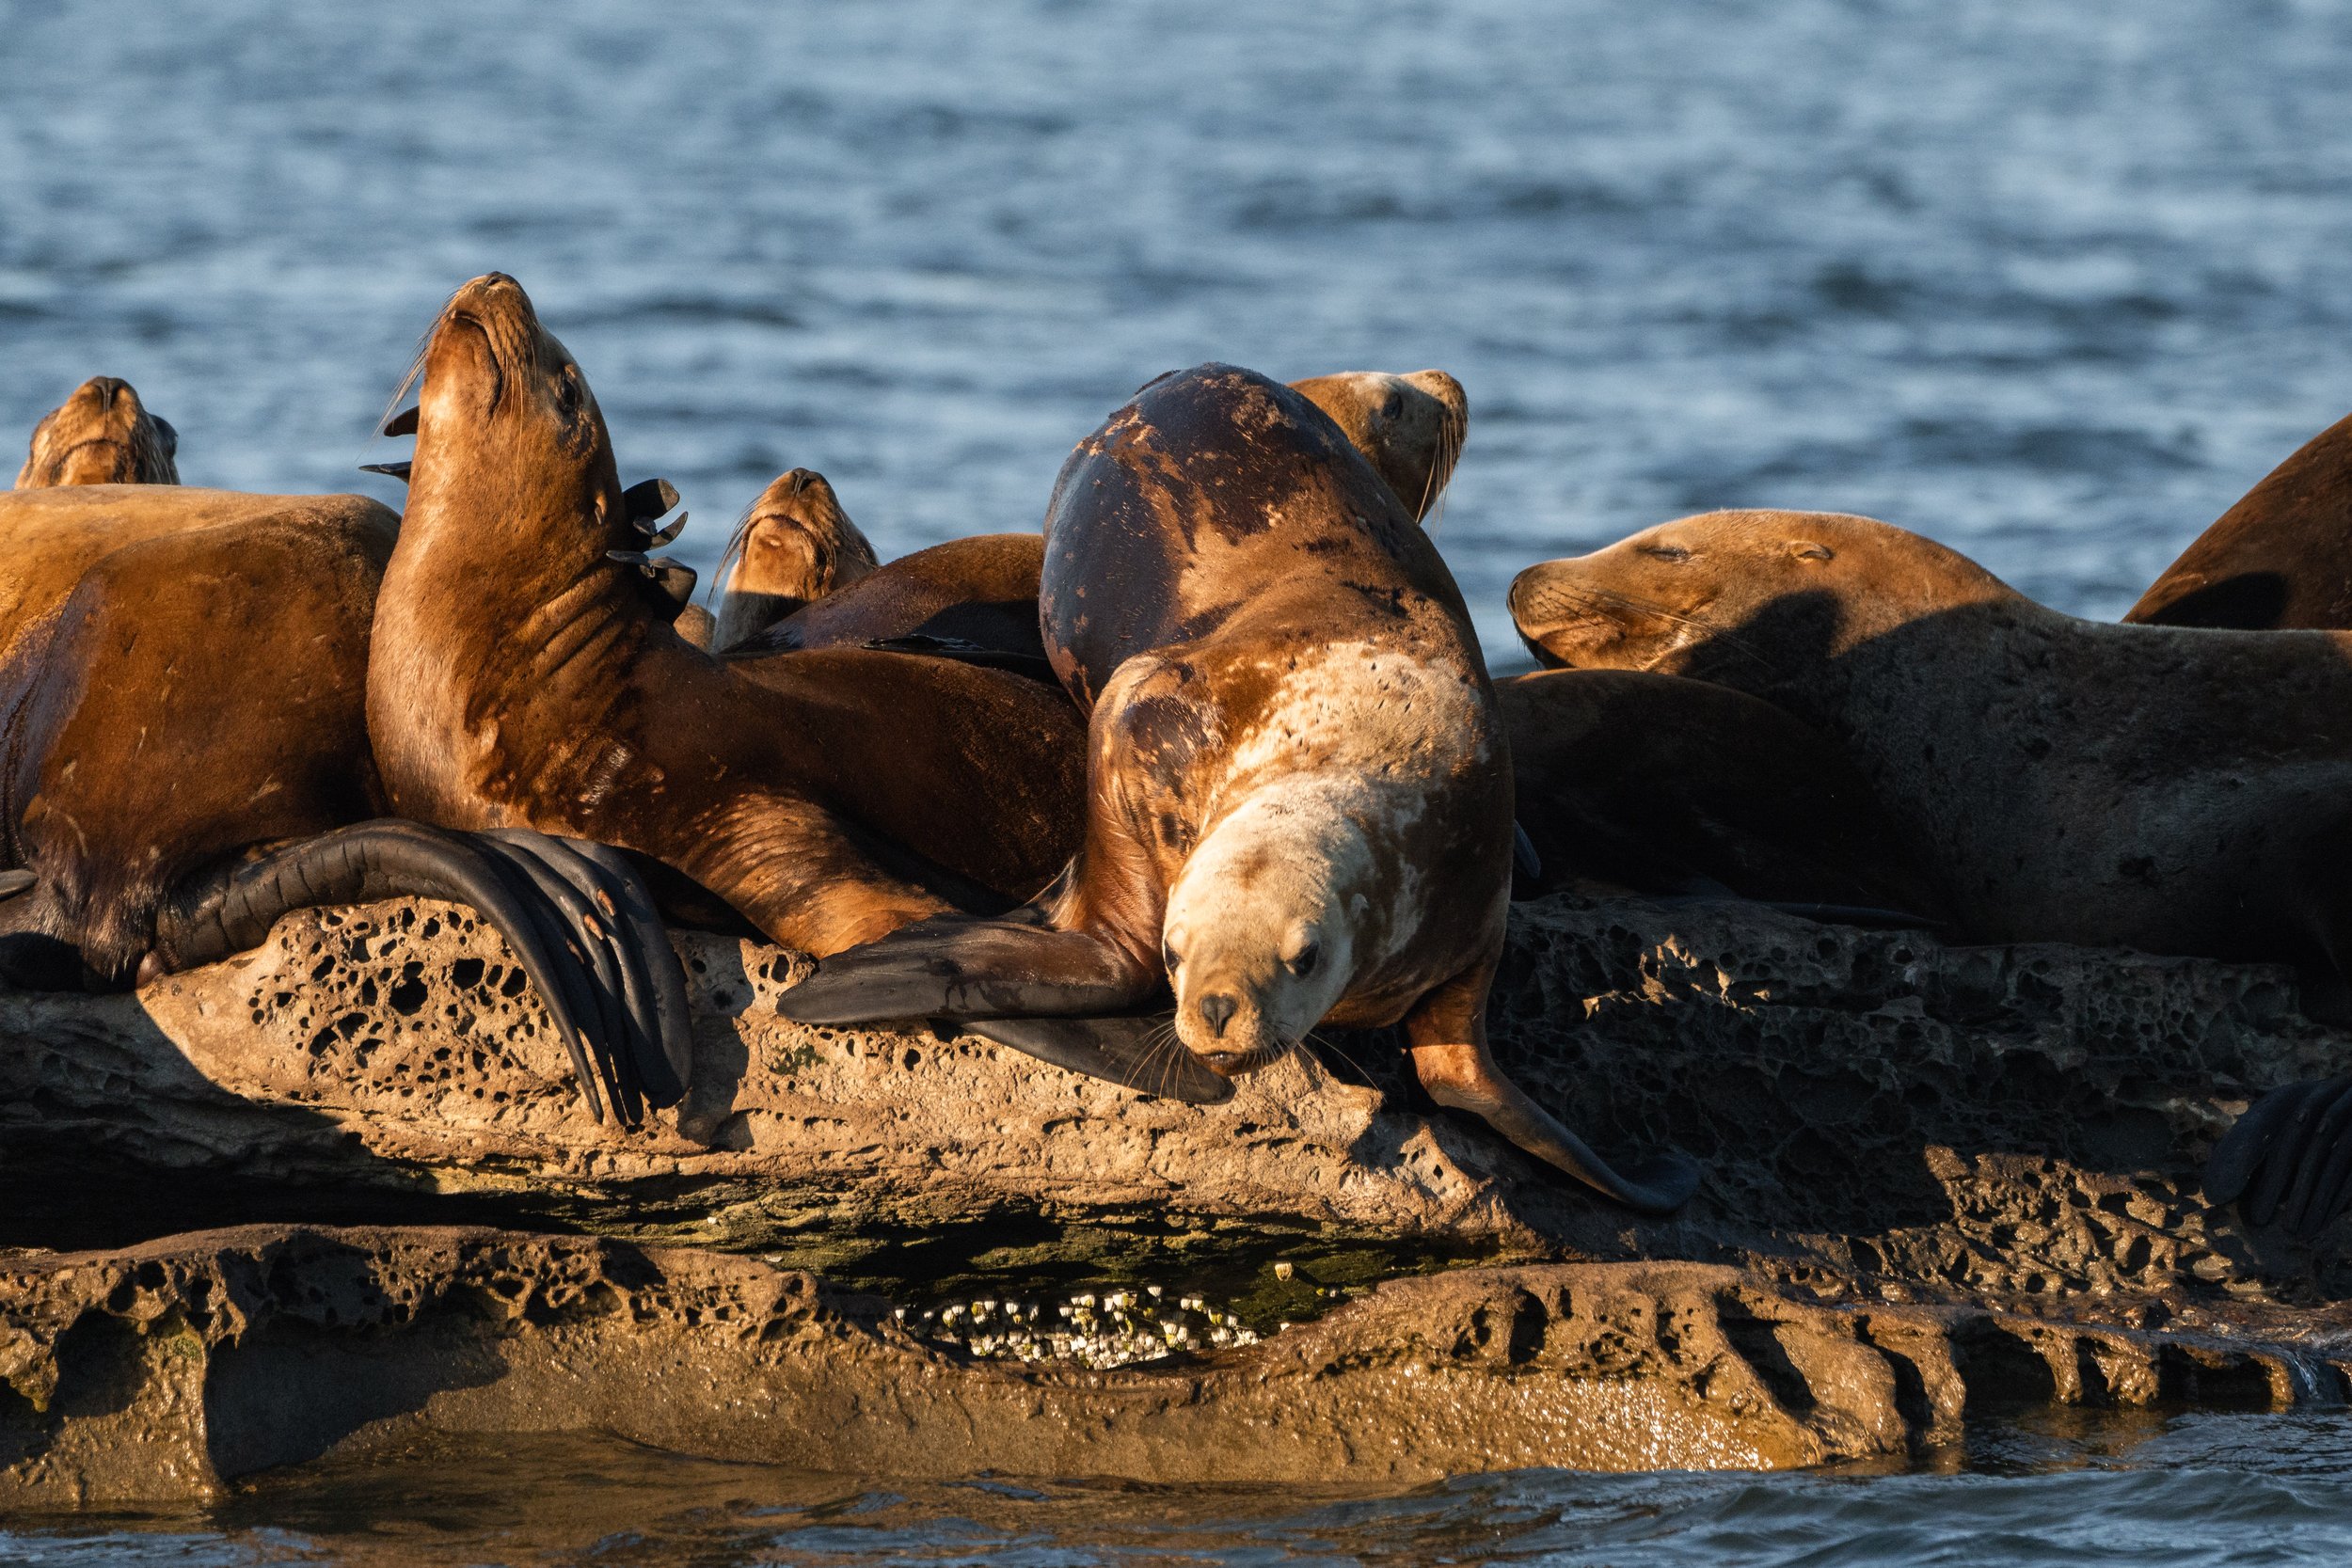
A female Steller Sea Lion getting ready to jump into the water. Photo by Val Watson.
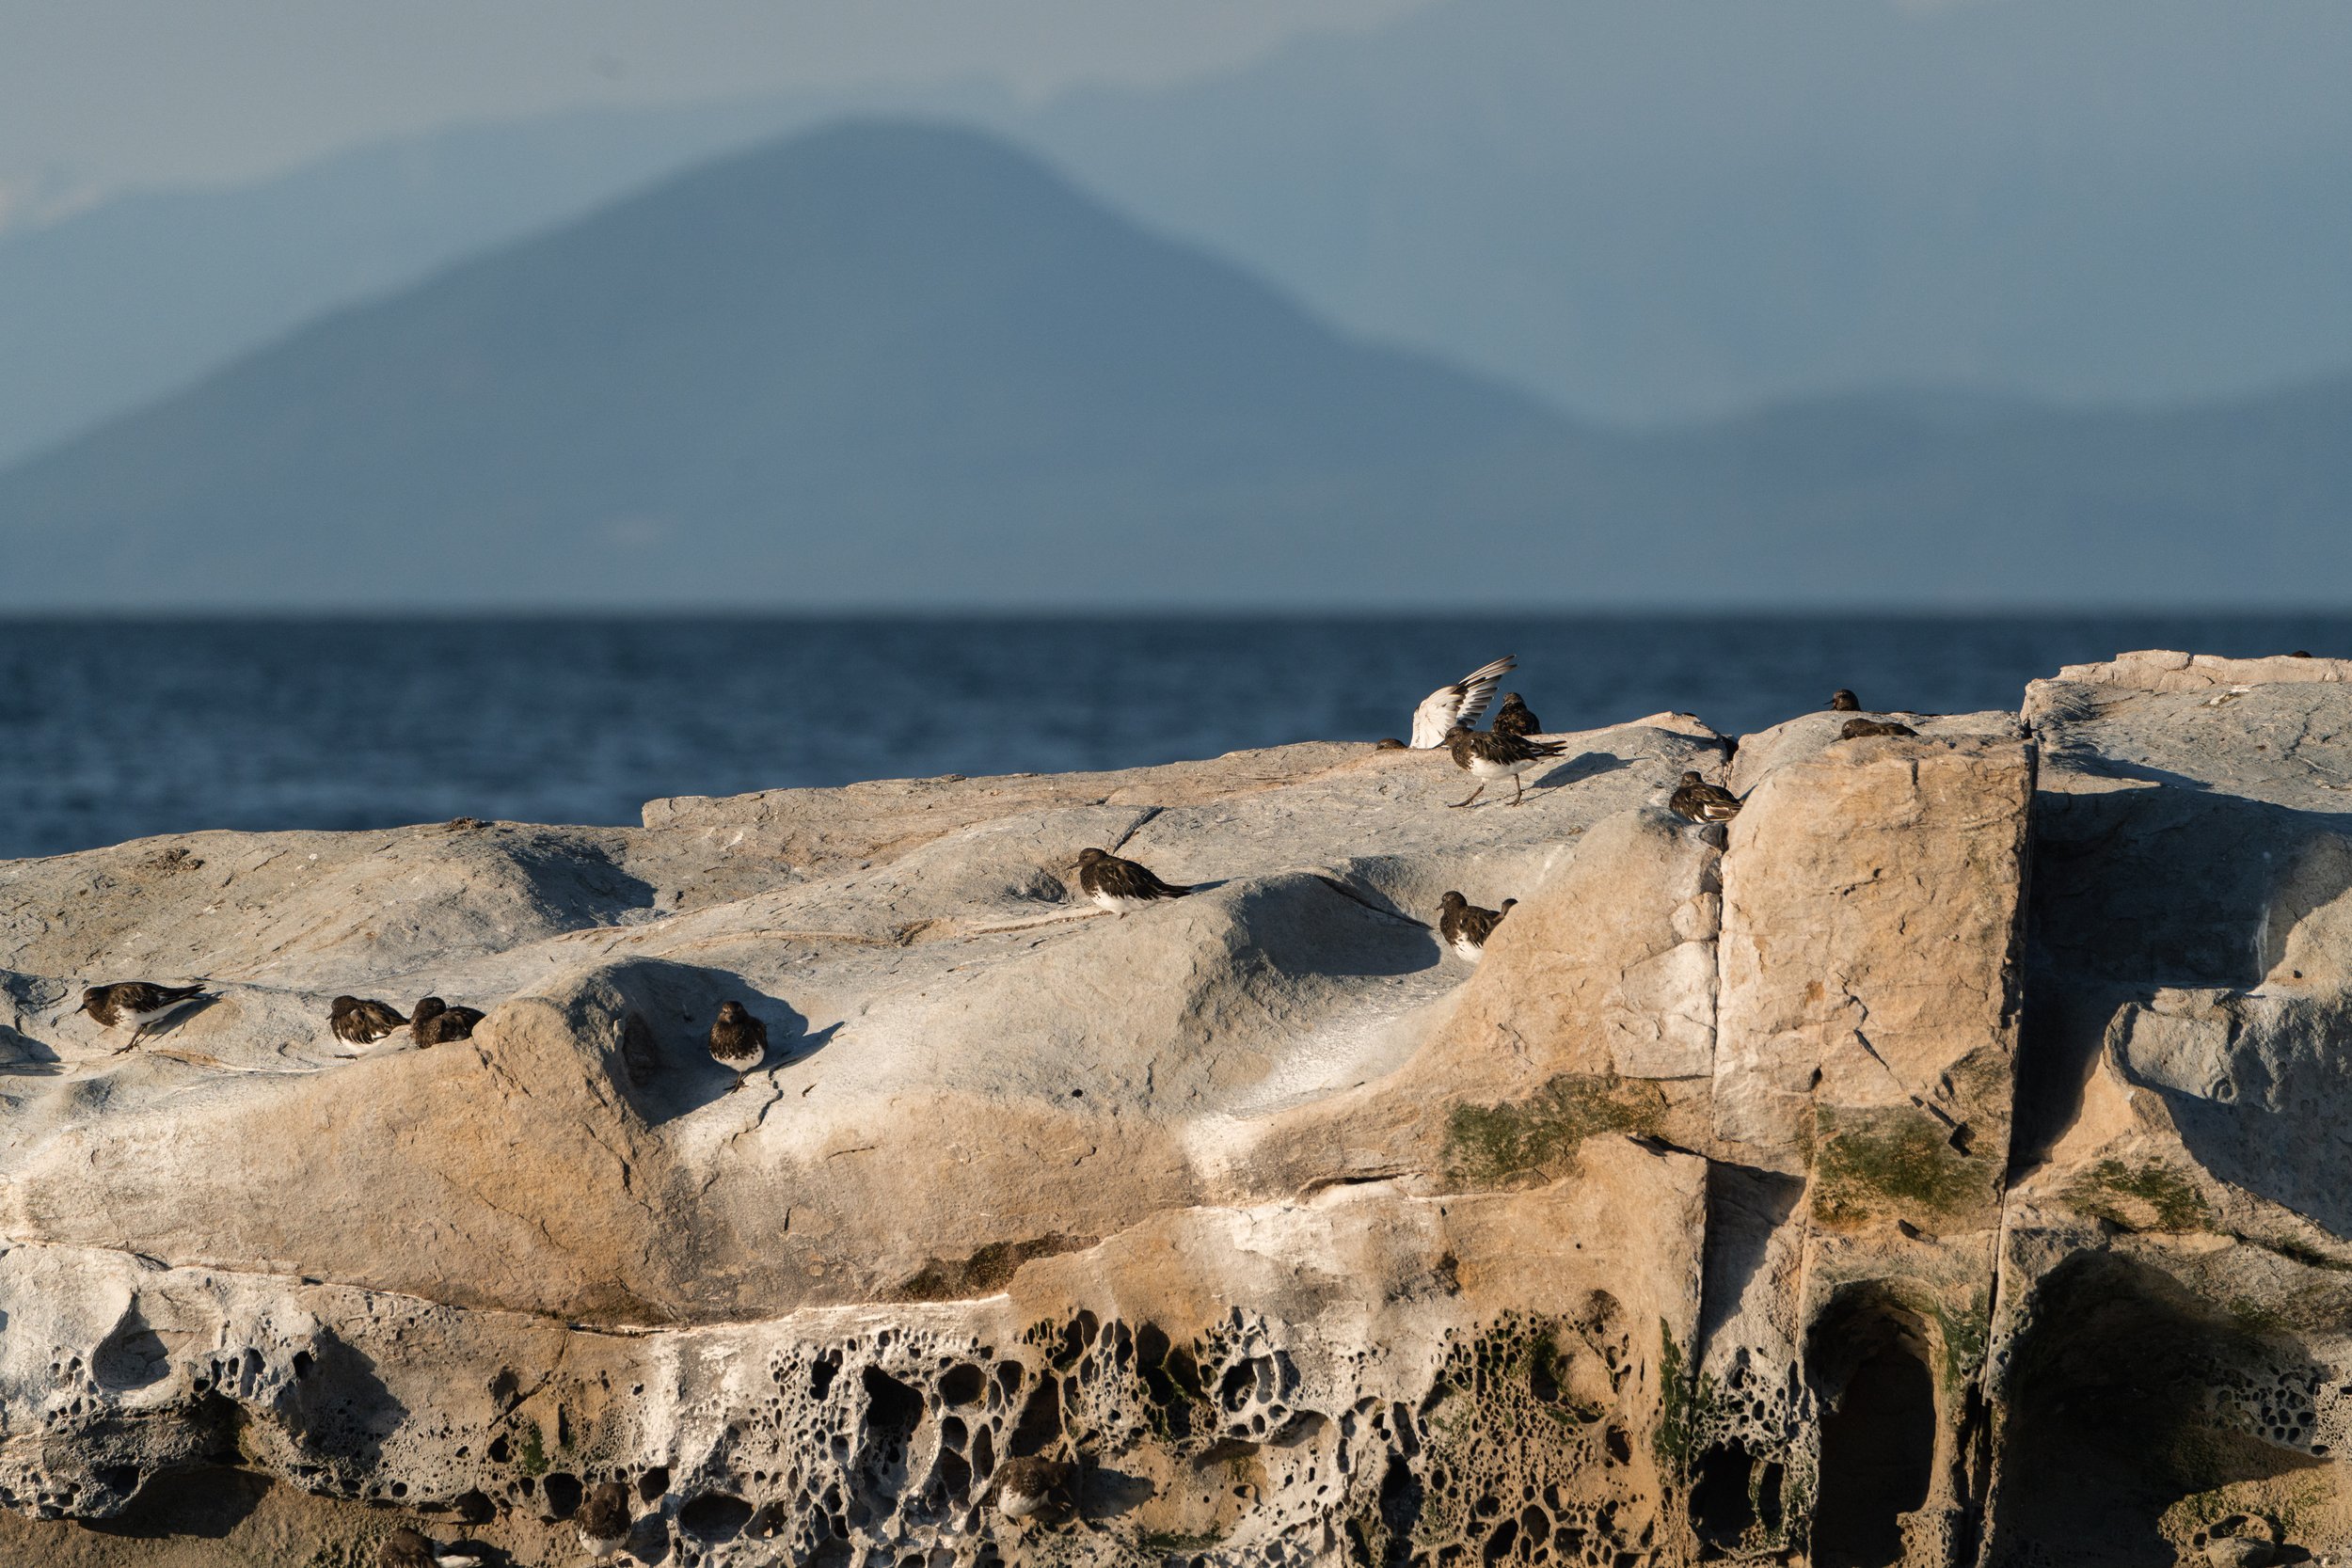
Some Black Turnstones on the sandstone shoreline. Photo by Val Watson.
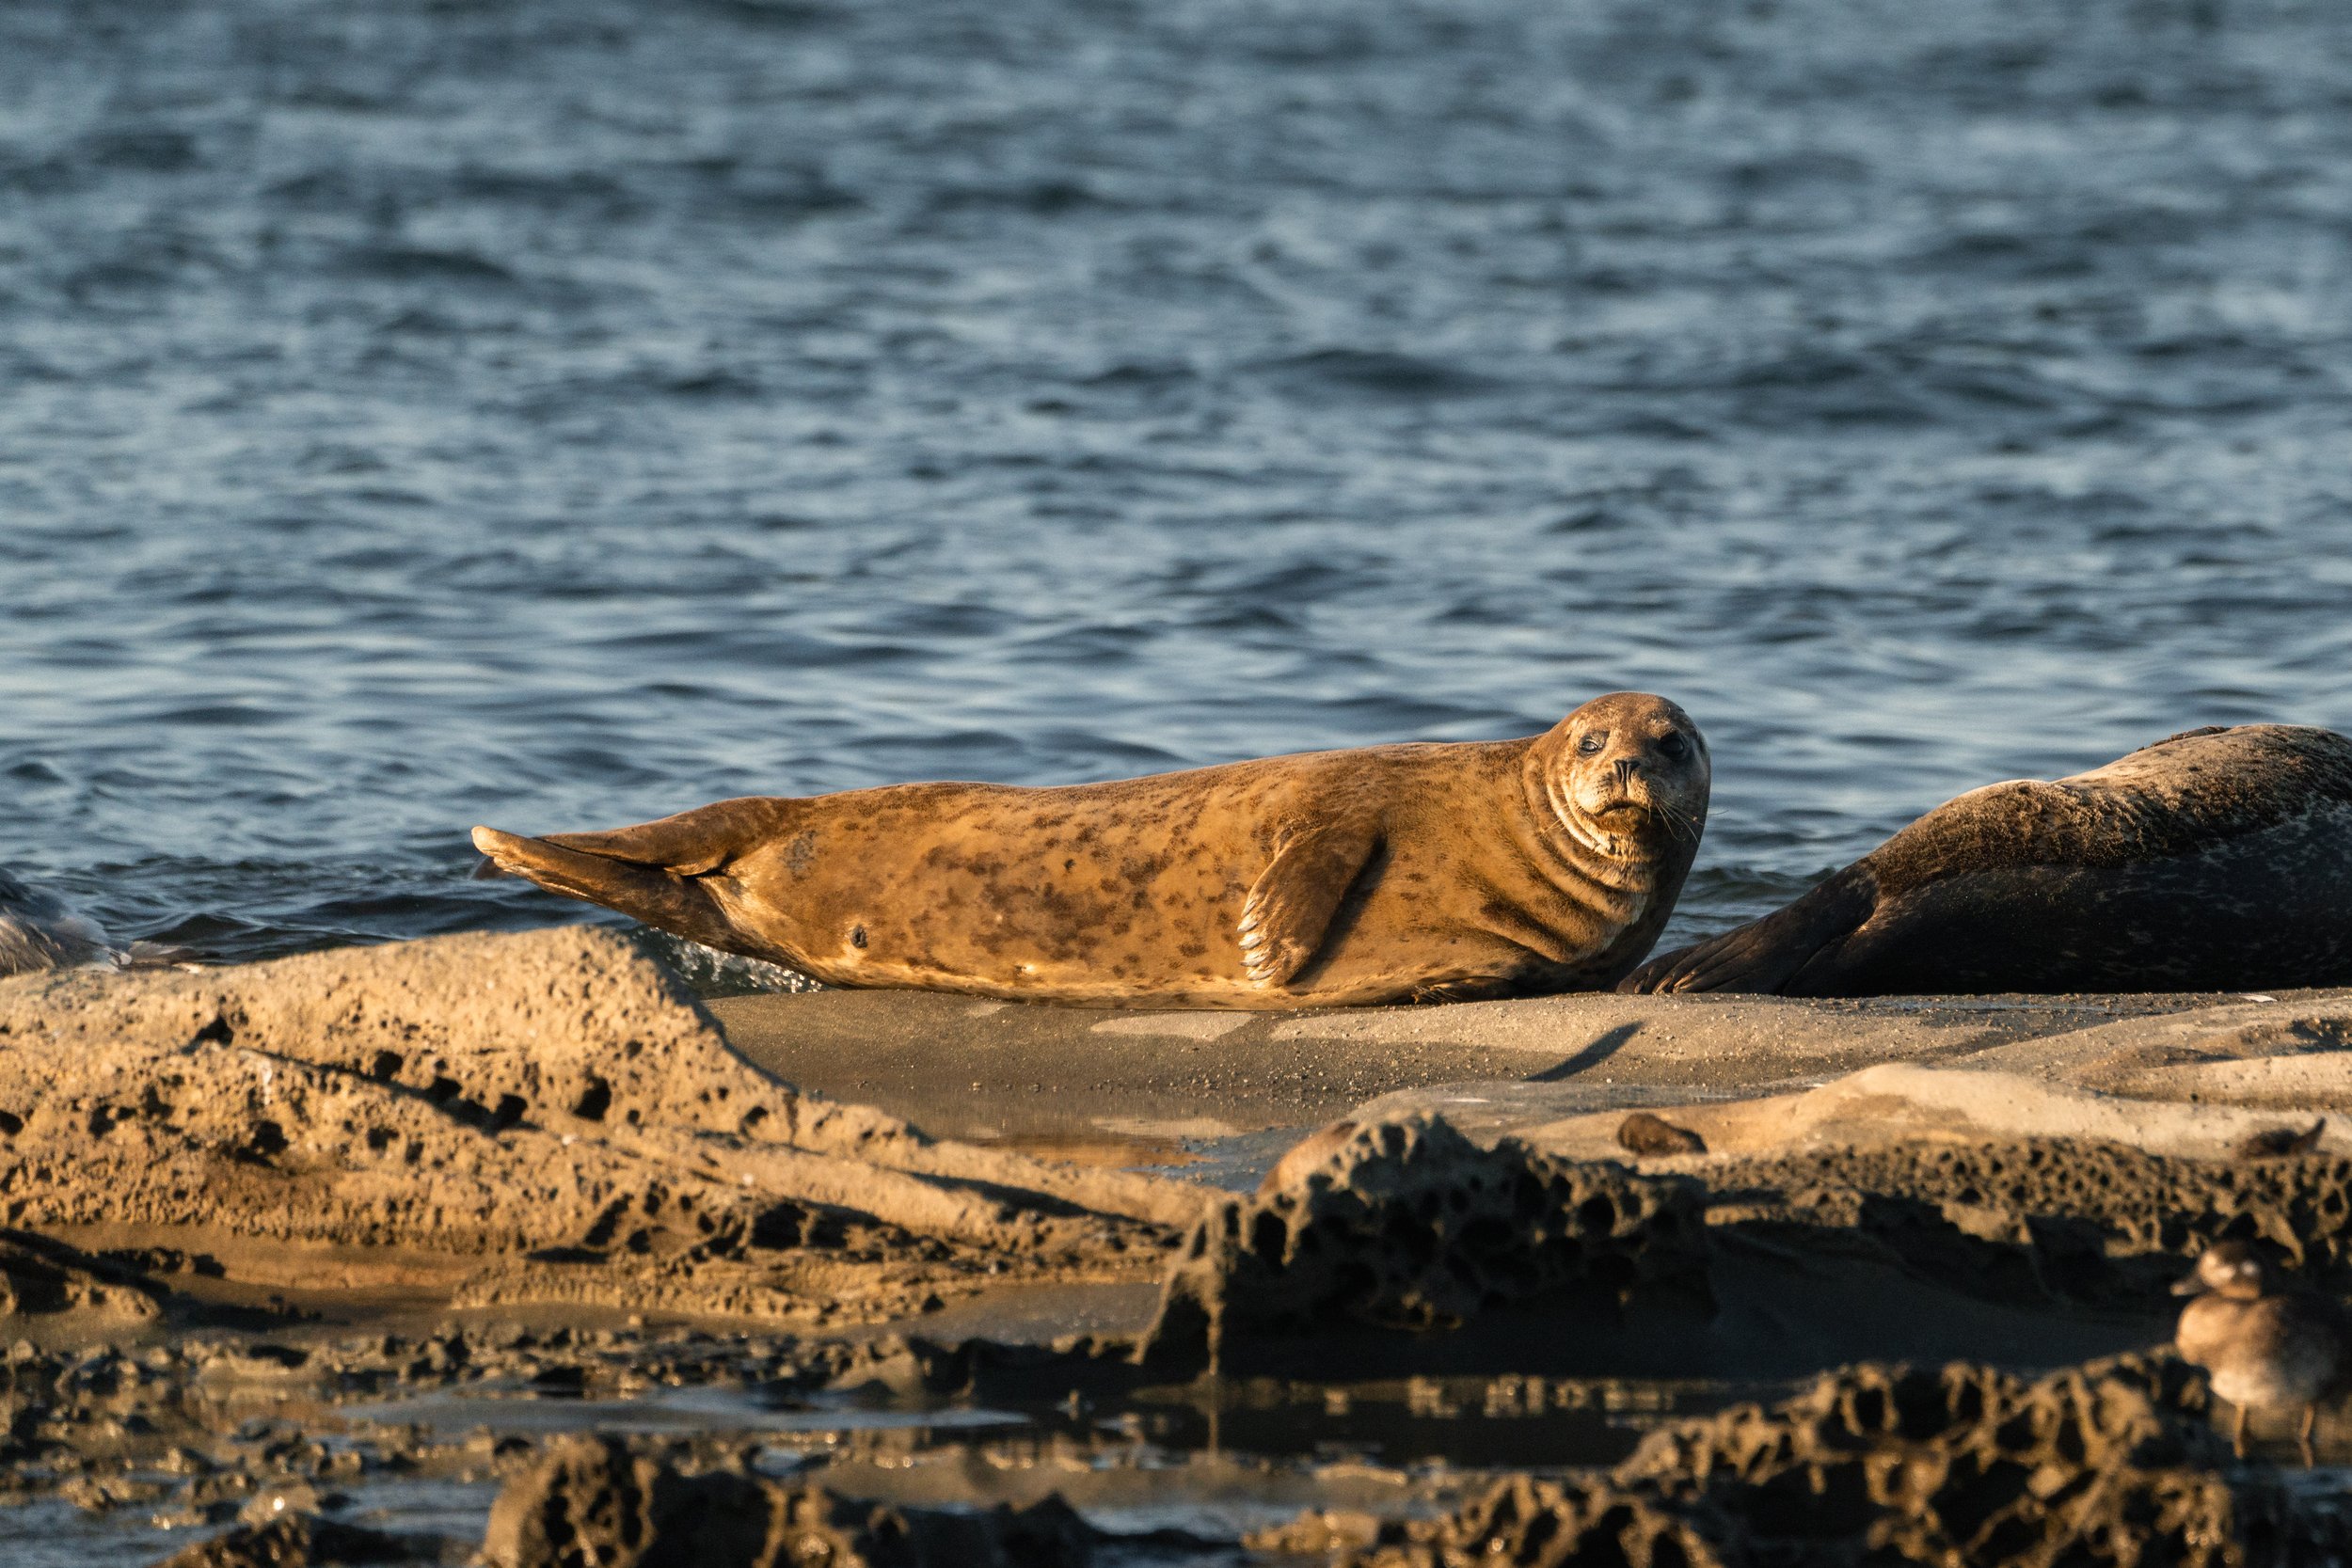
A Harbour Seal striking a pose. Photo by Val Watson.
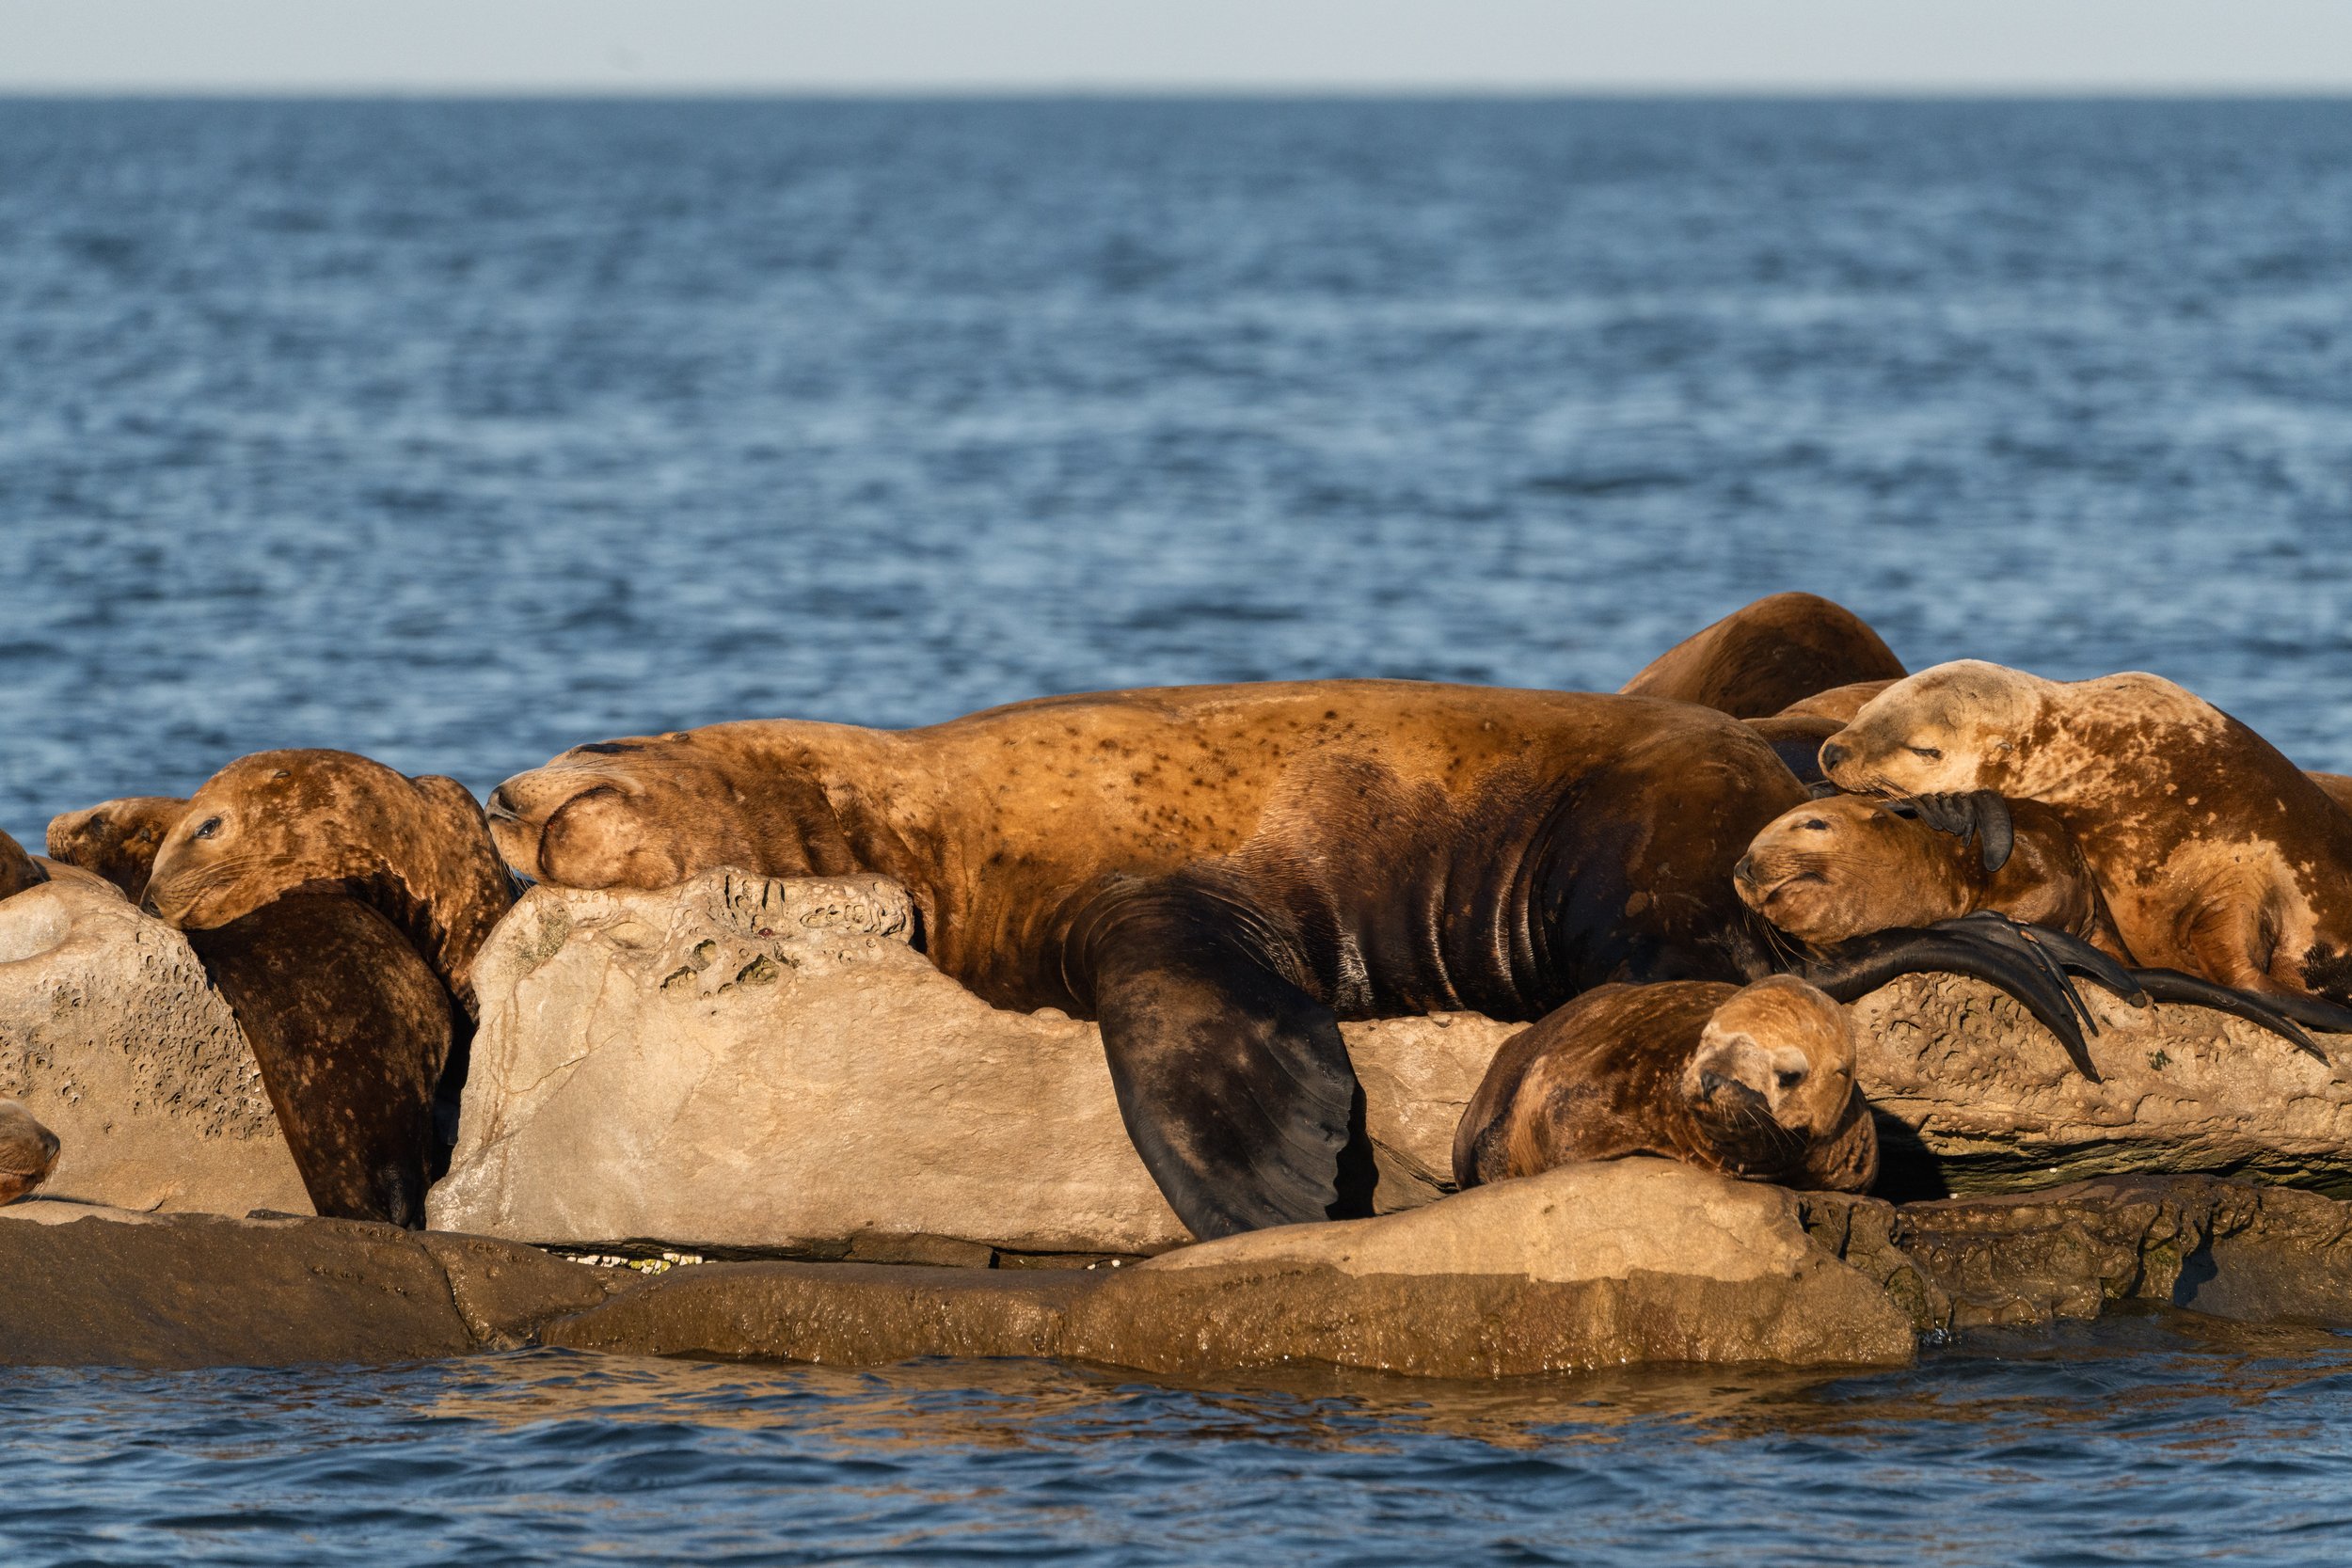
A Male Steller Sea Lion lounging on the rocks. Photo by Val Watson.
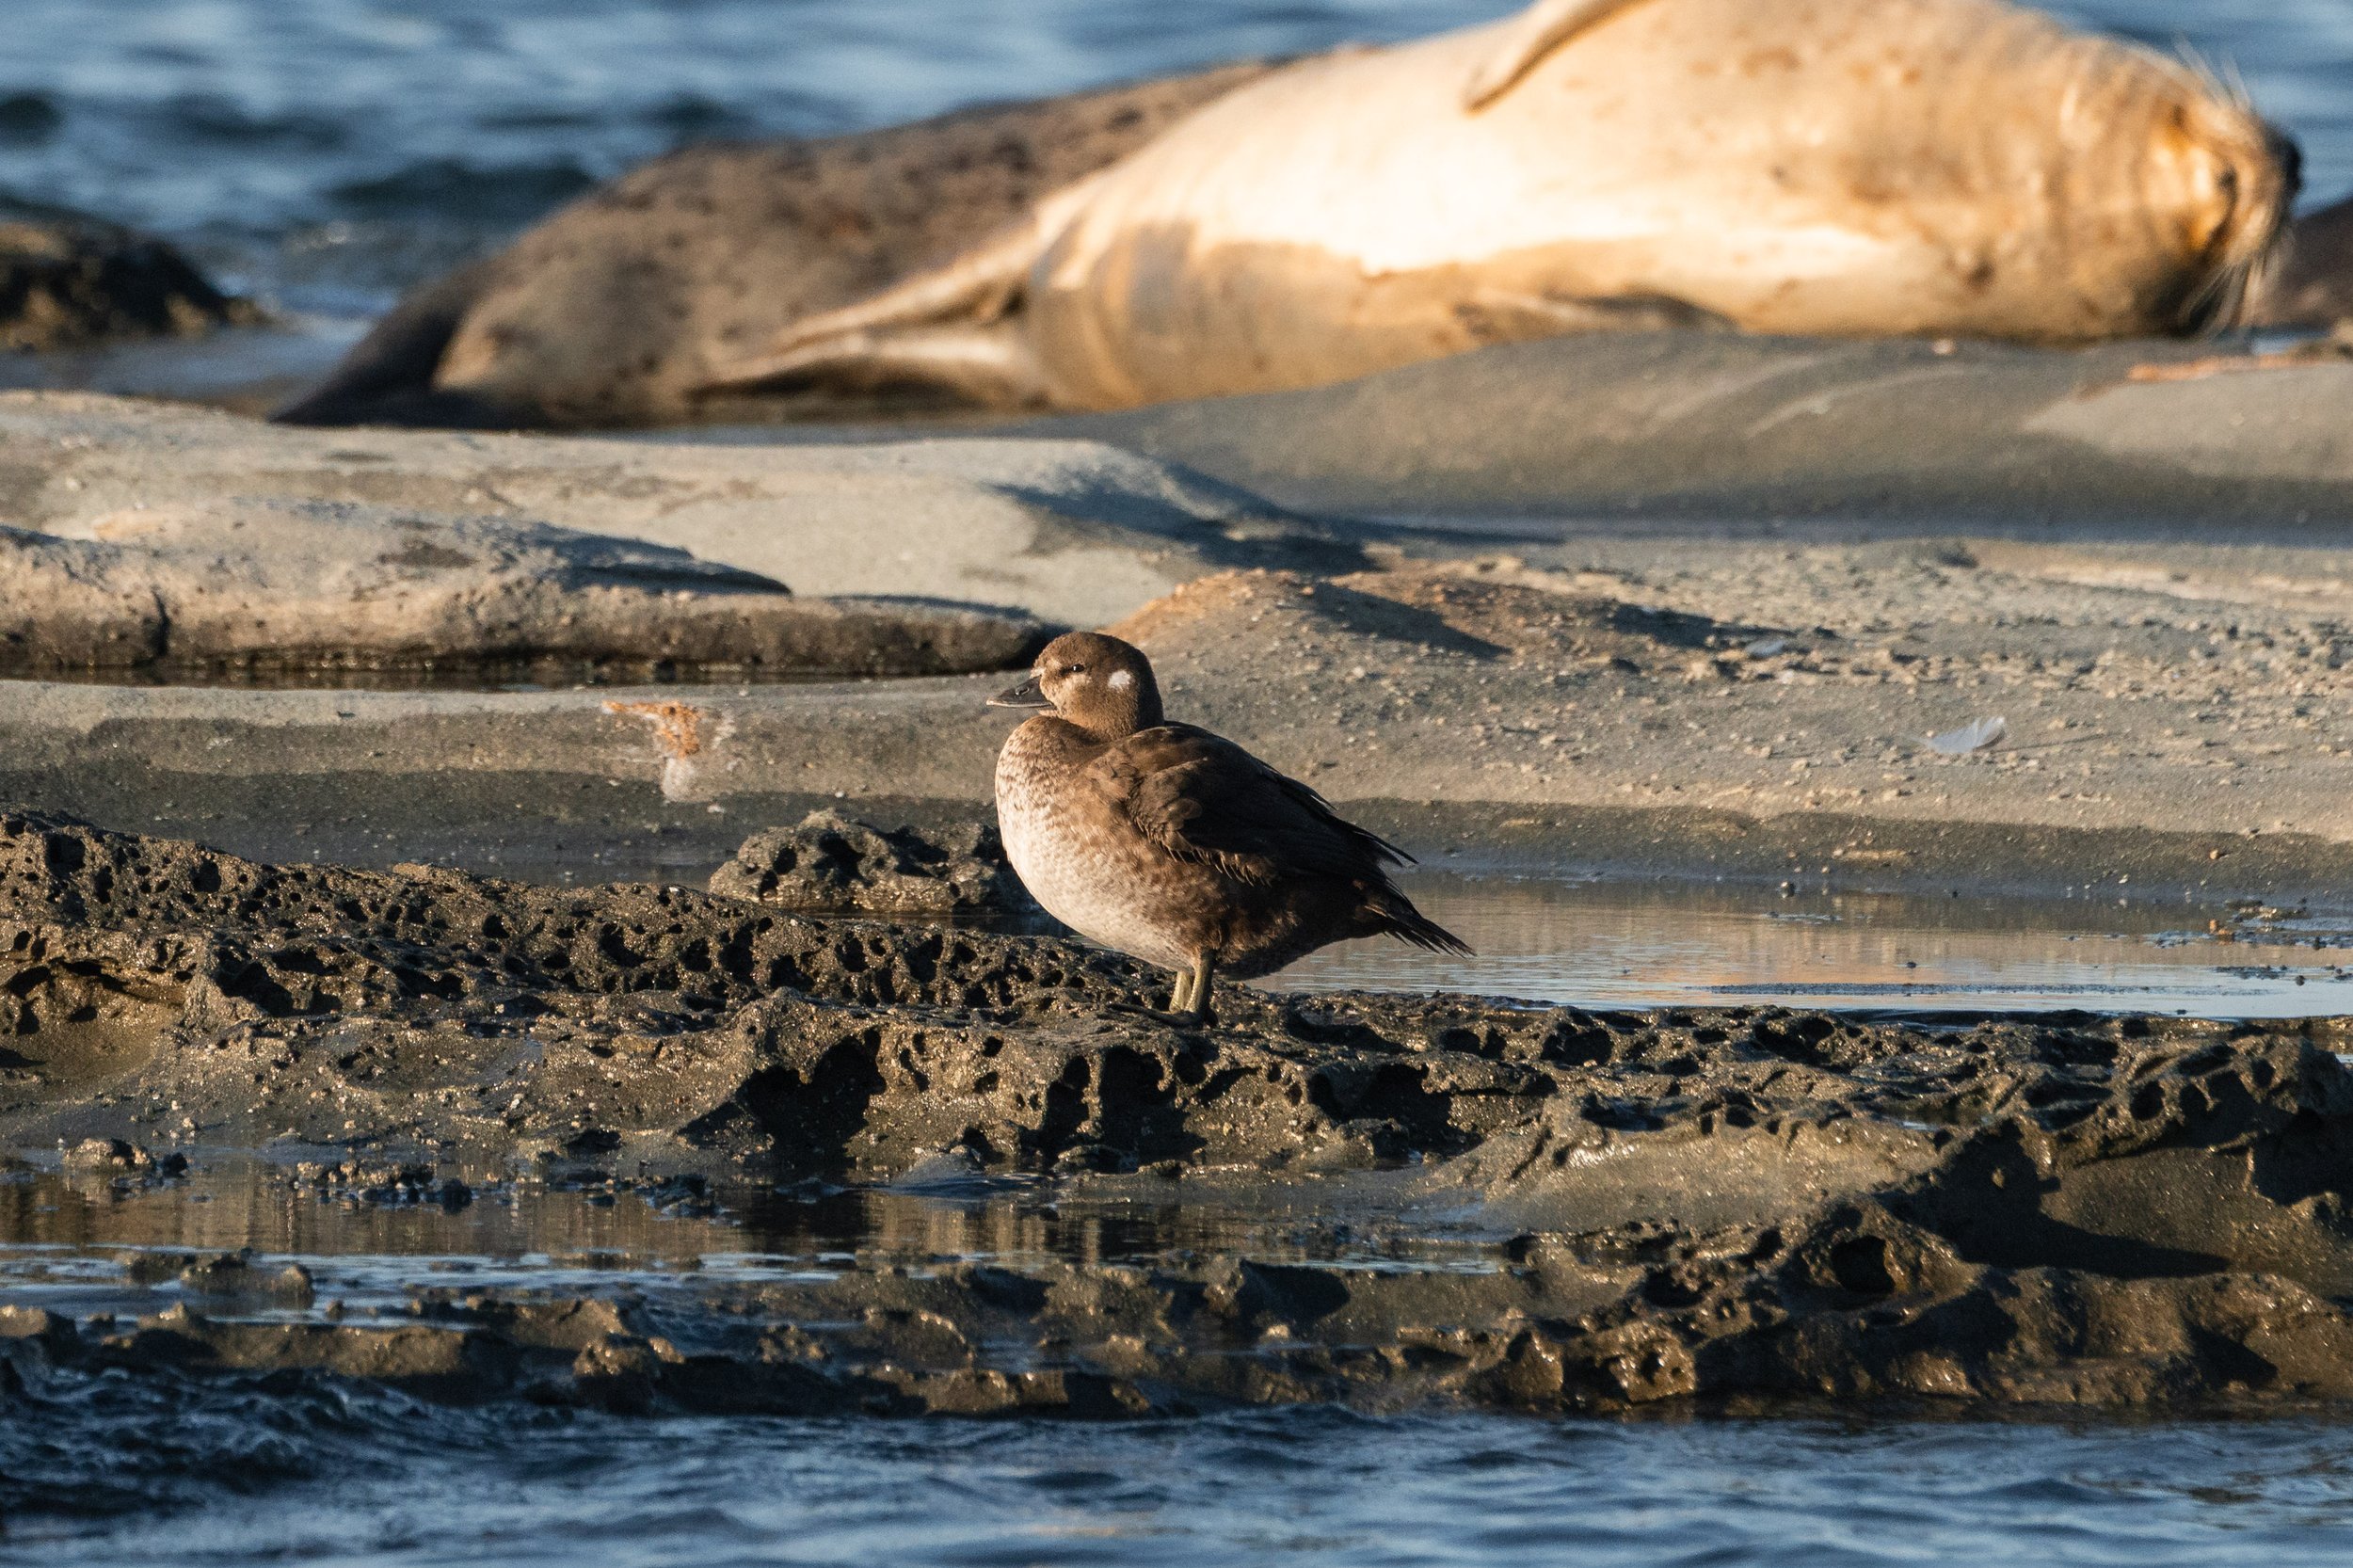
A Harlequin Duck posing on the rocks. Photo by Val Watson.
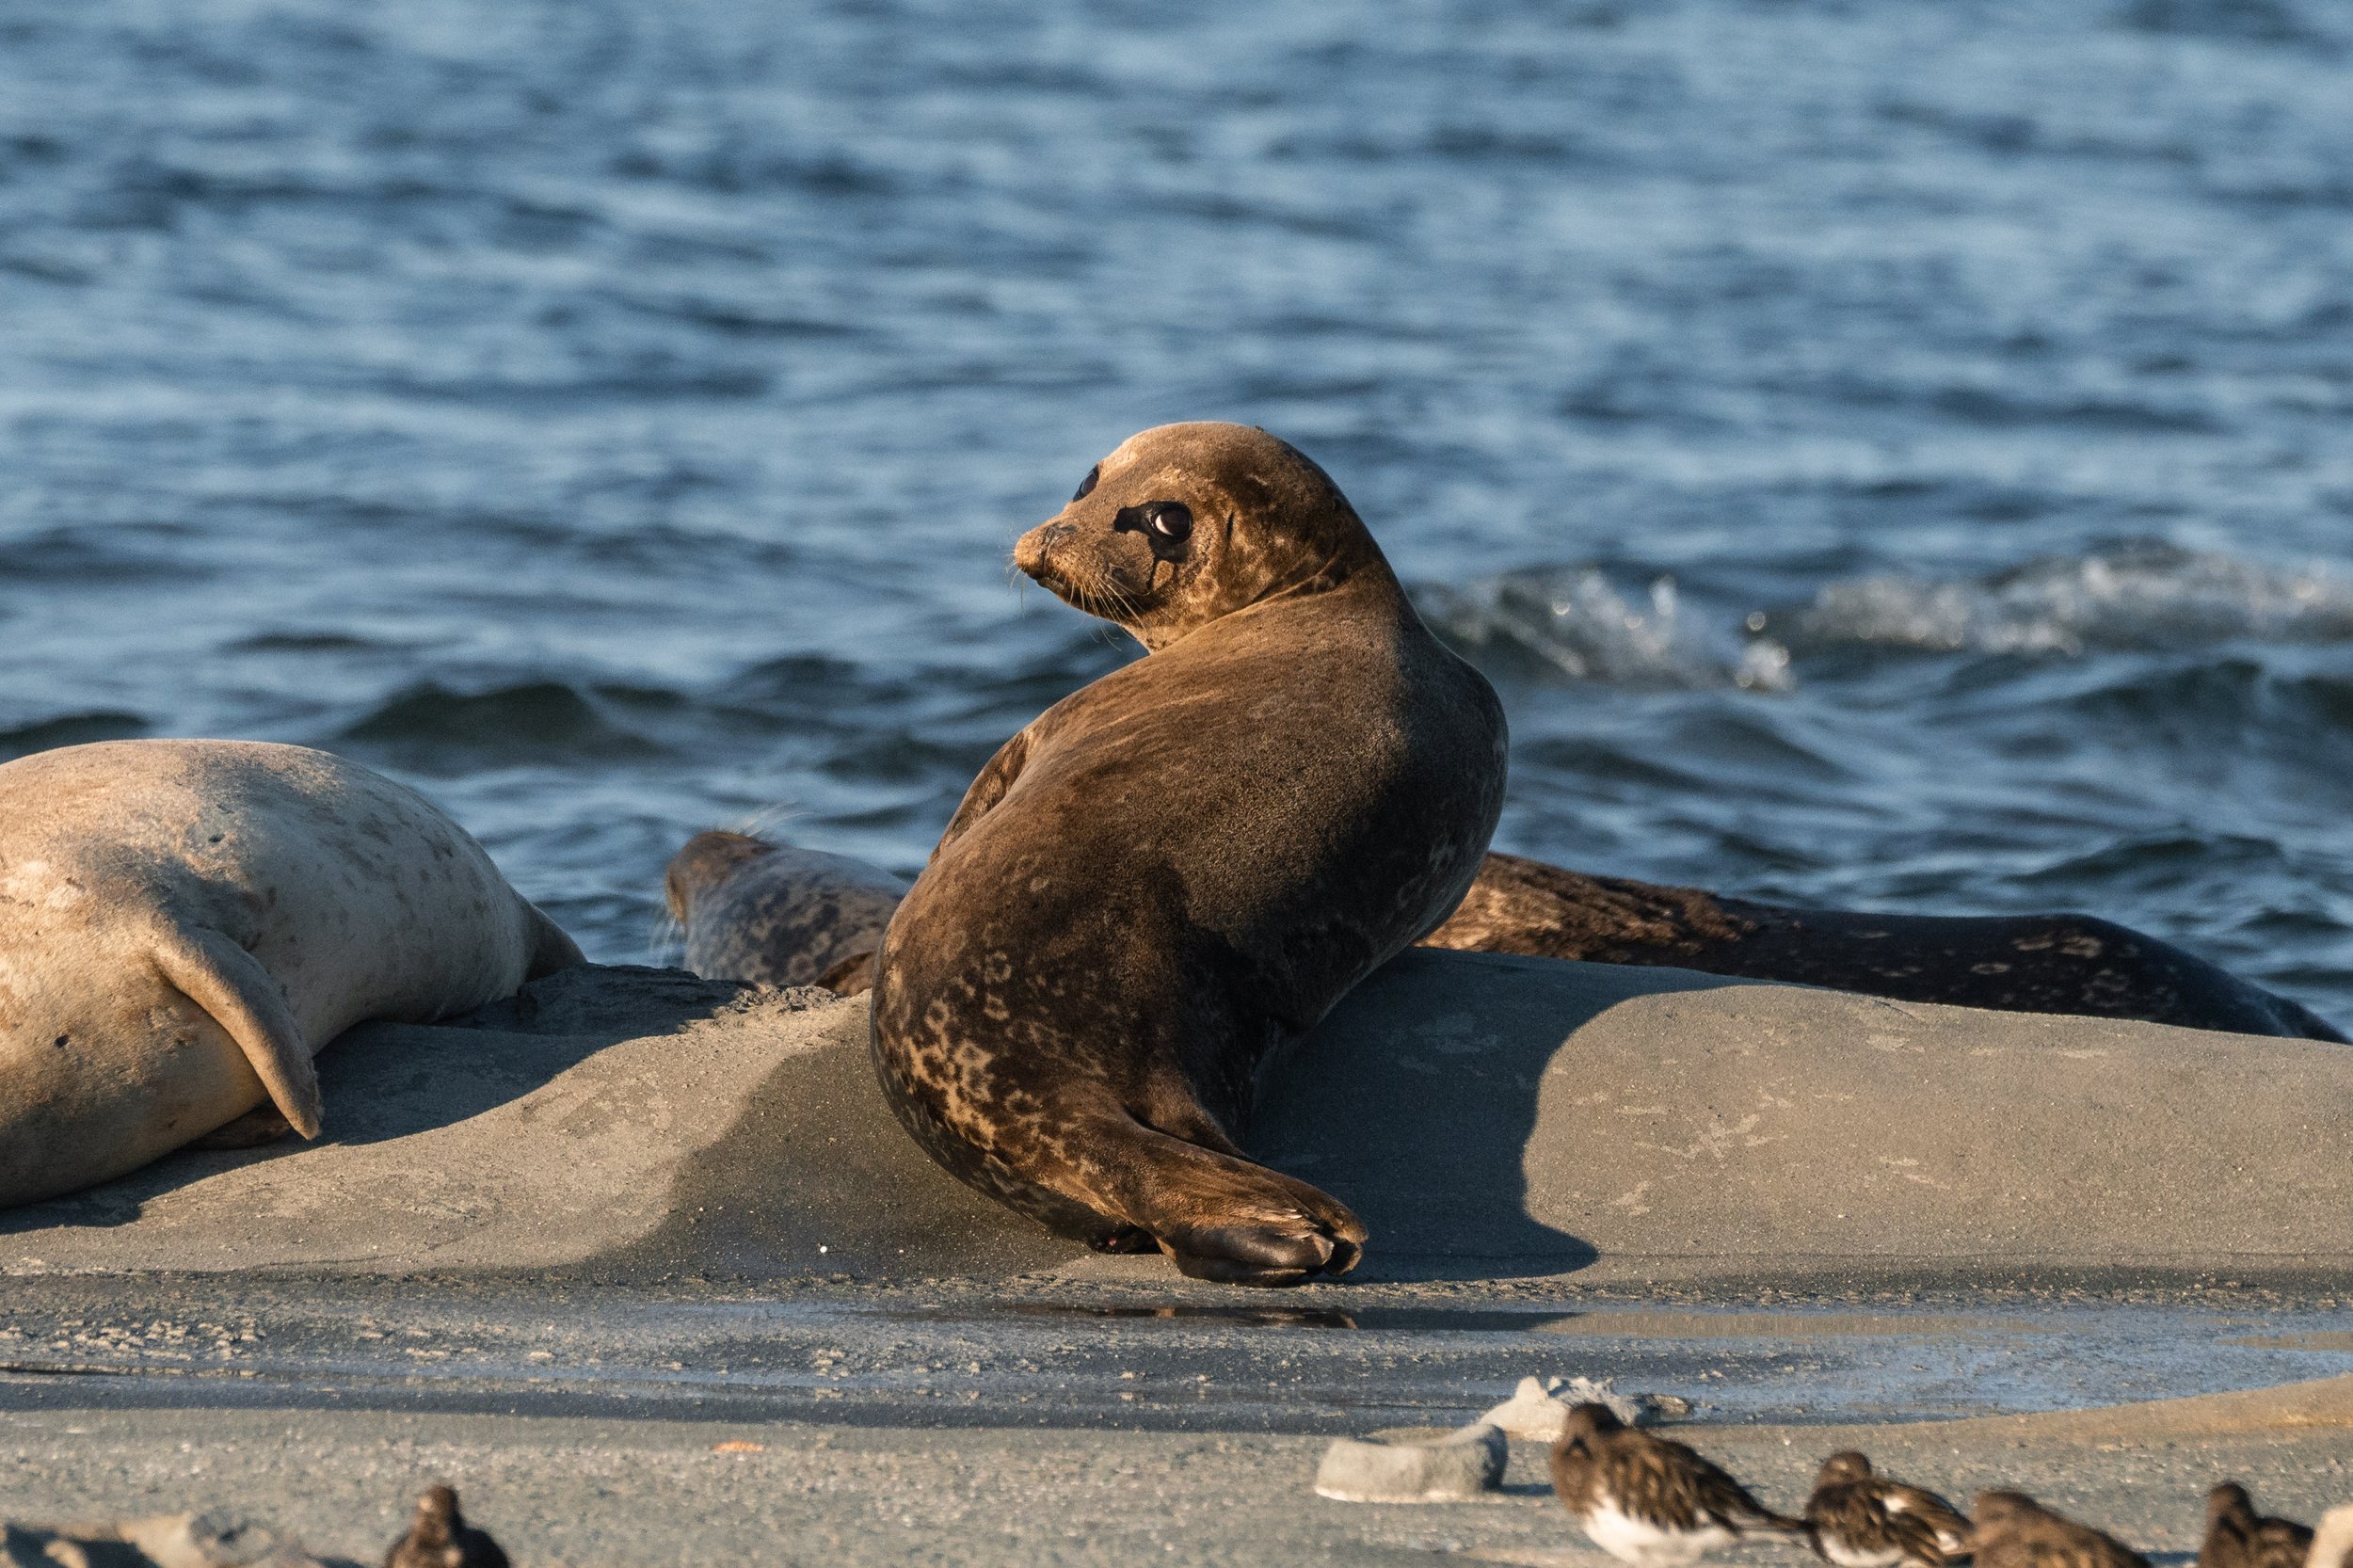
A Harbour Seal striking a pose over their shoulder as they relax at the haul out. Photo by Val Watson.
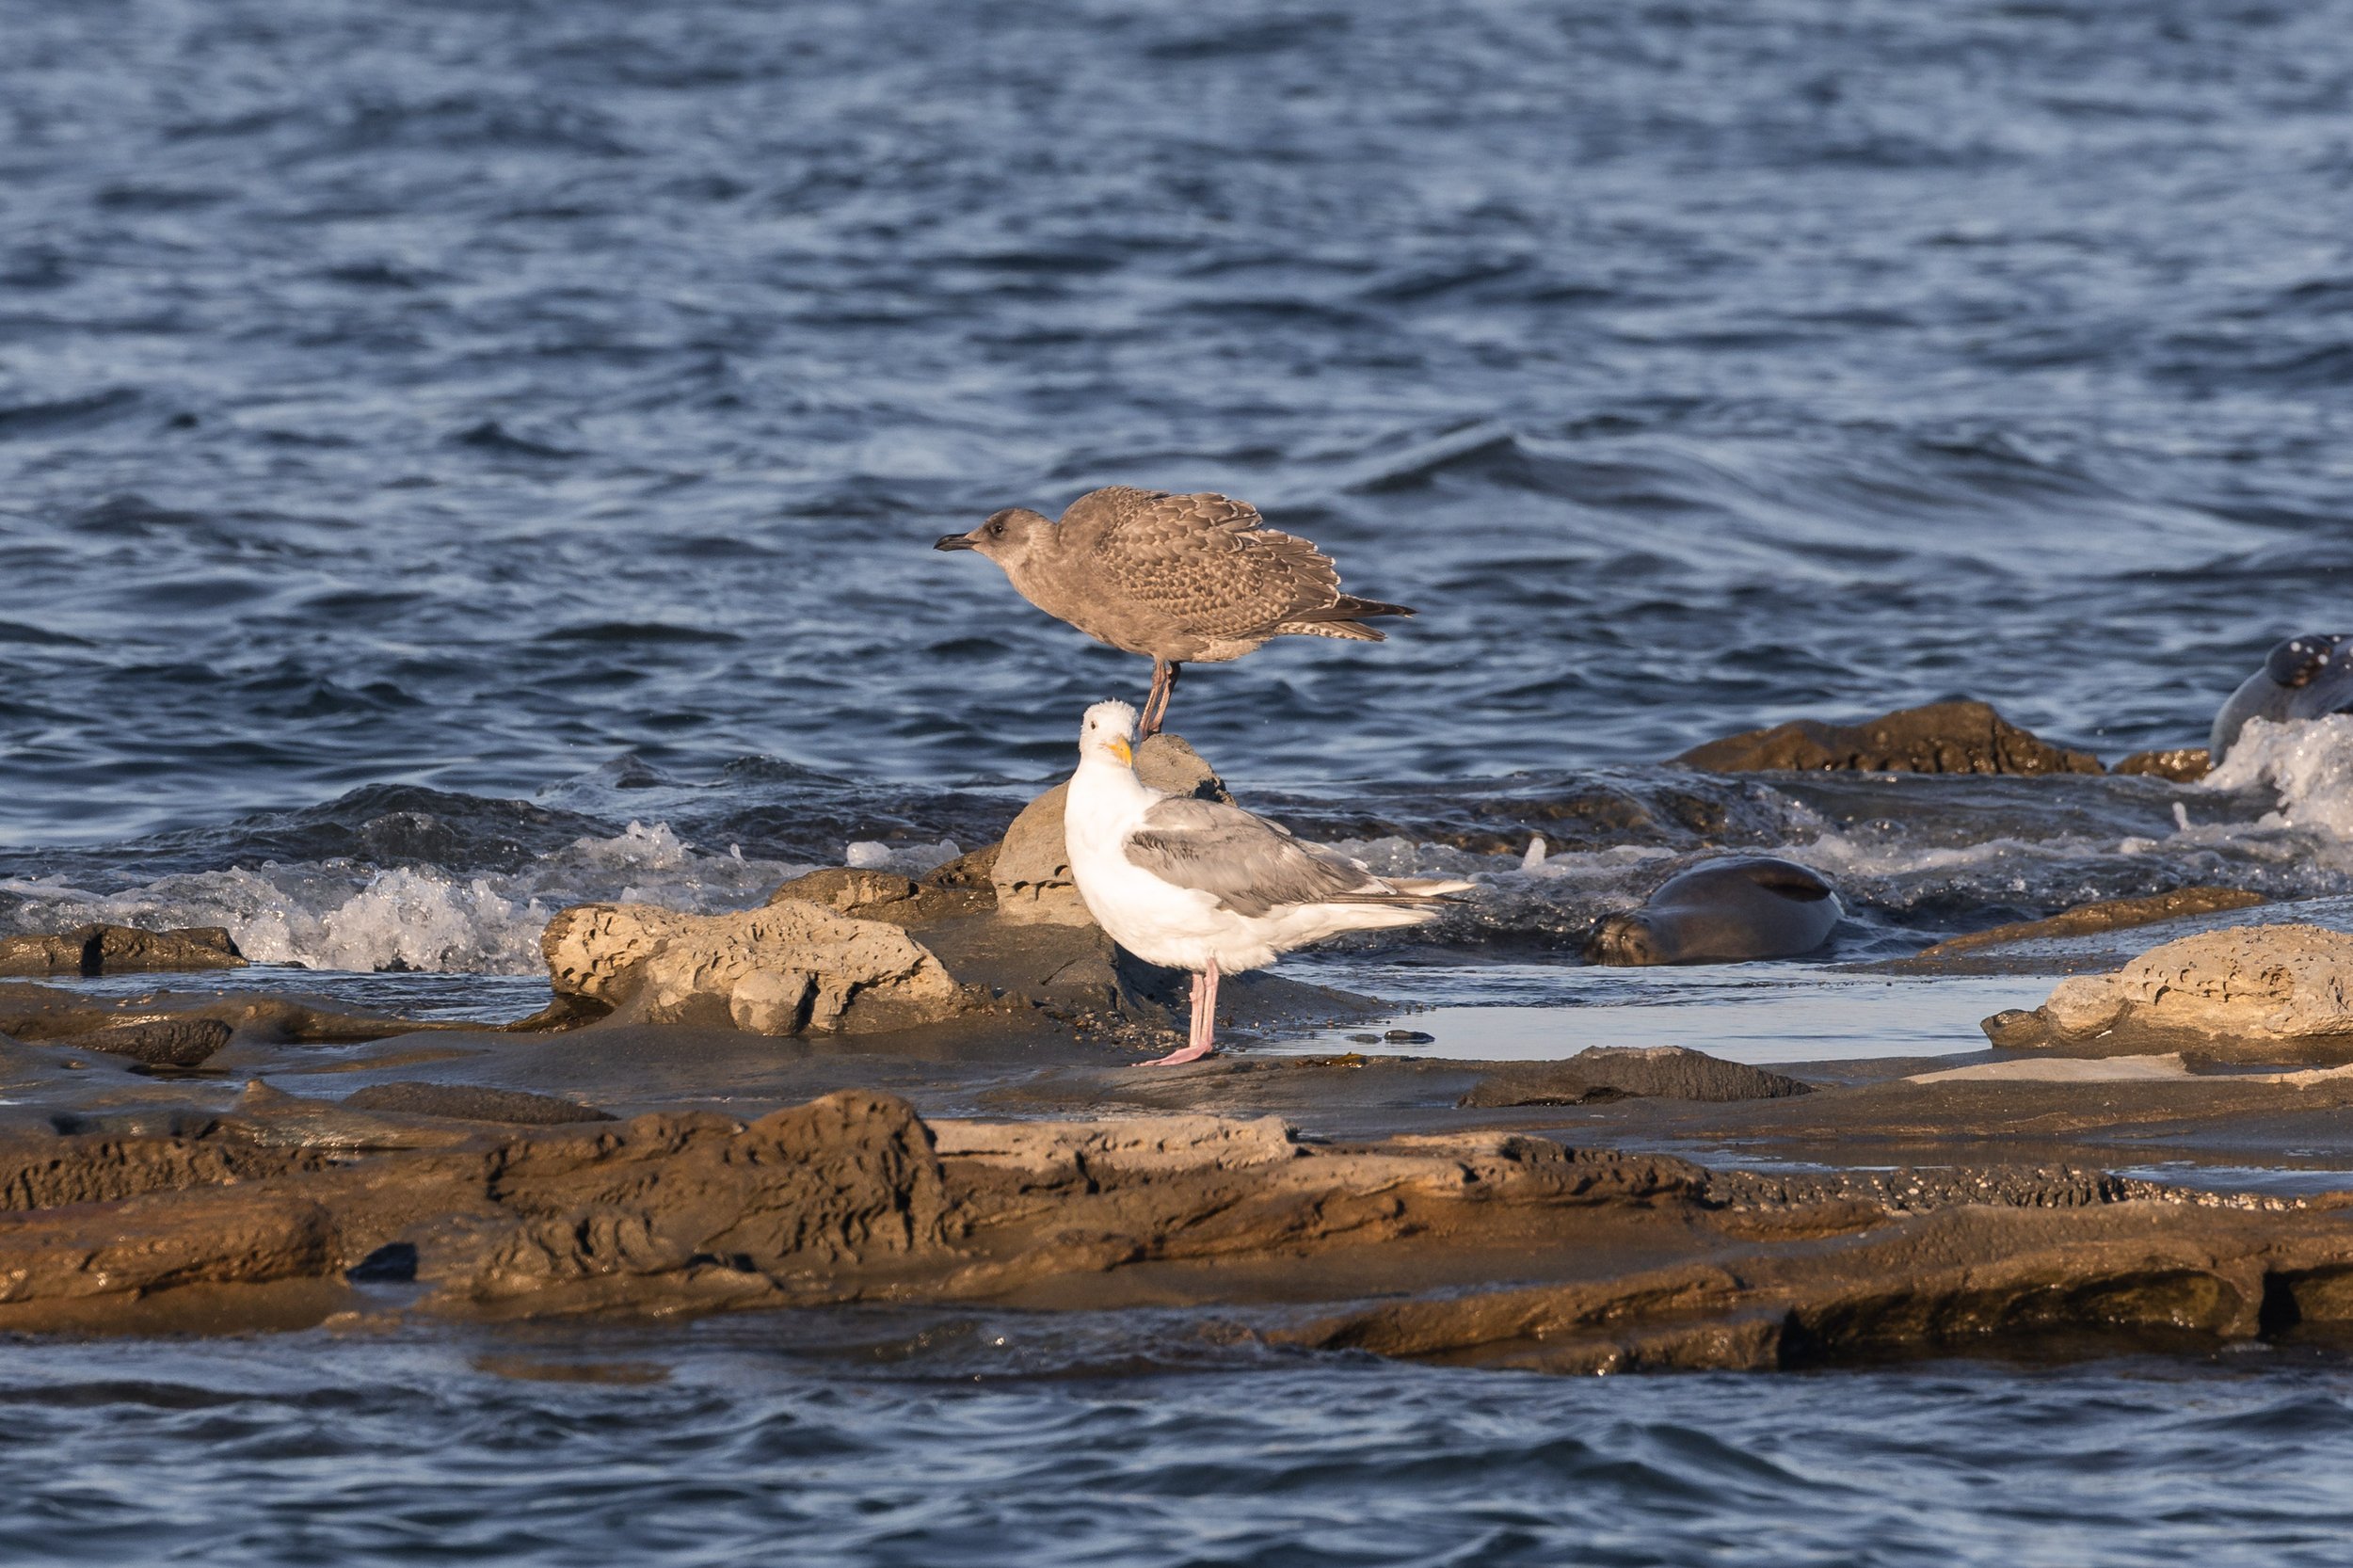
Did this photo trick you into thinking the younger gull was standing on the adult? Photo by Jordan Robinson.
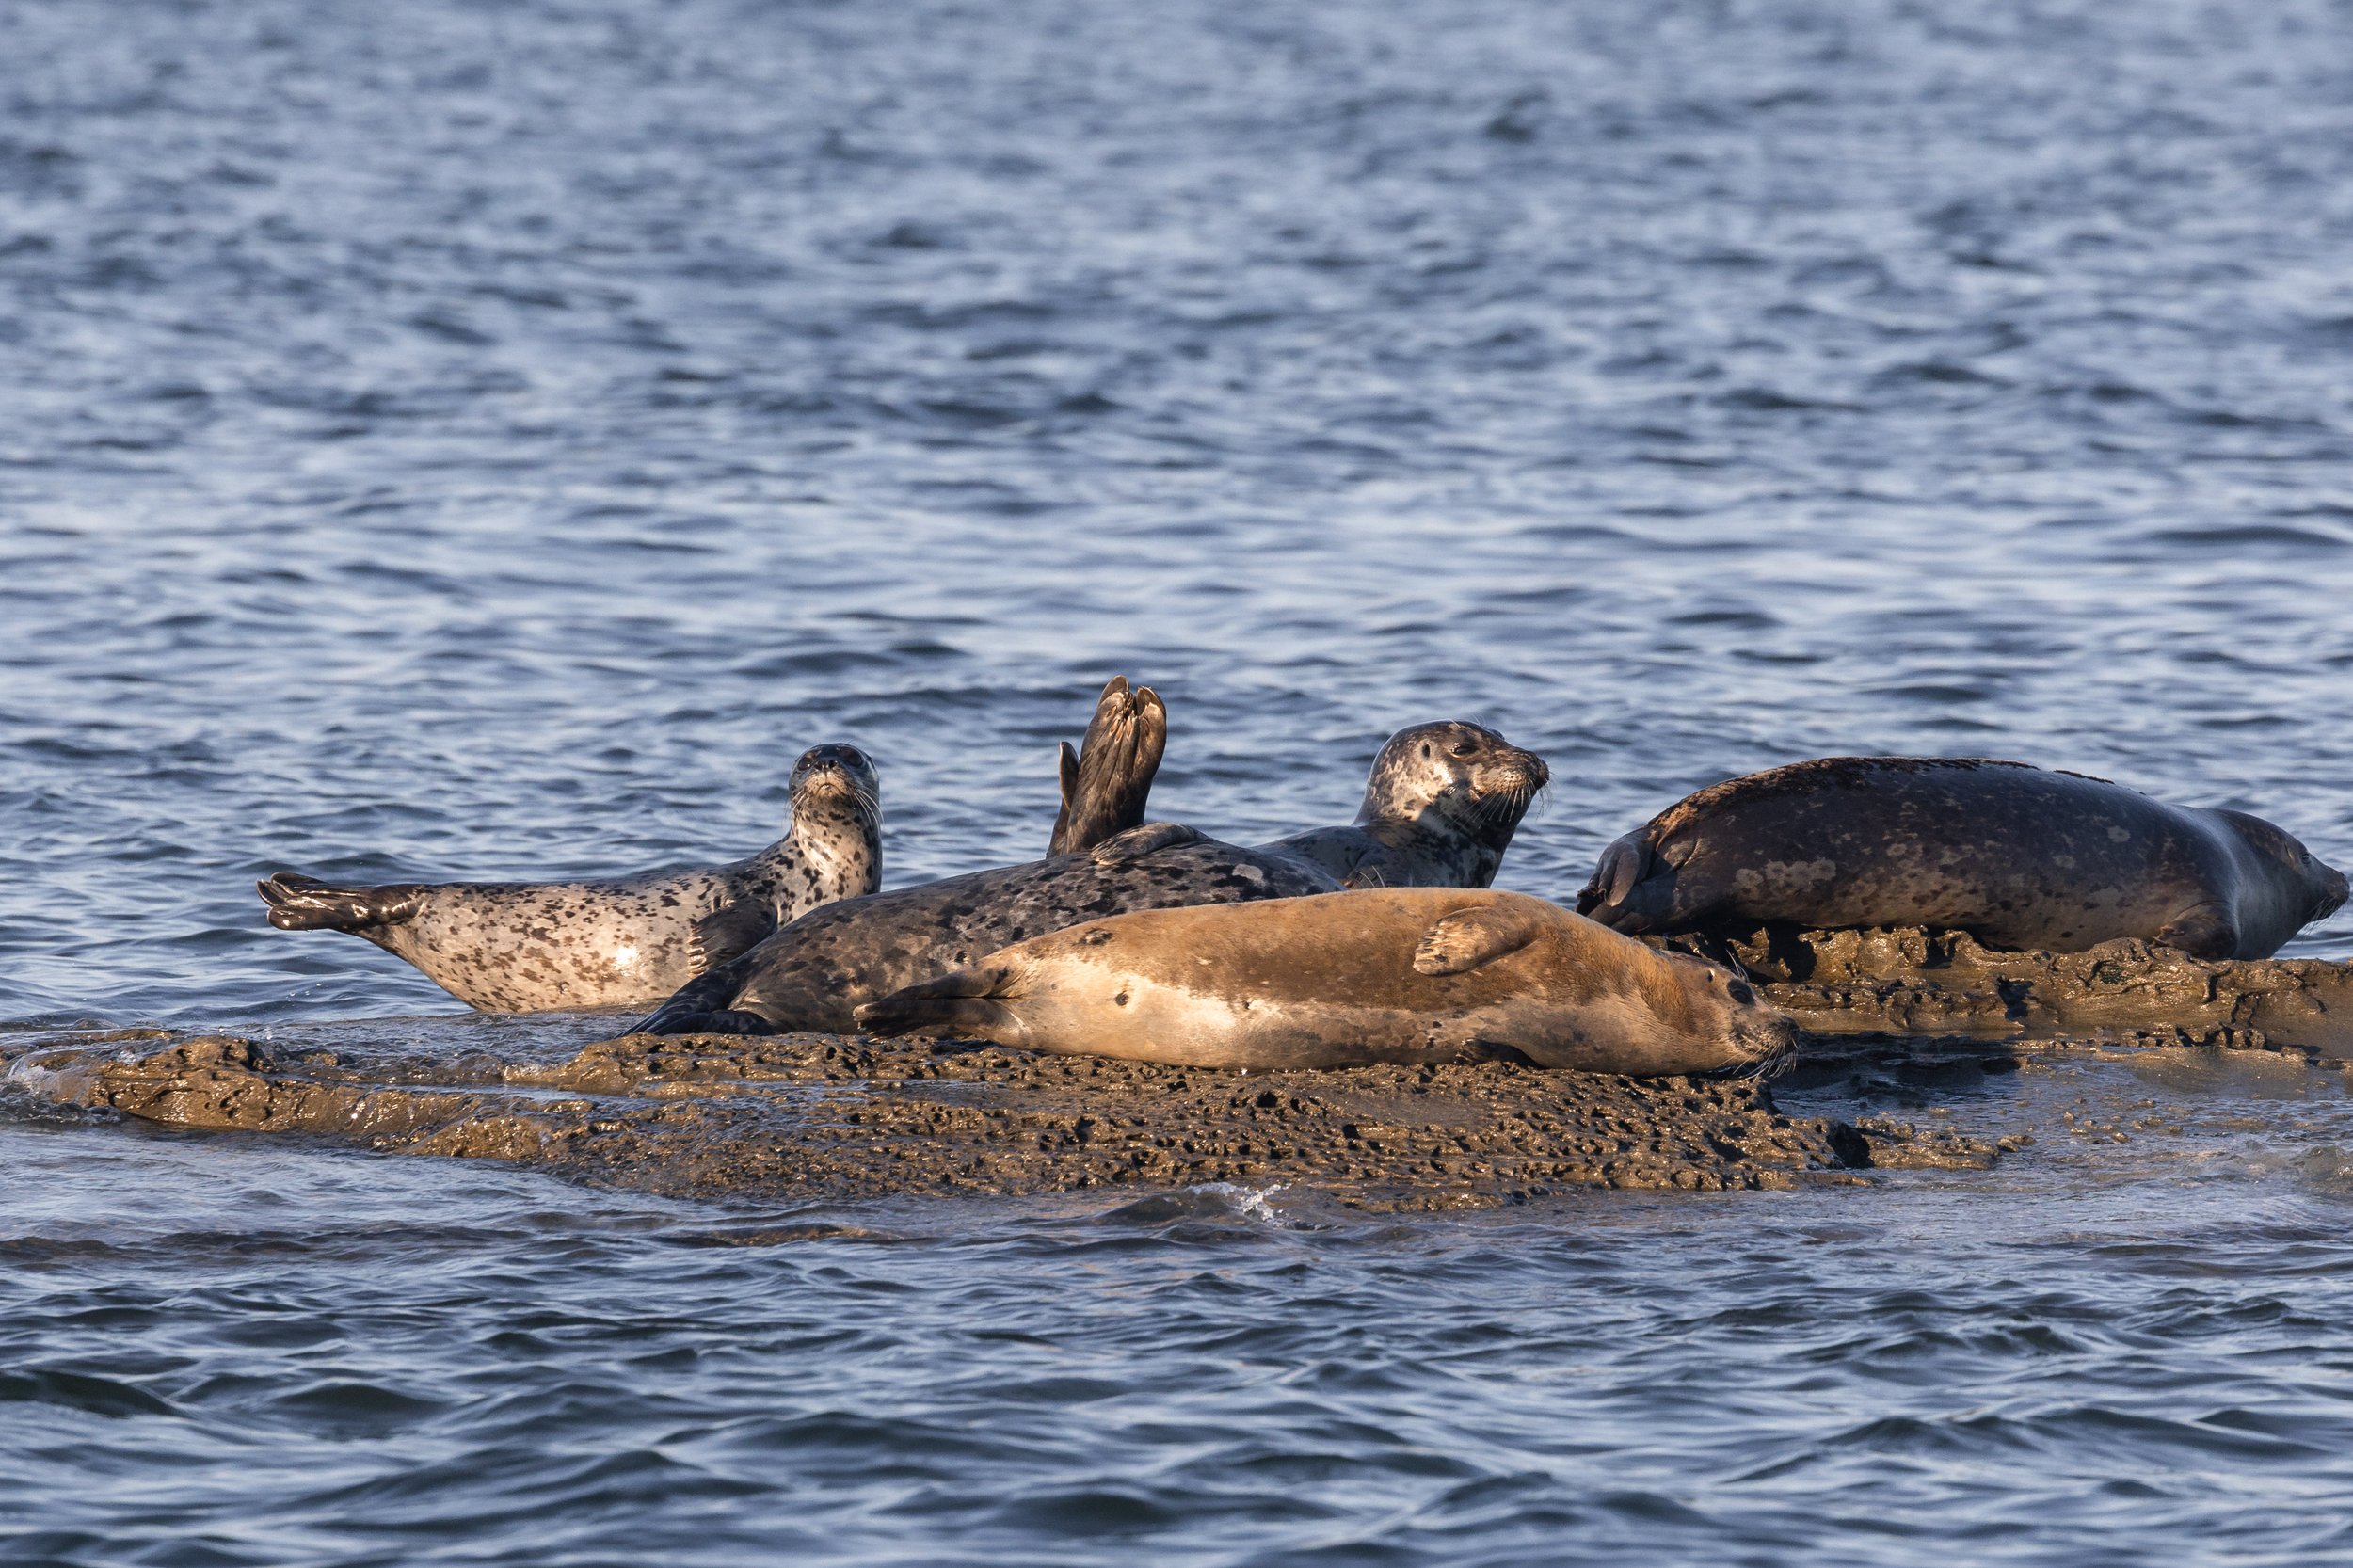
A bunch of Harbour Seals relaxing on the rocks. Photo by Jordan Robinson.
Valiant & Mantis
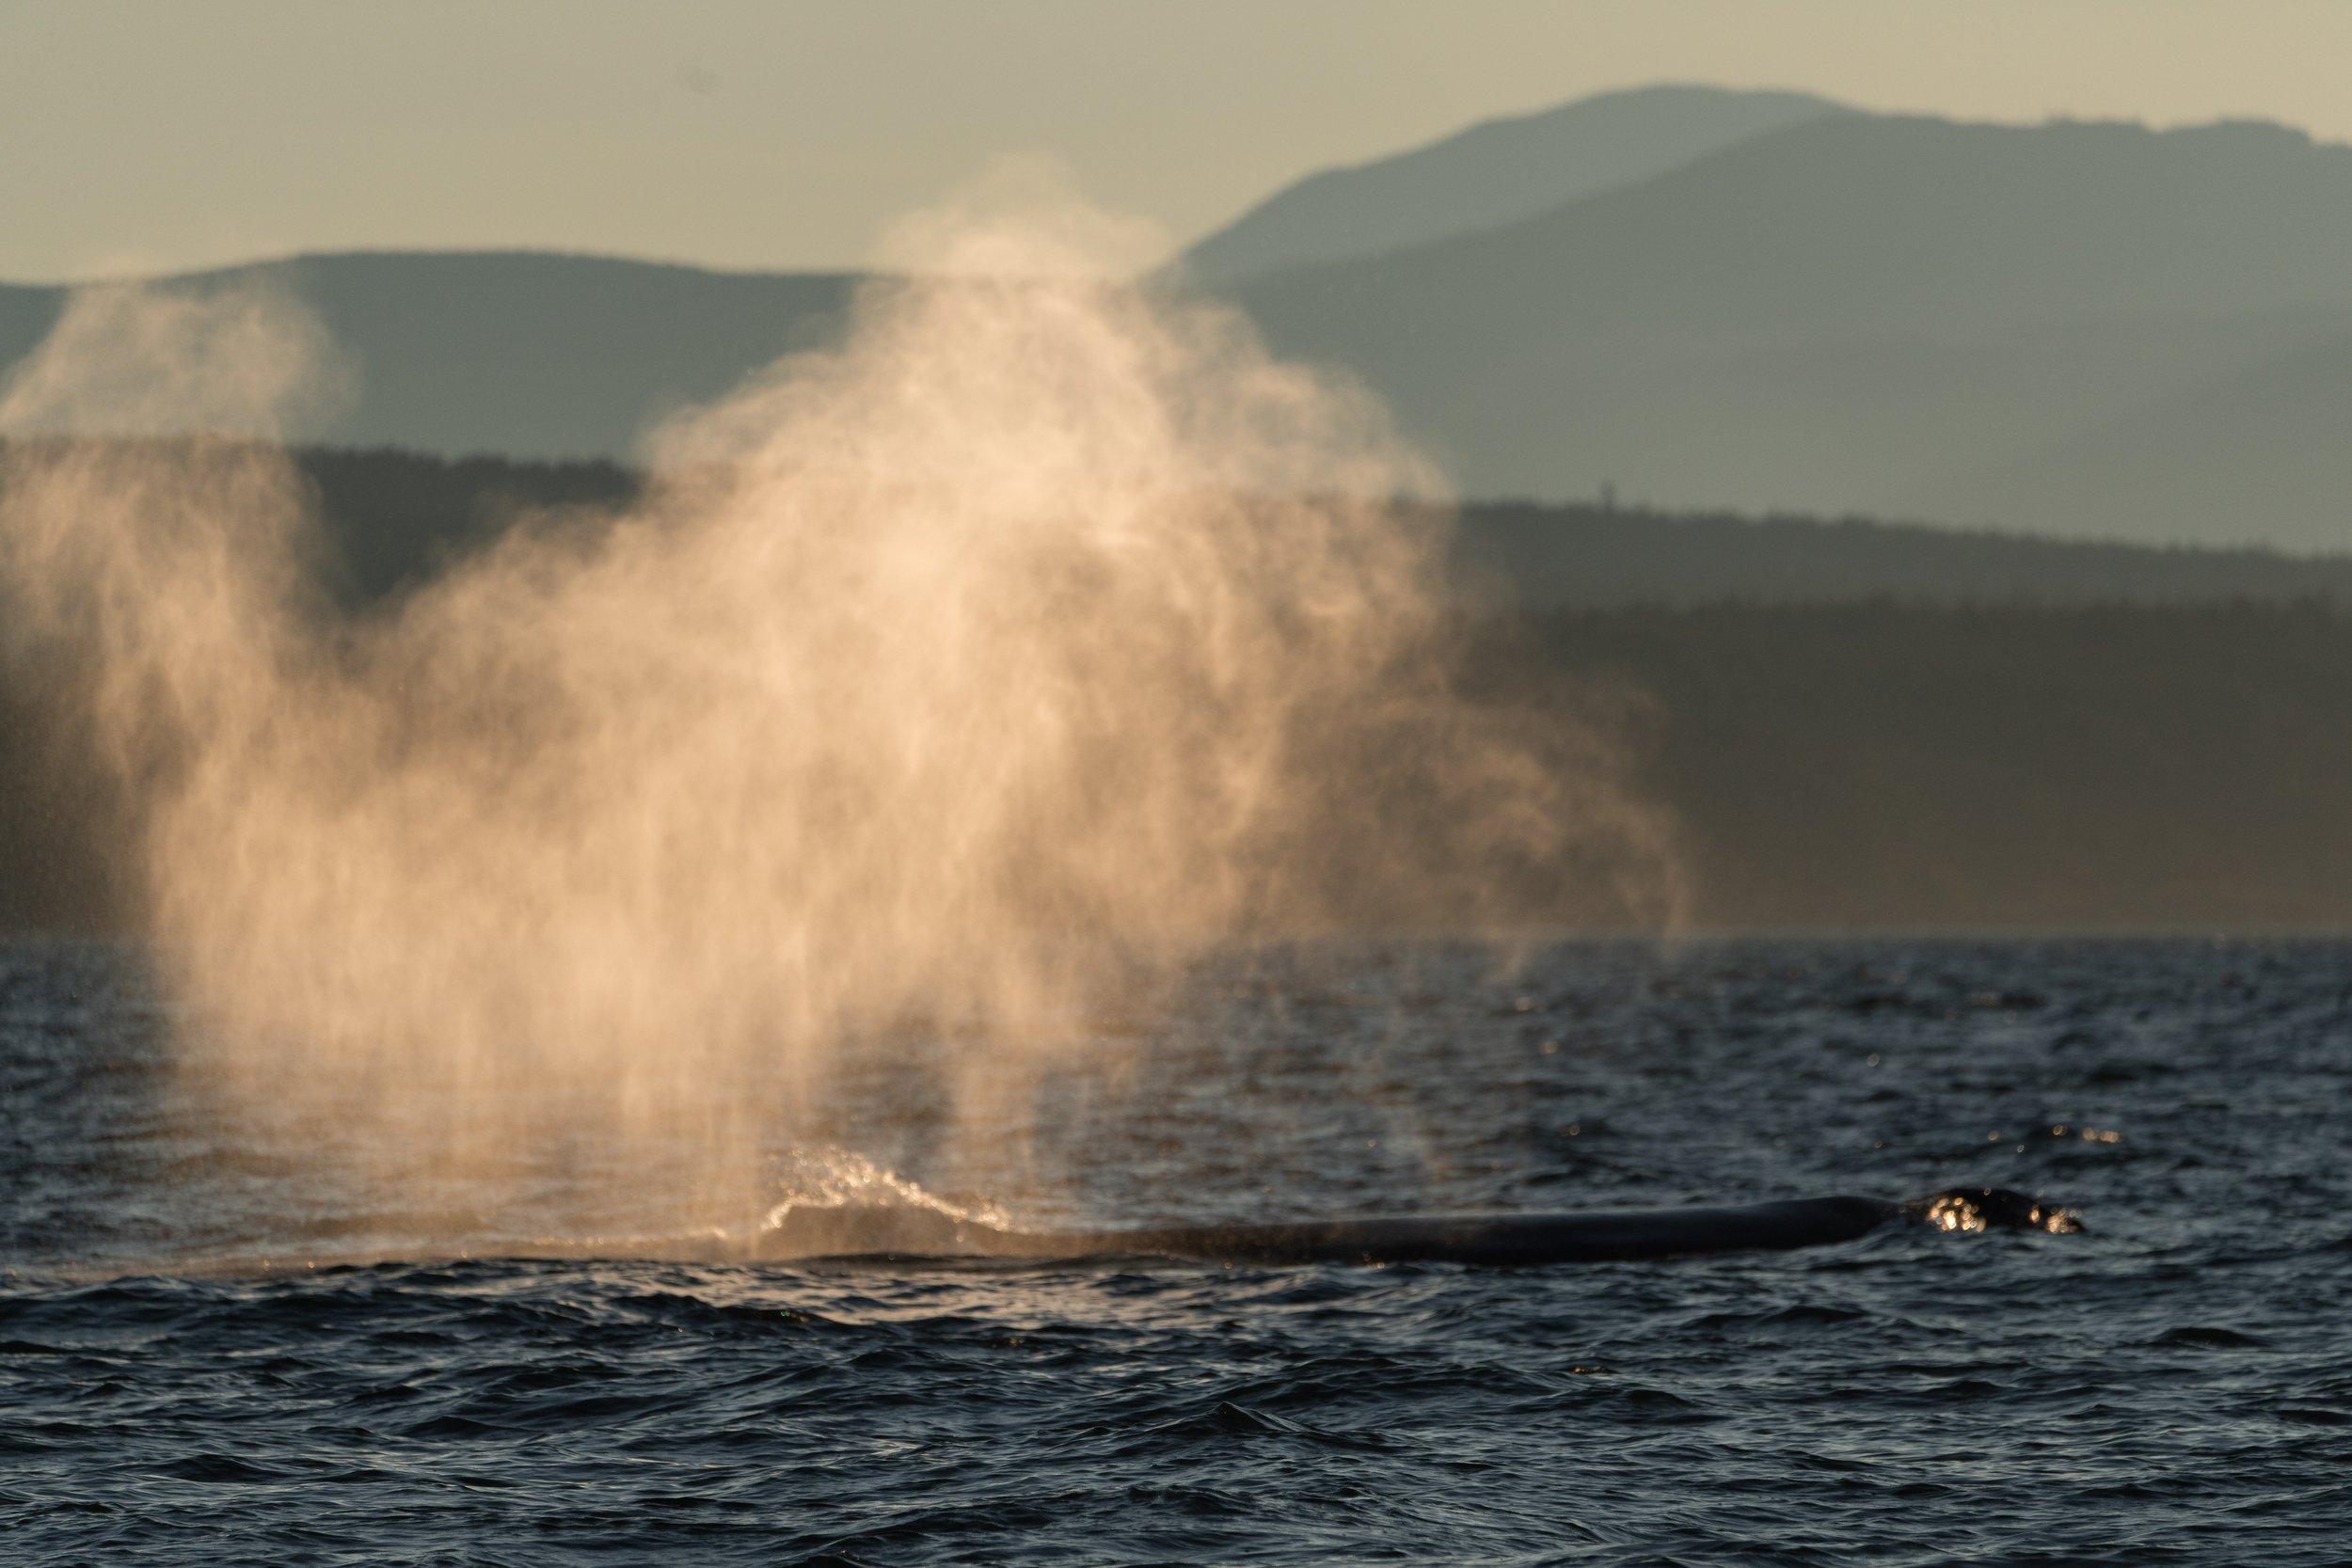
A beautiful backlit blow from the humpbacks. Photo by Val Watson.
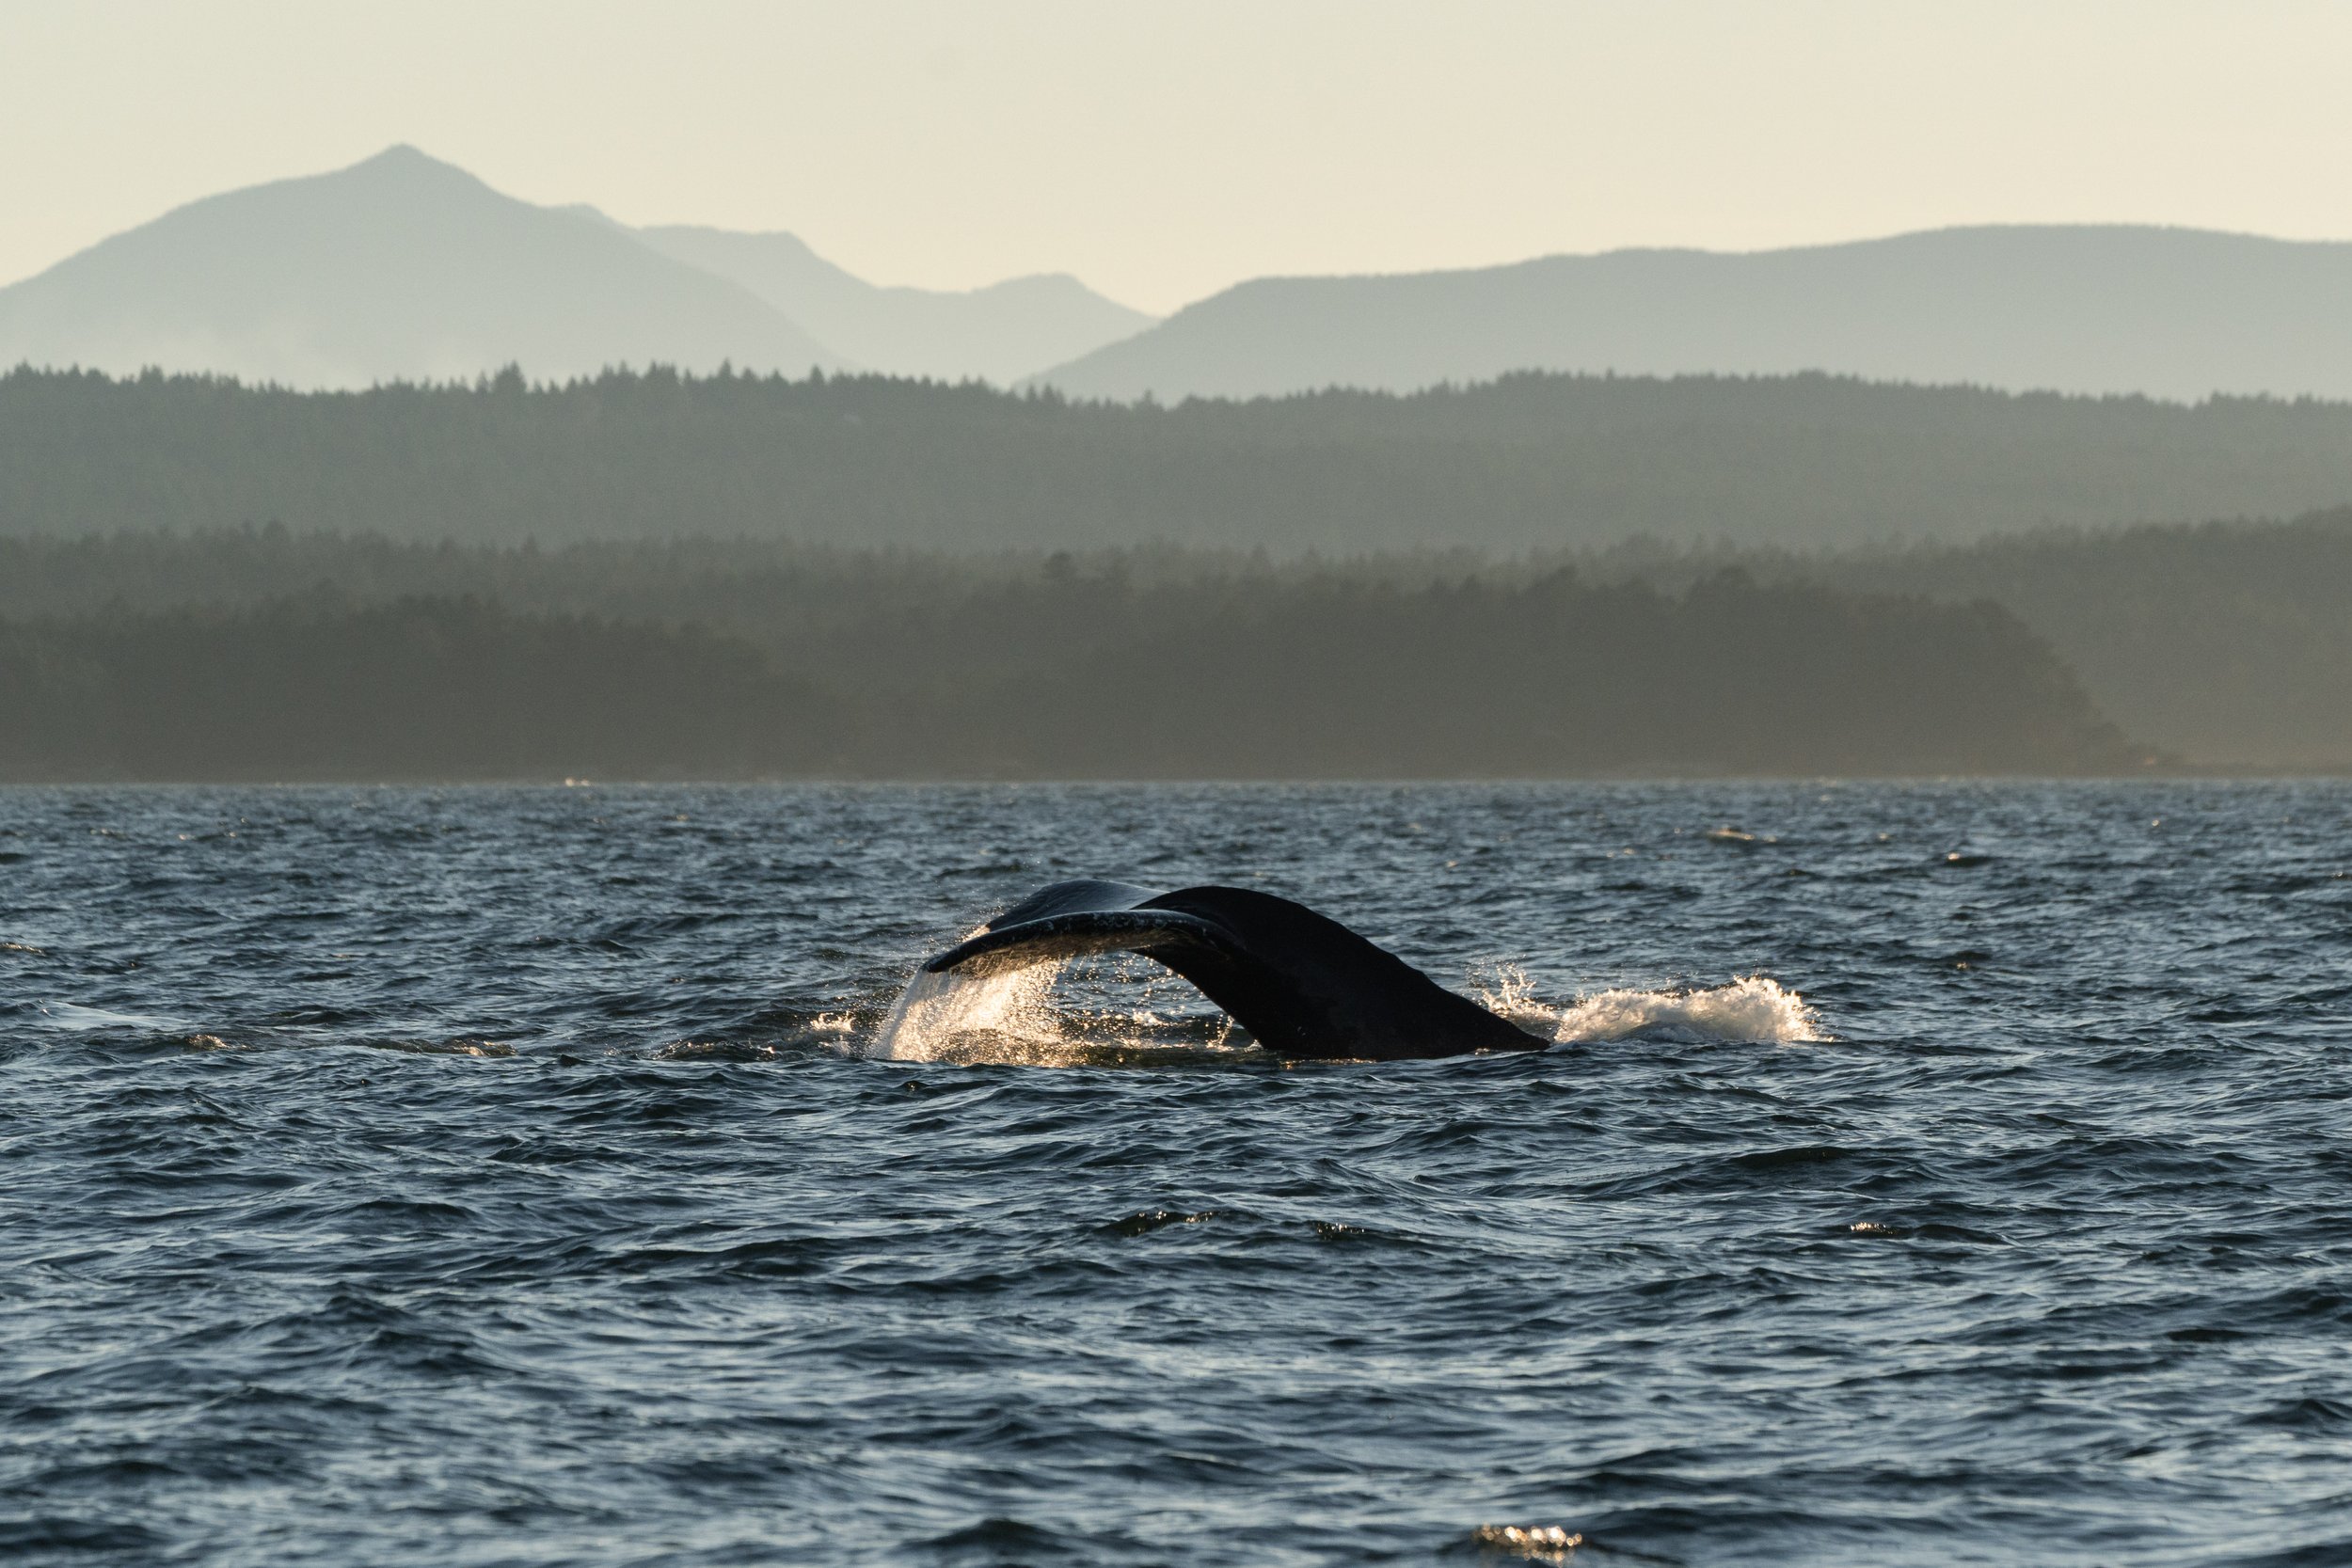
Valiant lifting her tail to dive. Photo by Val Watson.
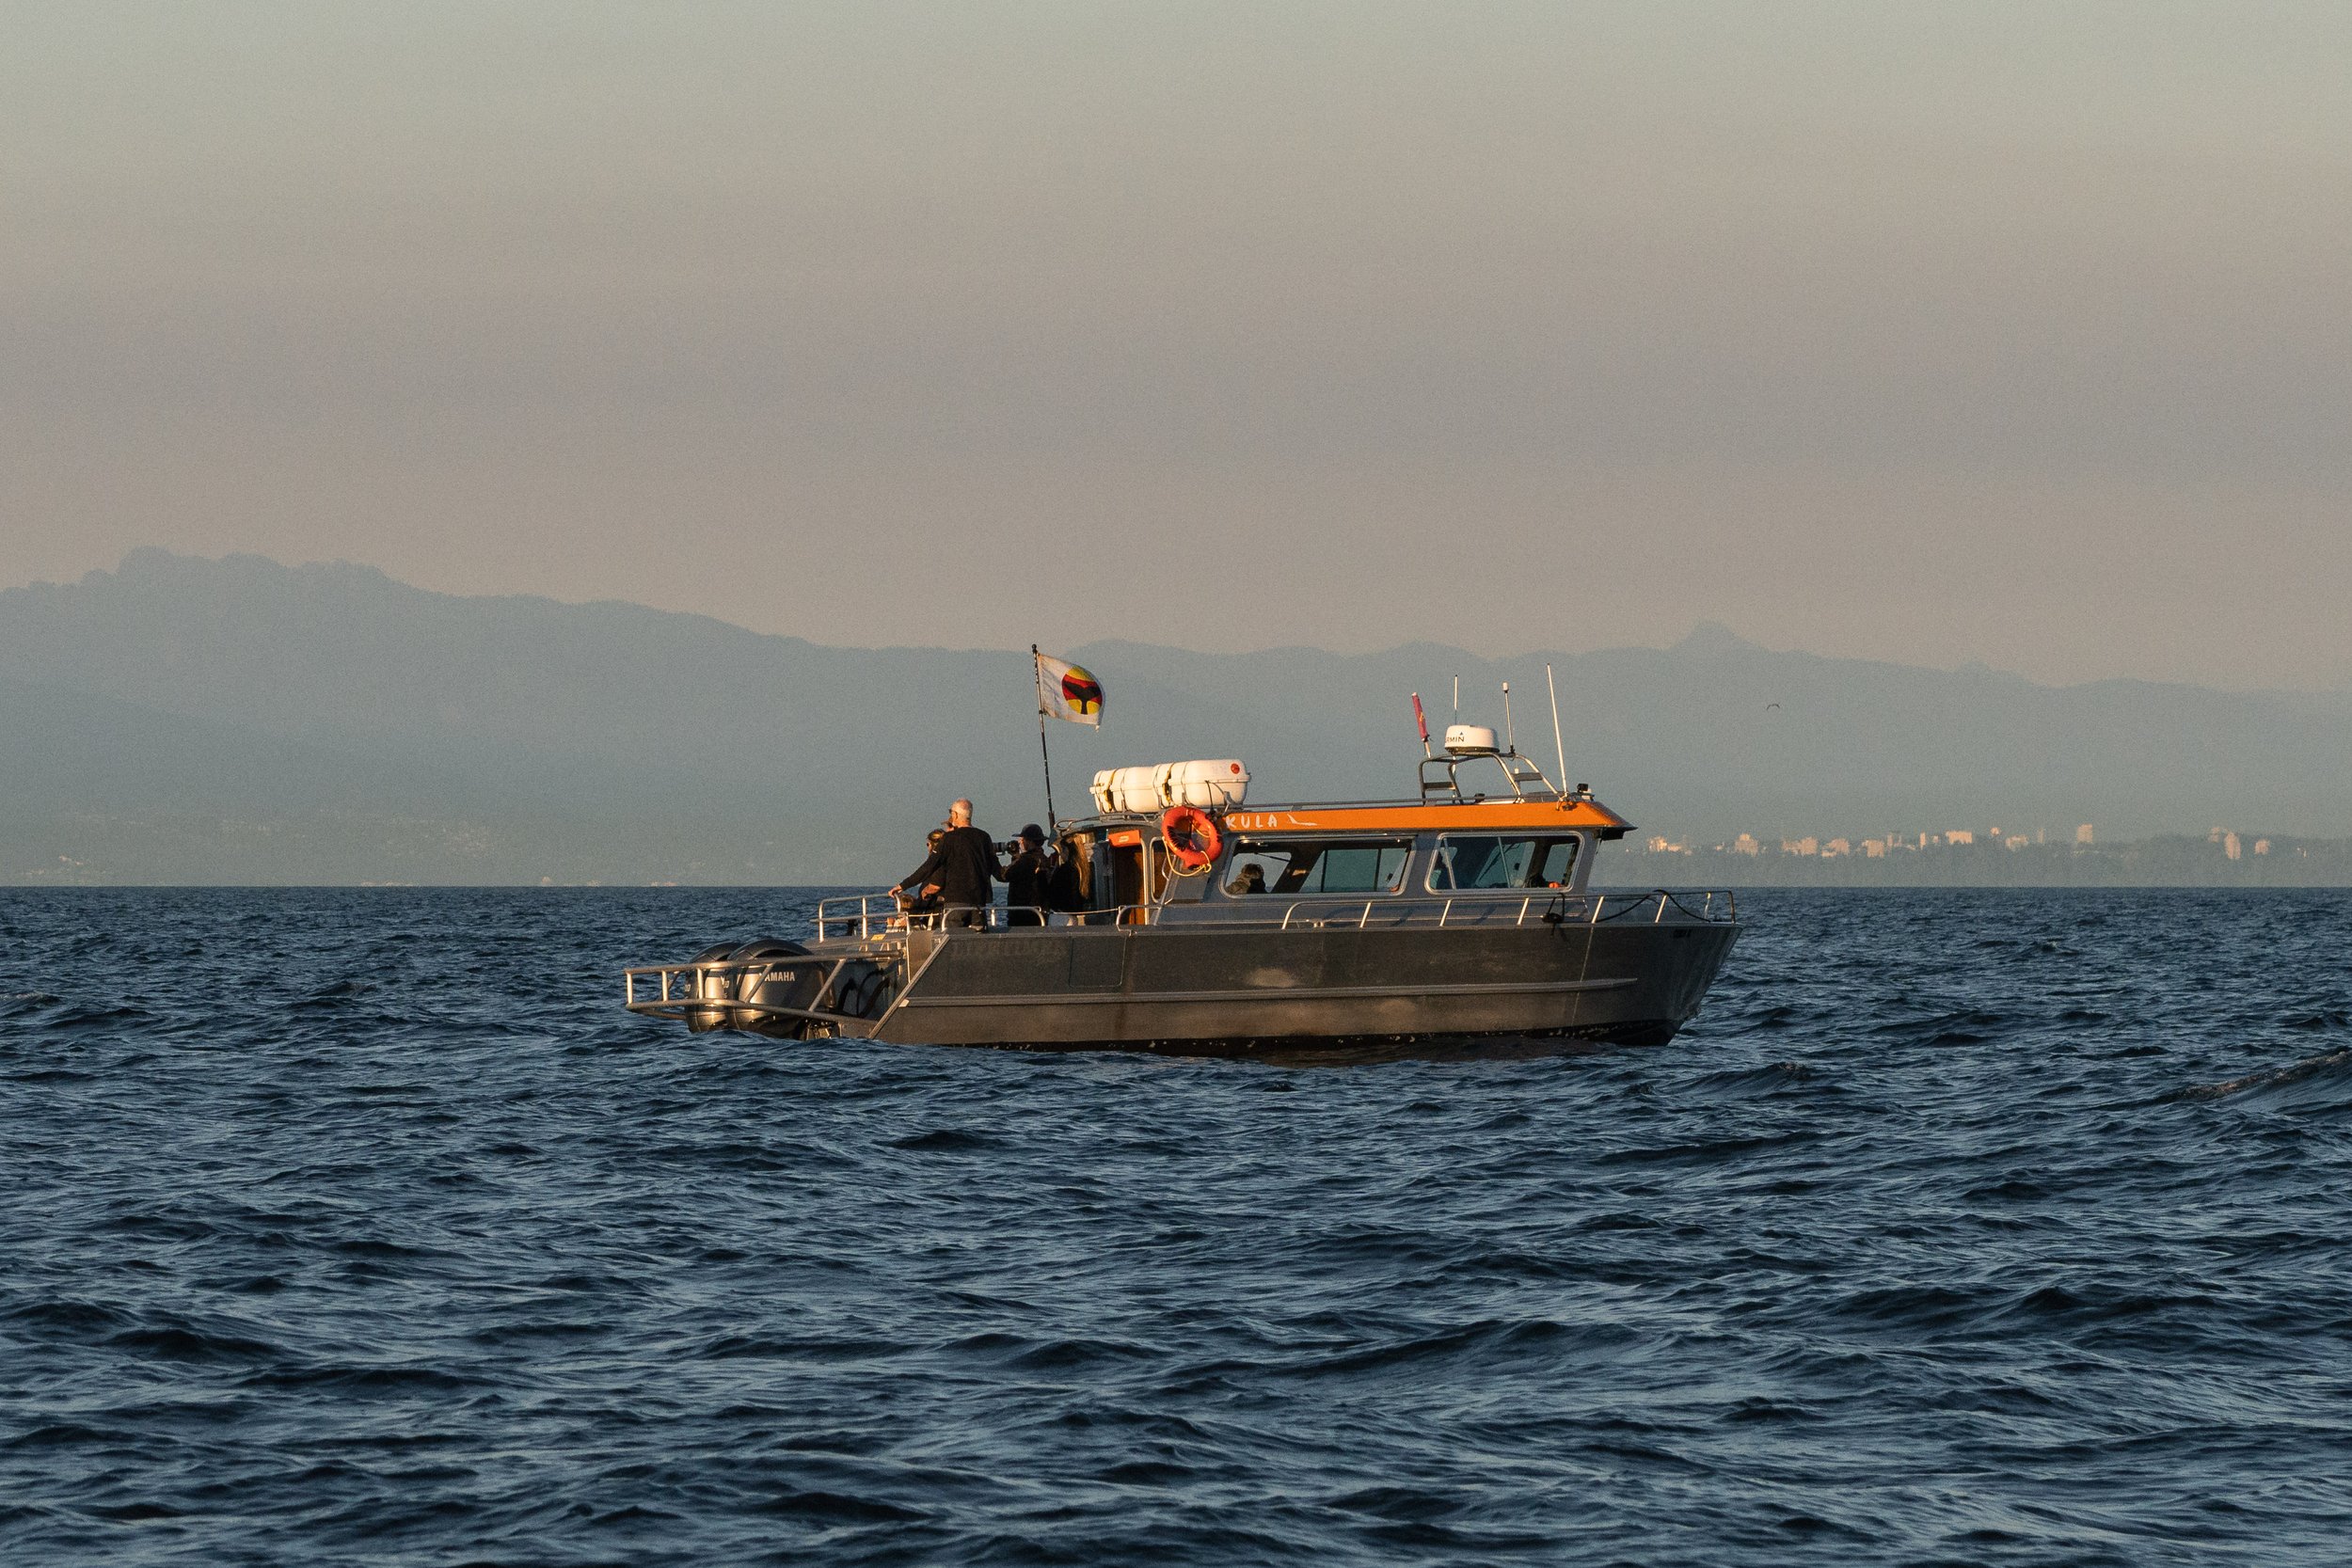
Happy Whale Watchers on Kula with the Humpback Whales. Photo by Val Watson.
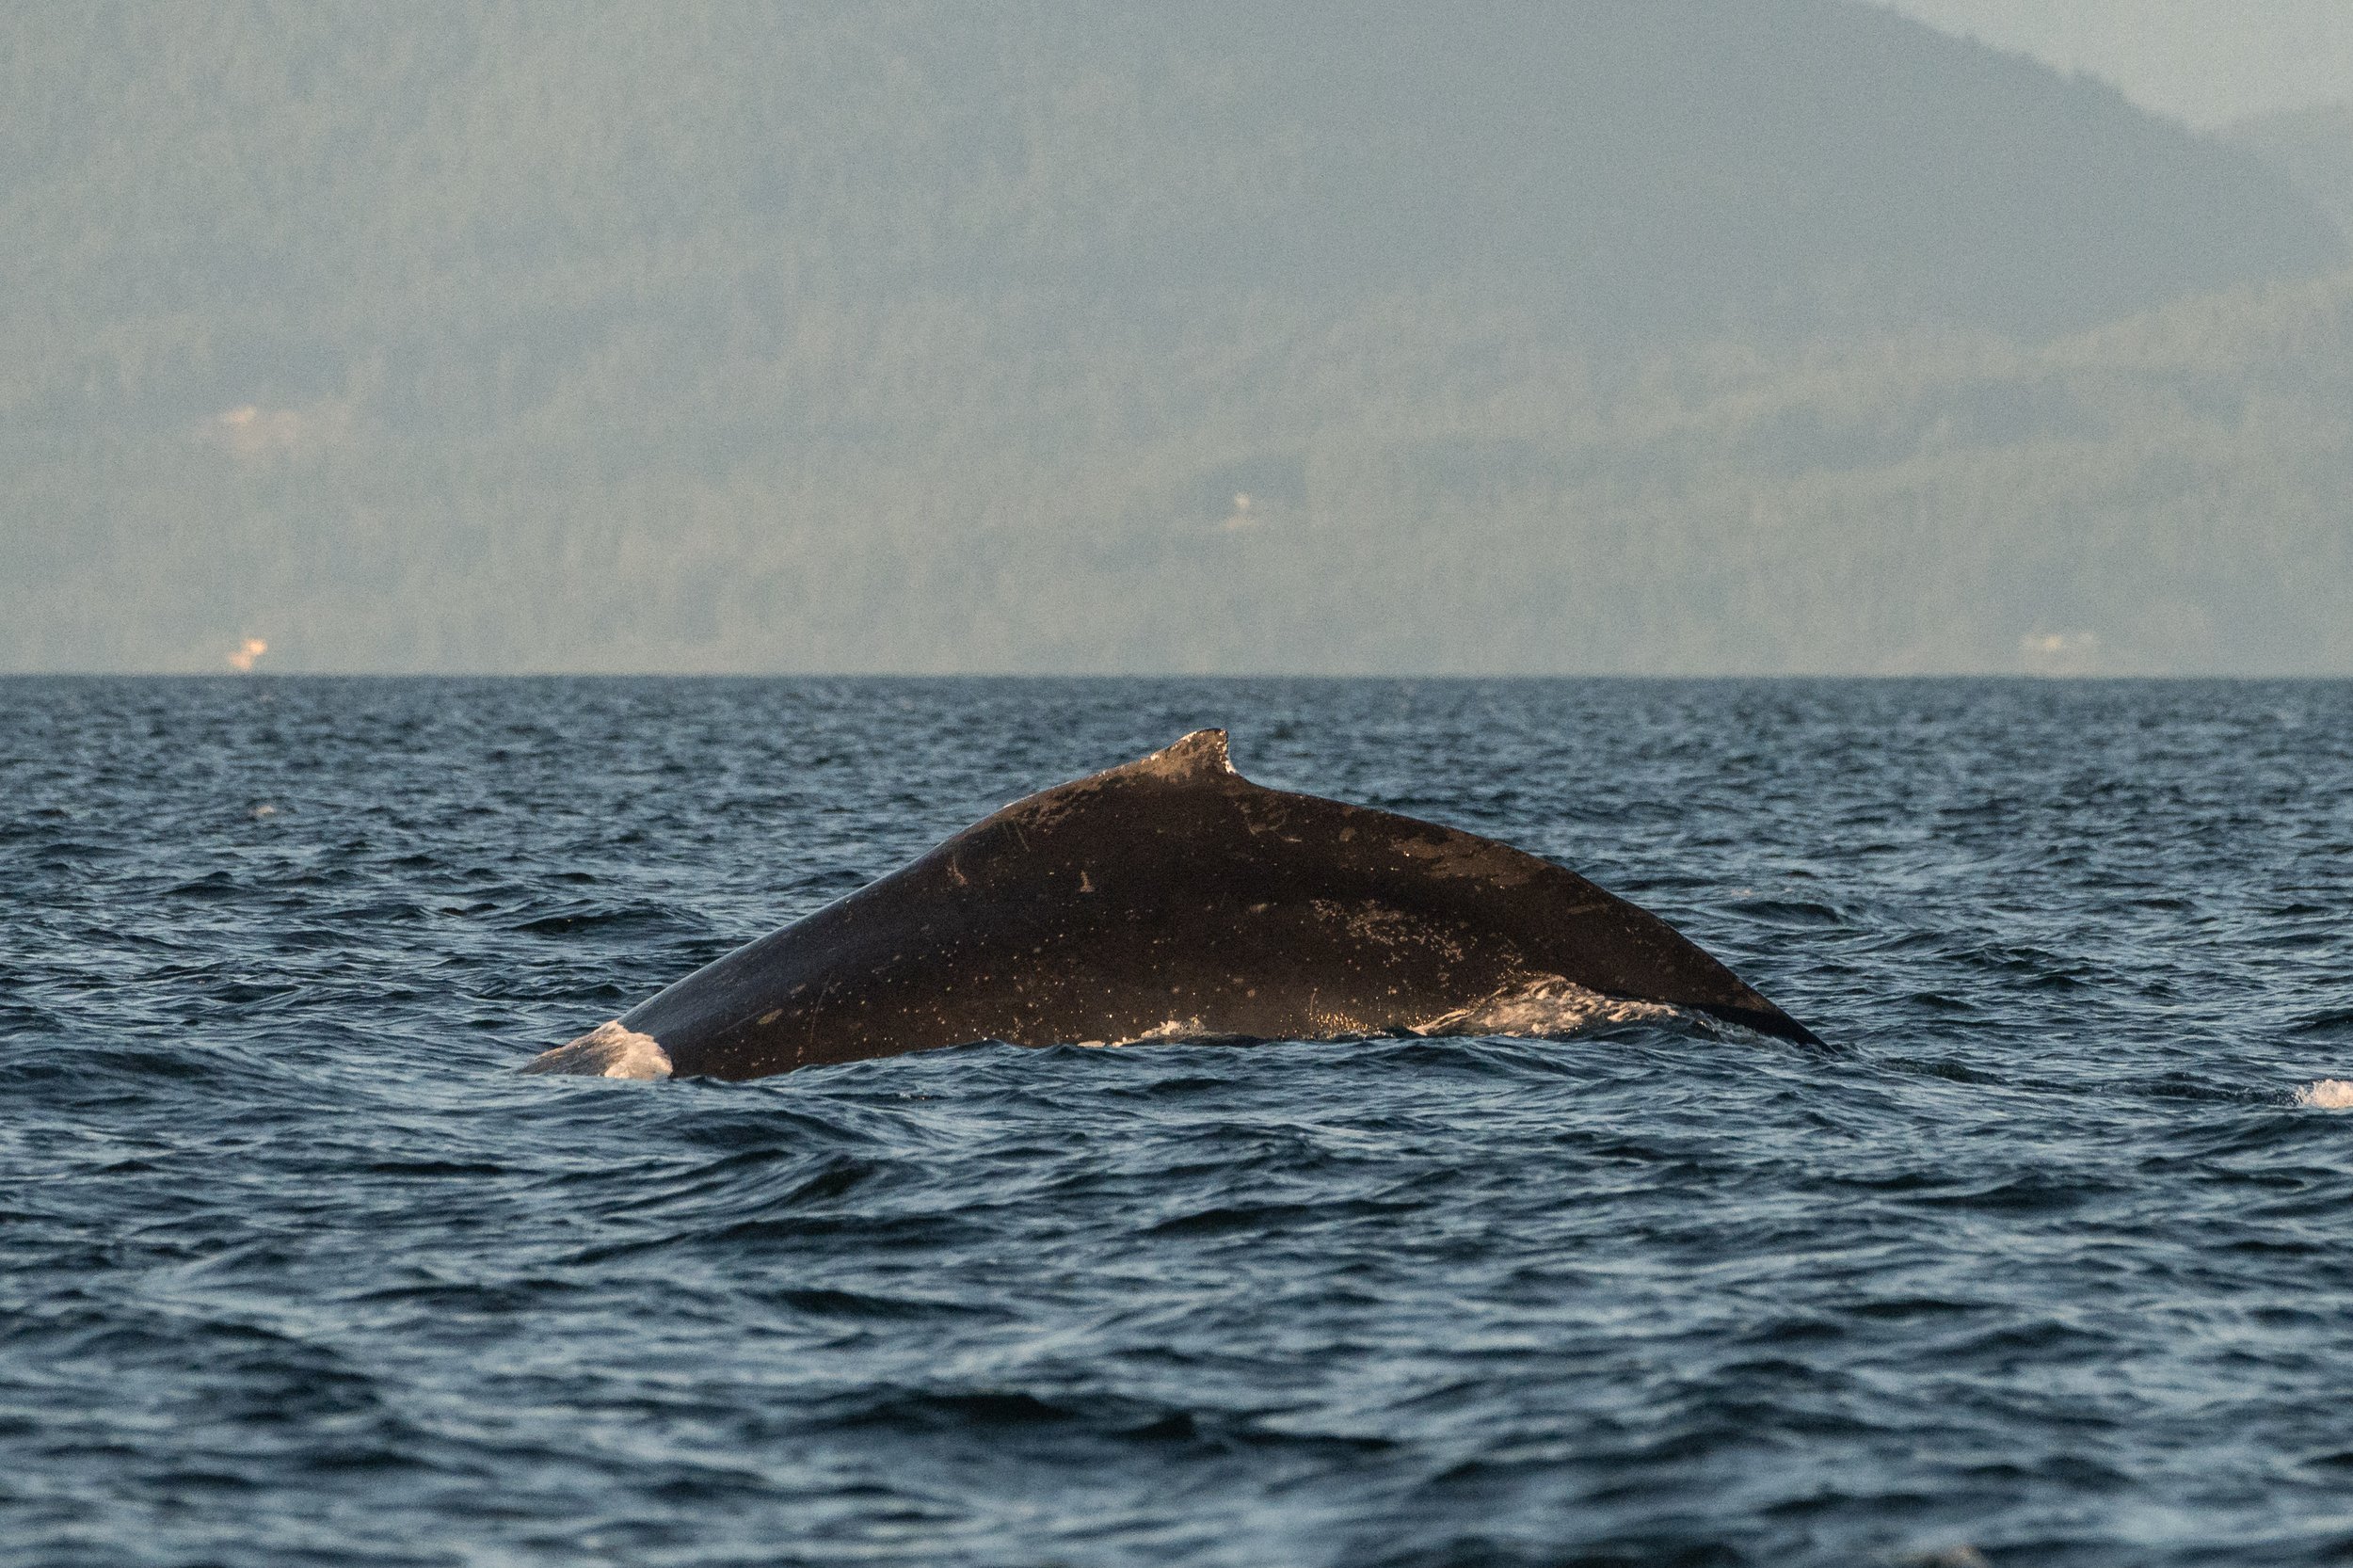
Mantis arching for a dive. Photo by Val Watson.
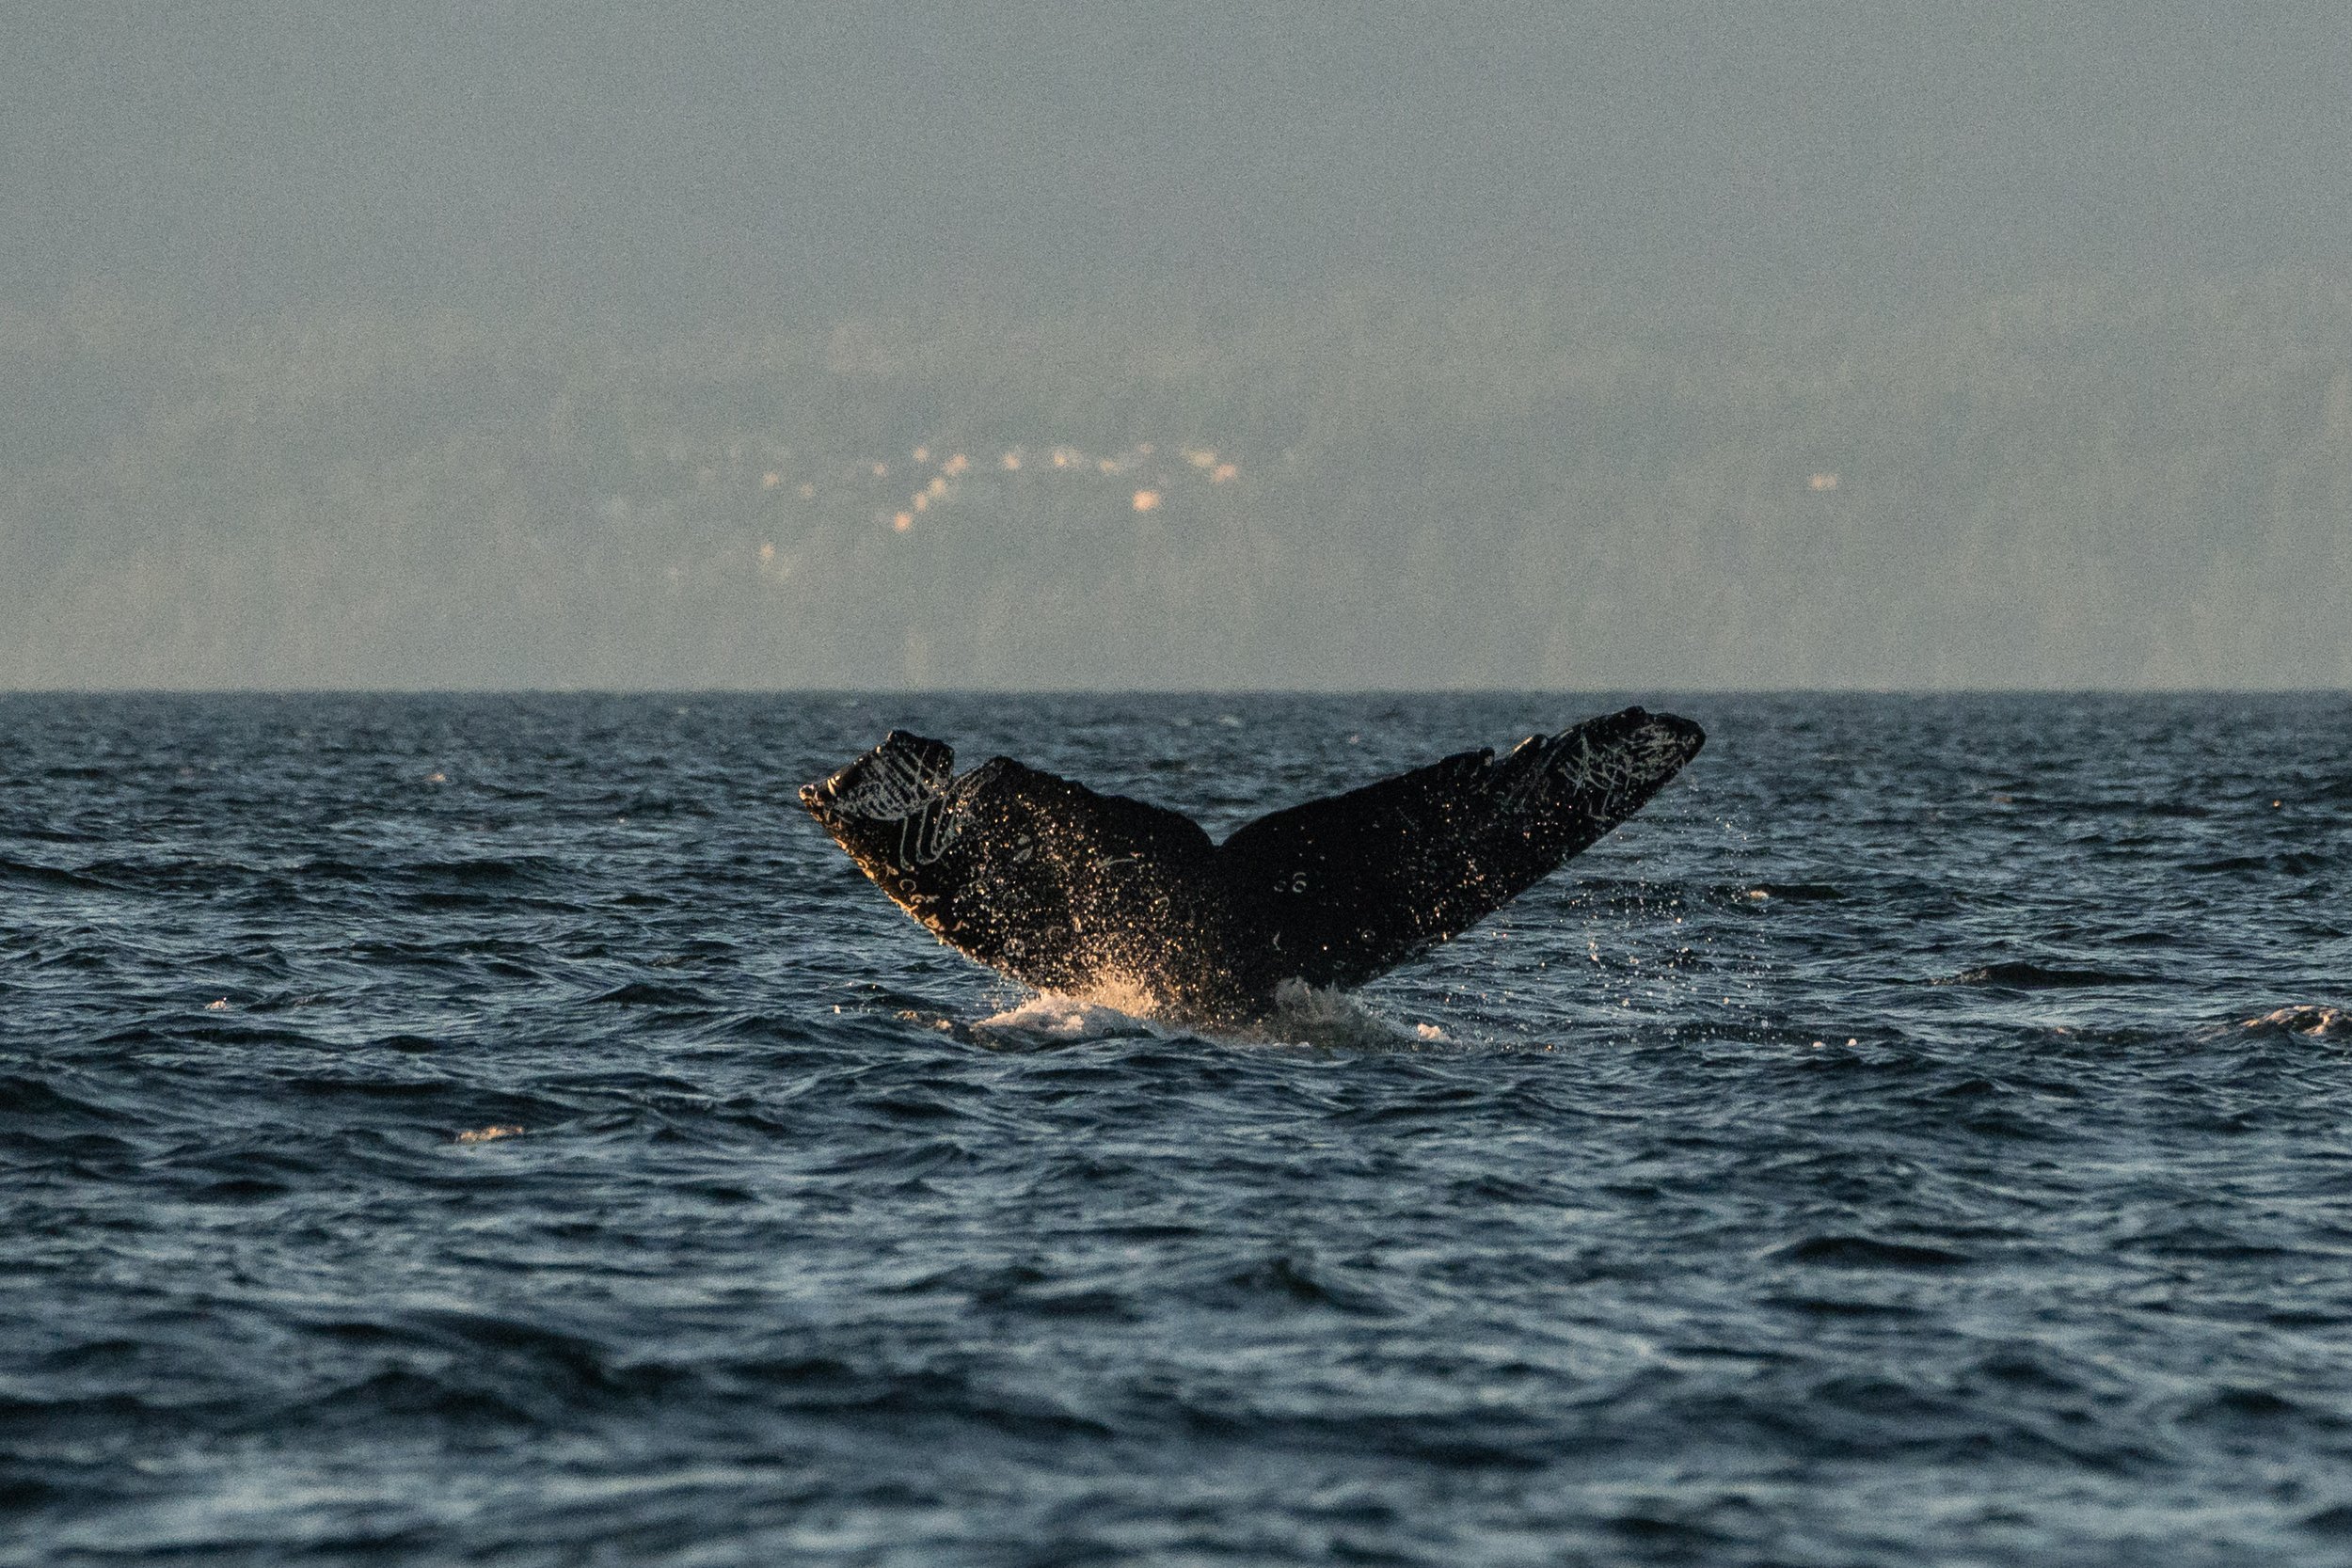
The very scarred underside of Valiant’s tail. Photo by Val Watson.
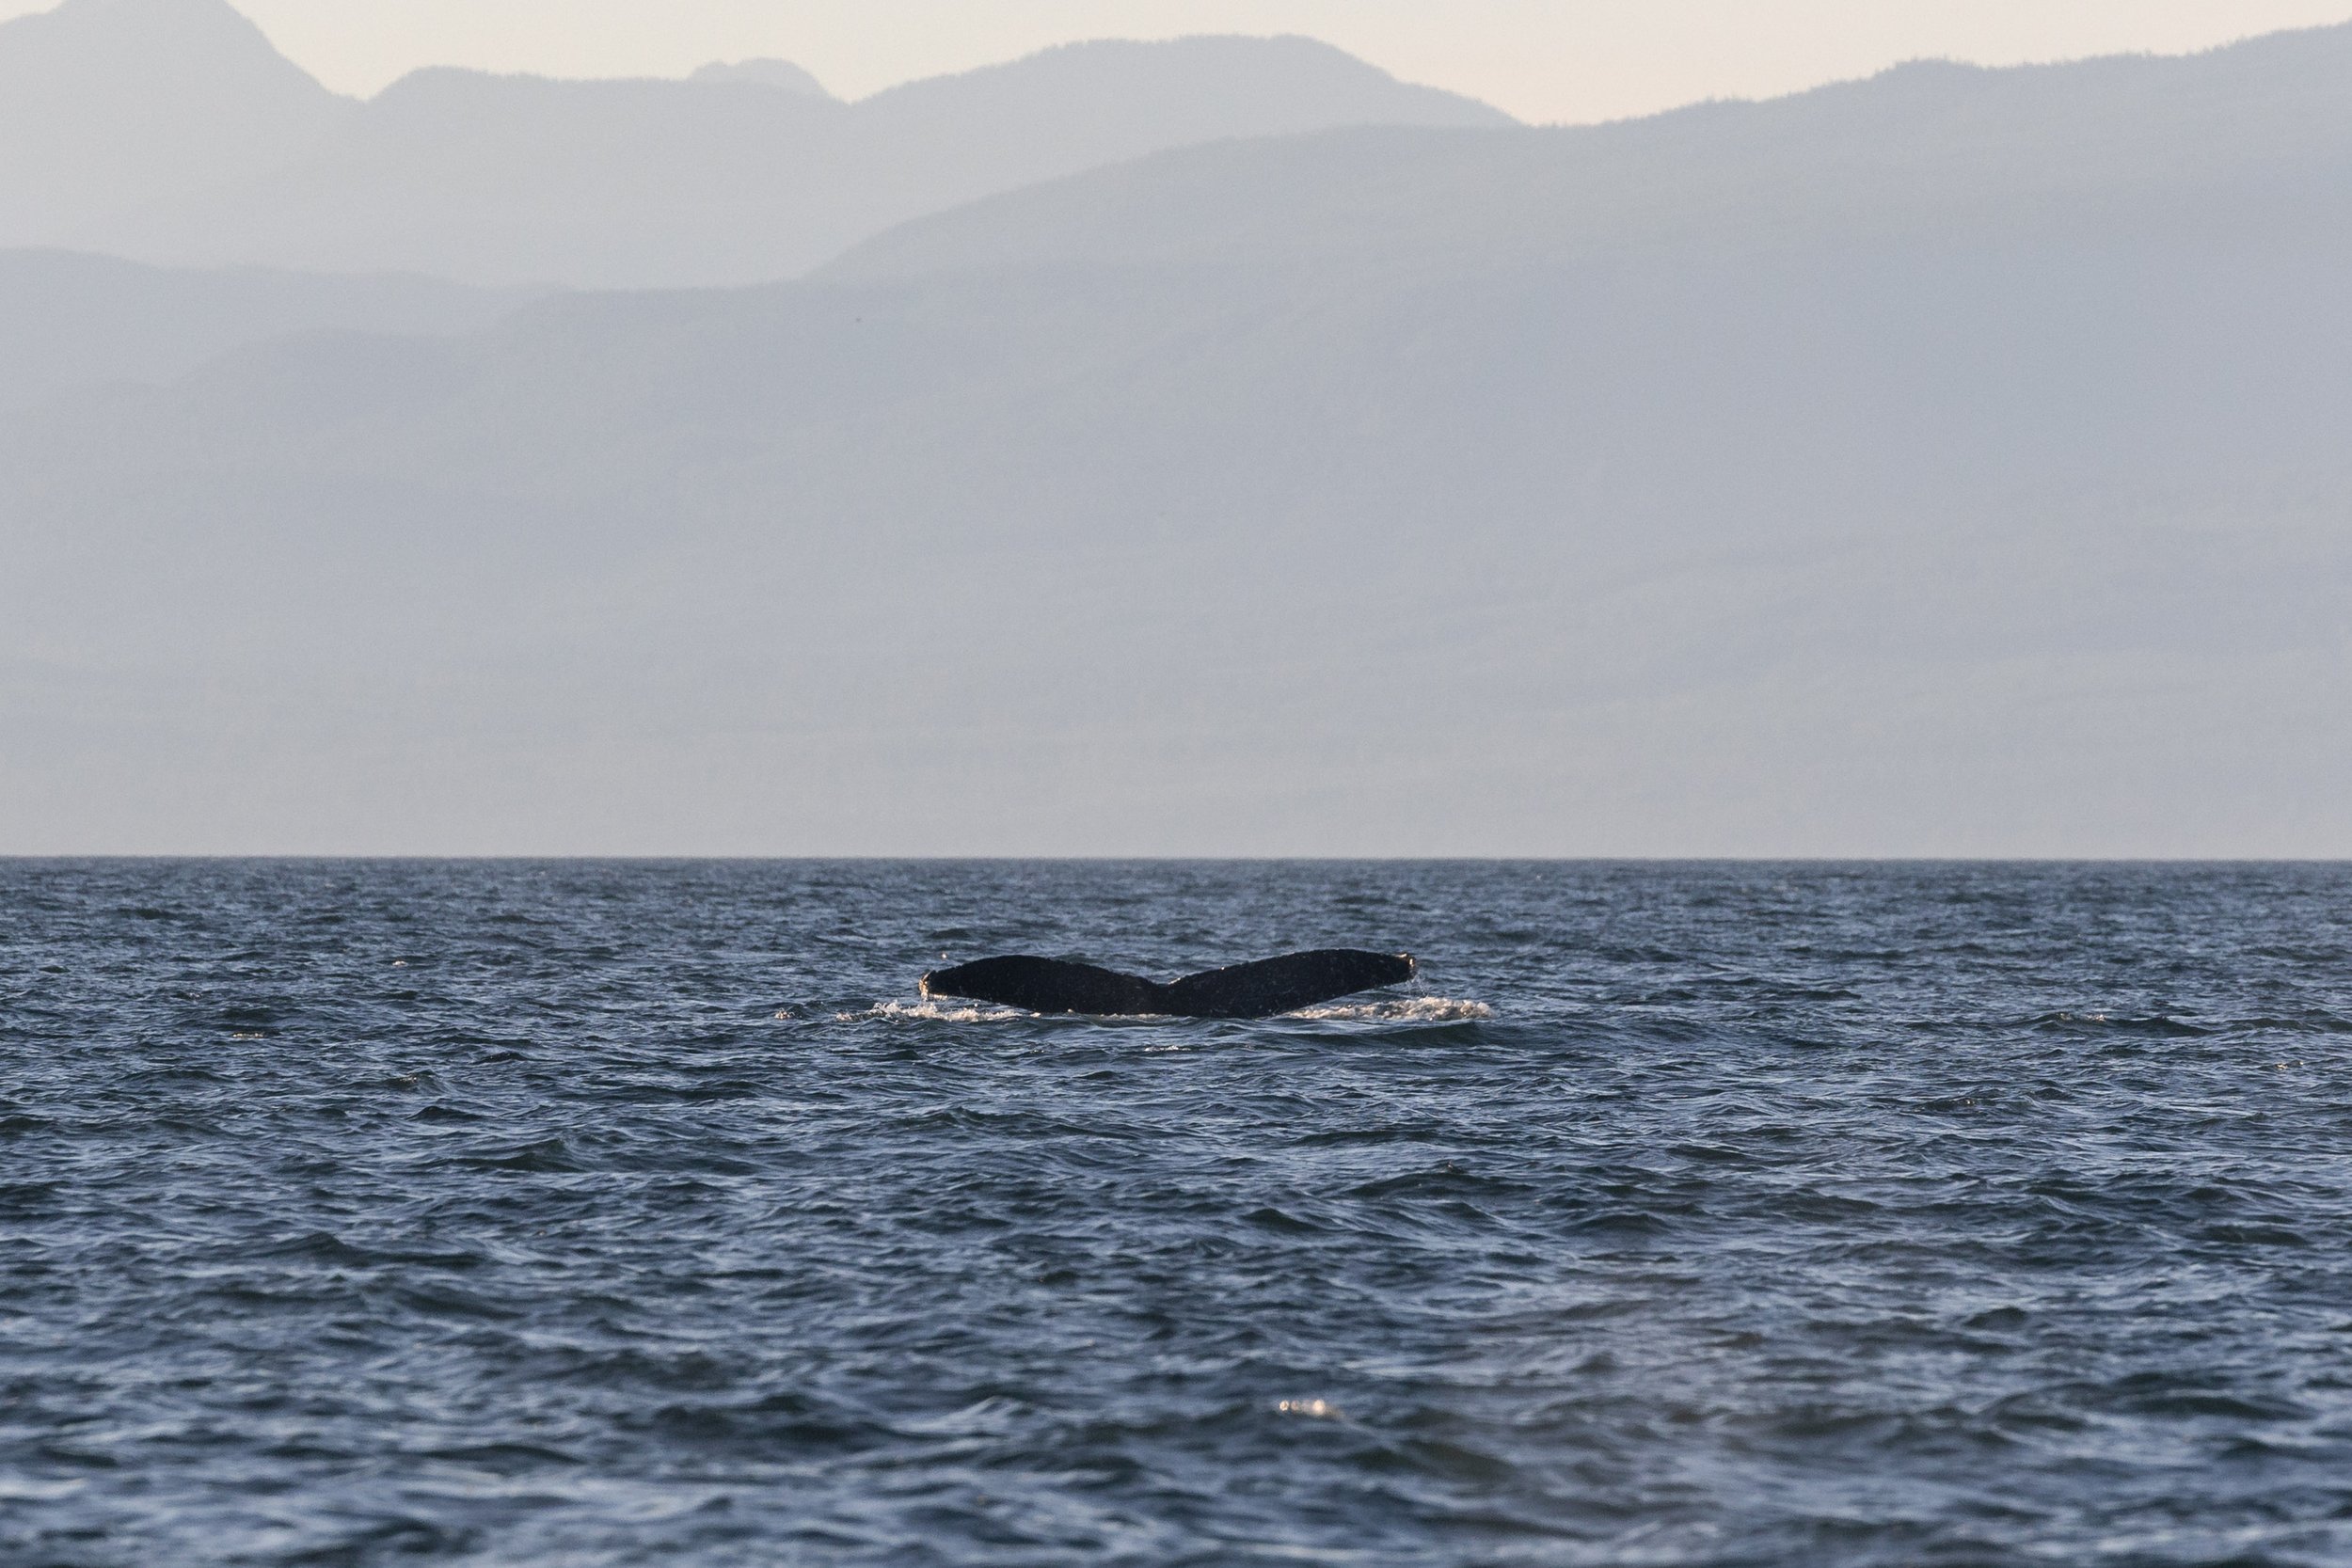
Mantis going for a dive. Photo by Jordan Robinson.
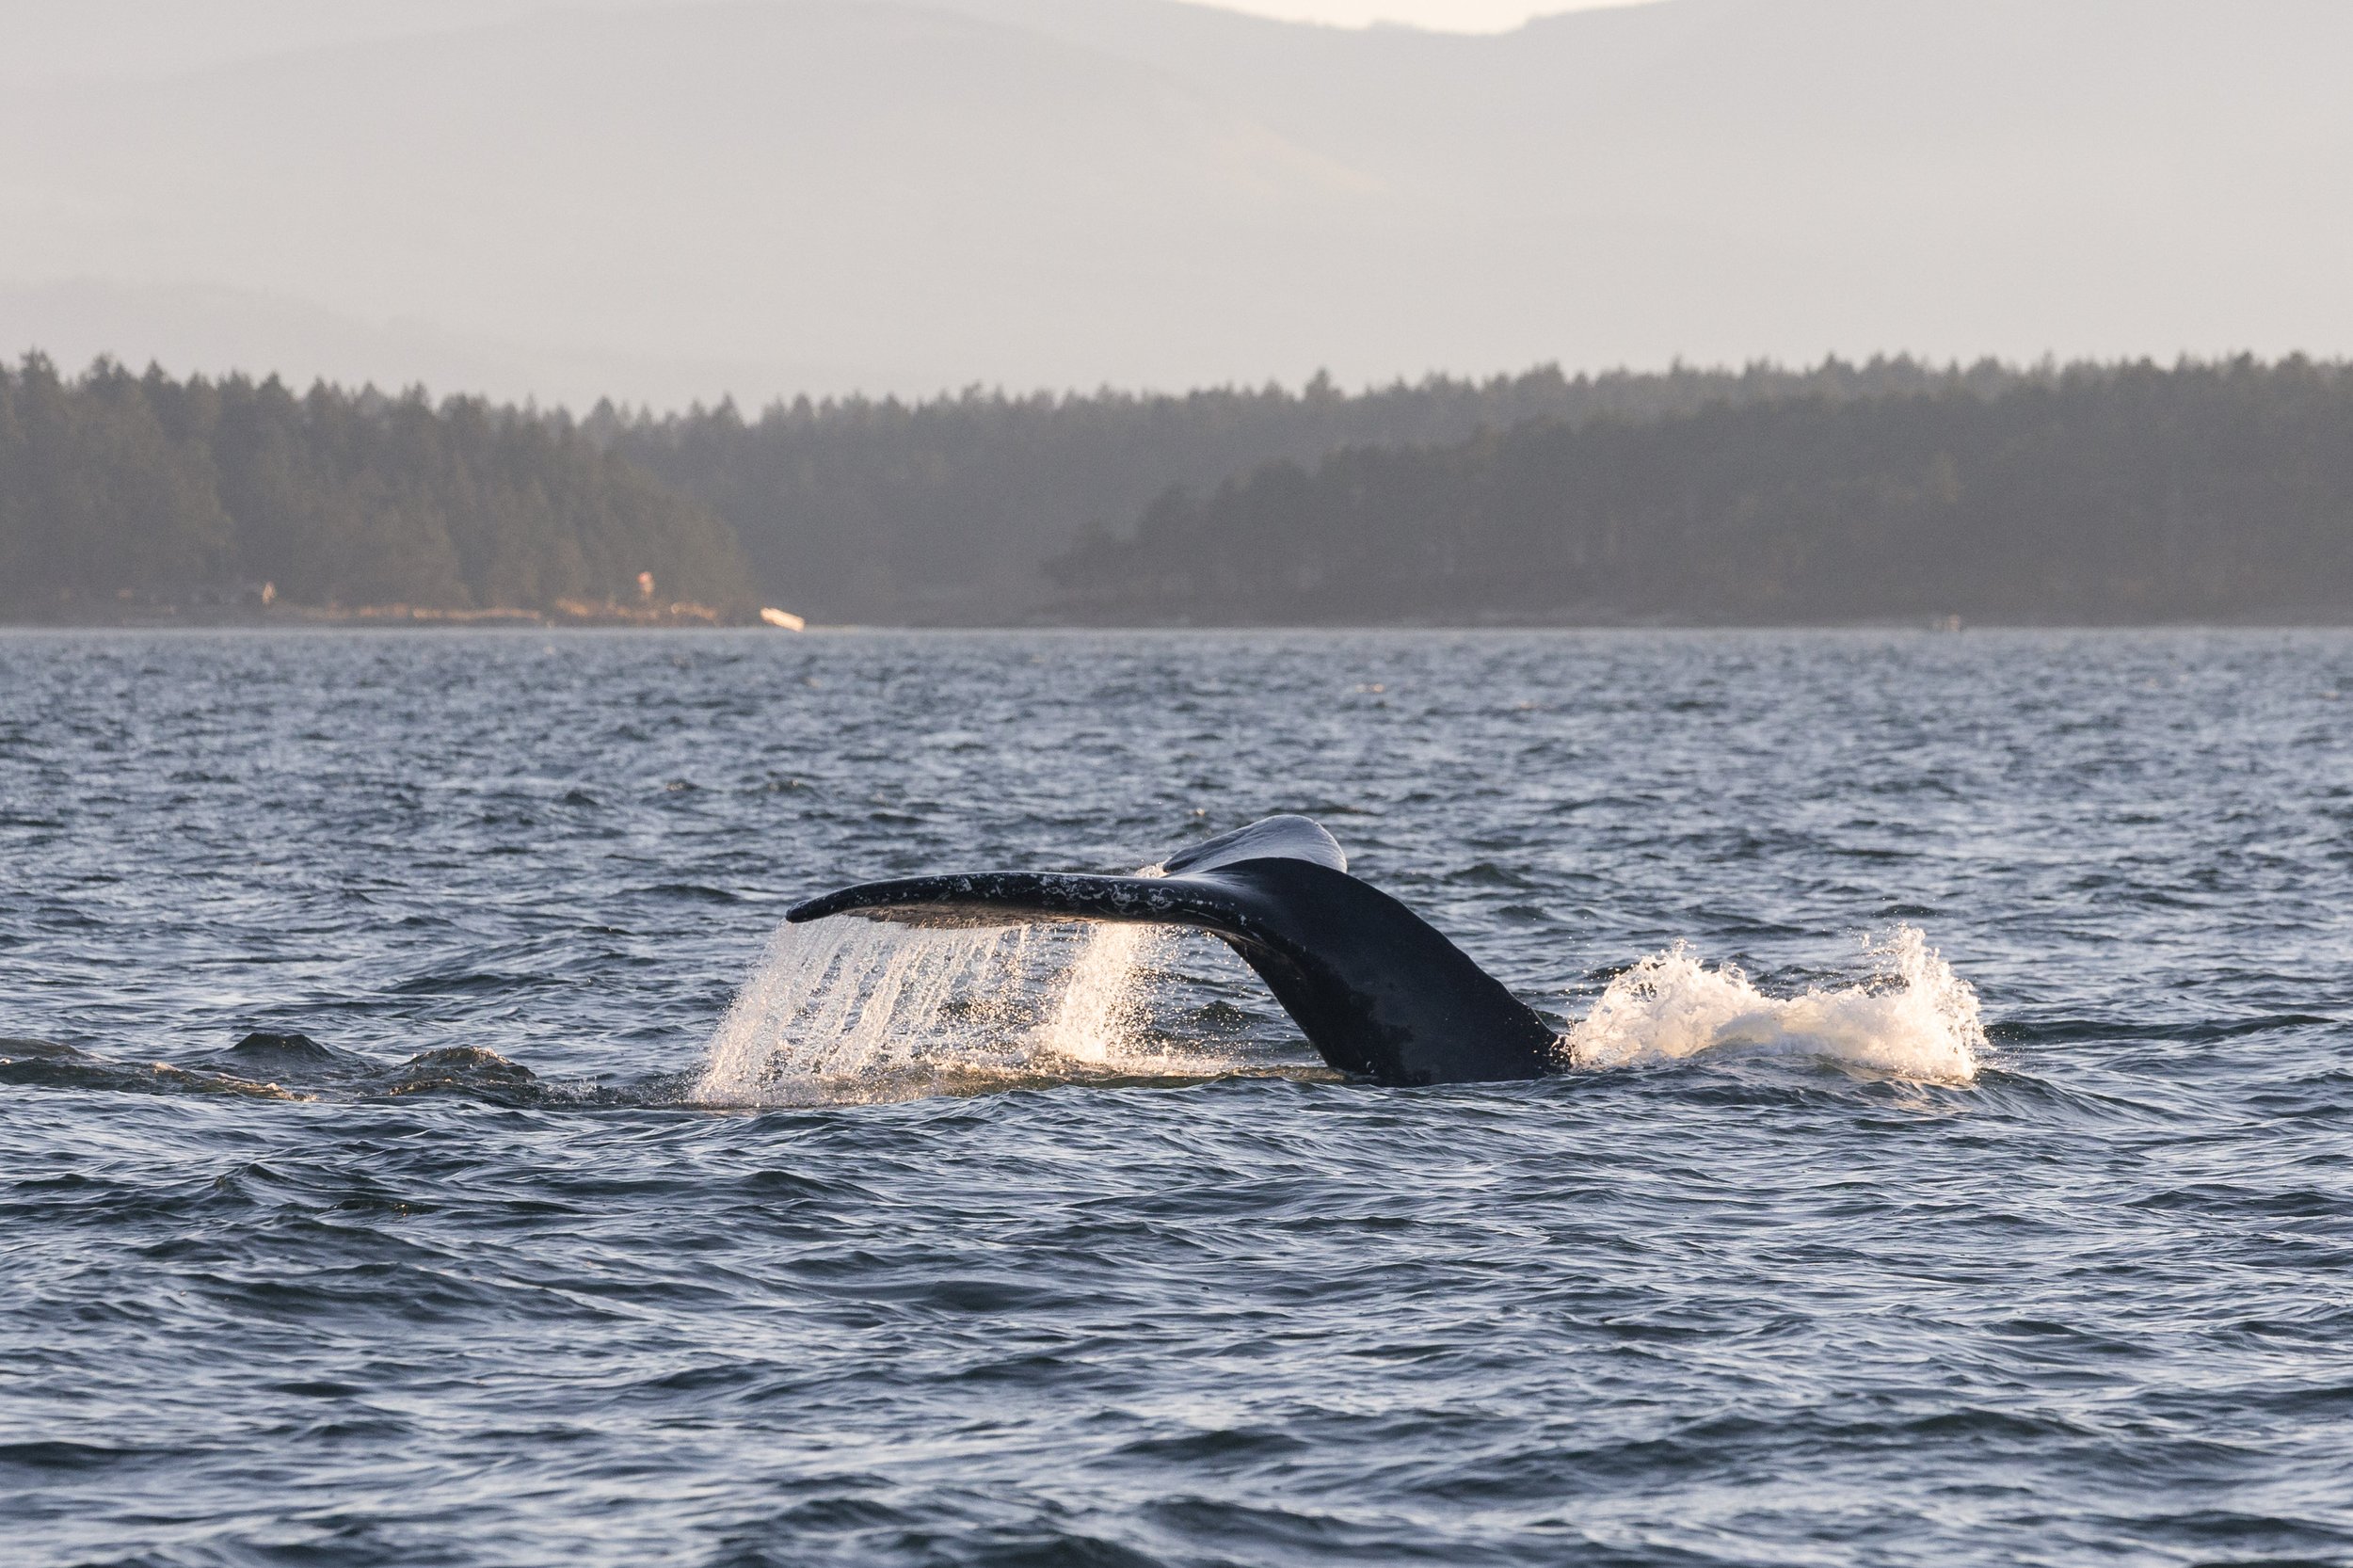
Valiant going for a dive with a lovely fluke waterfall. Photo by Jordan Robinson.
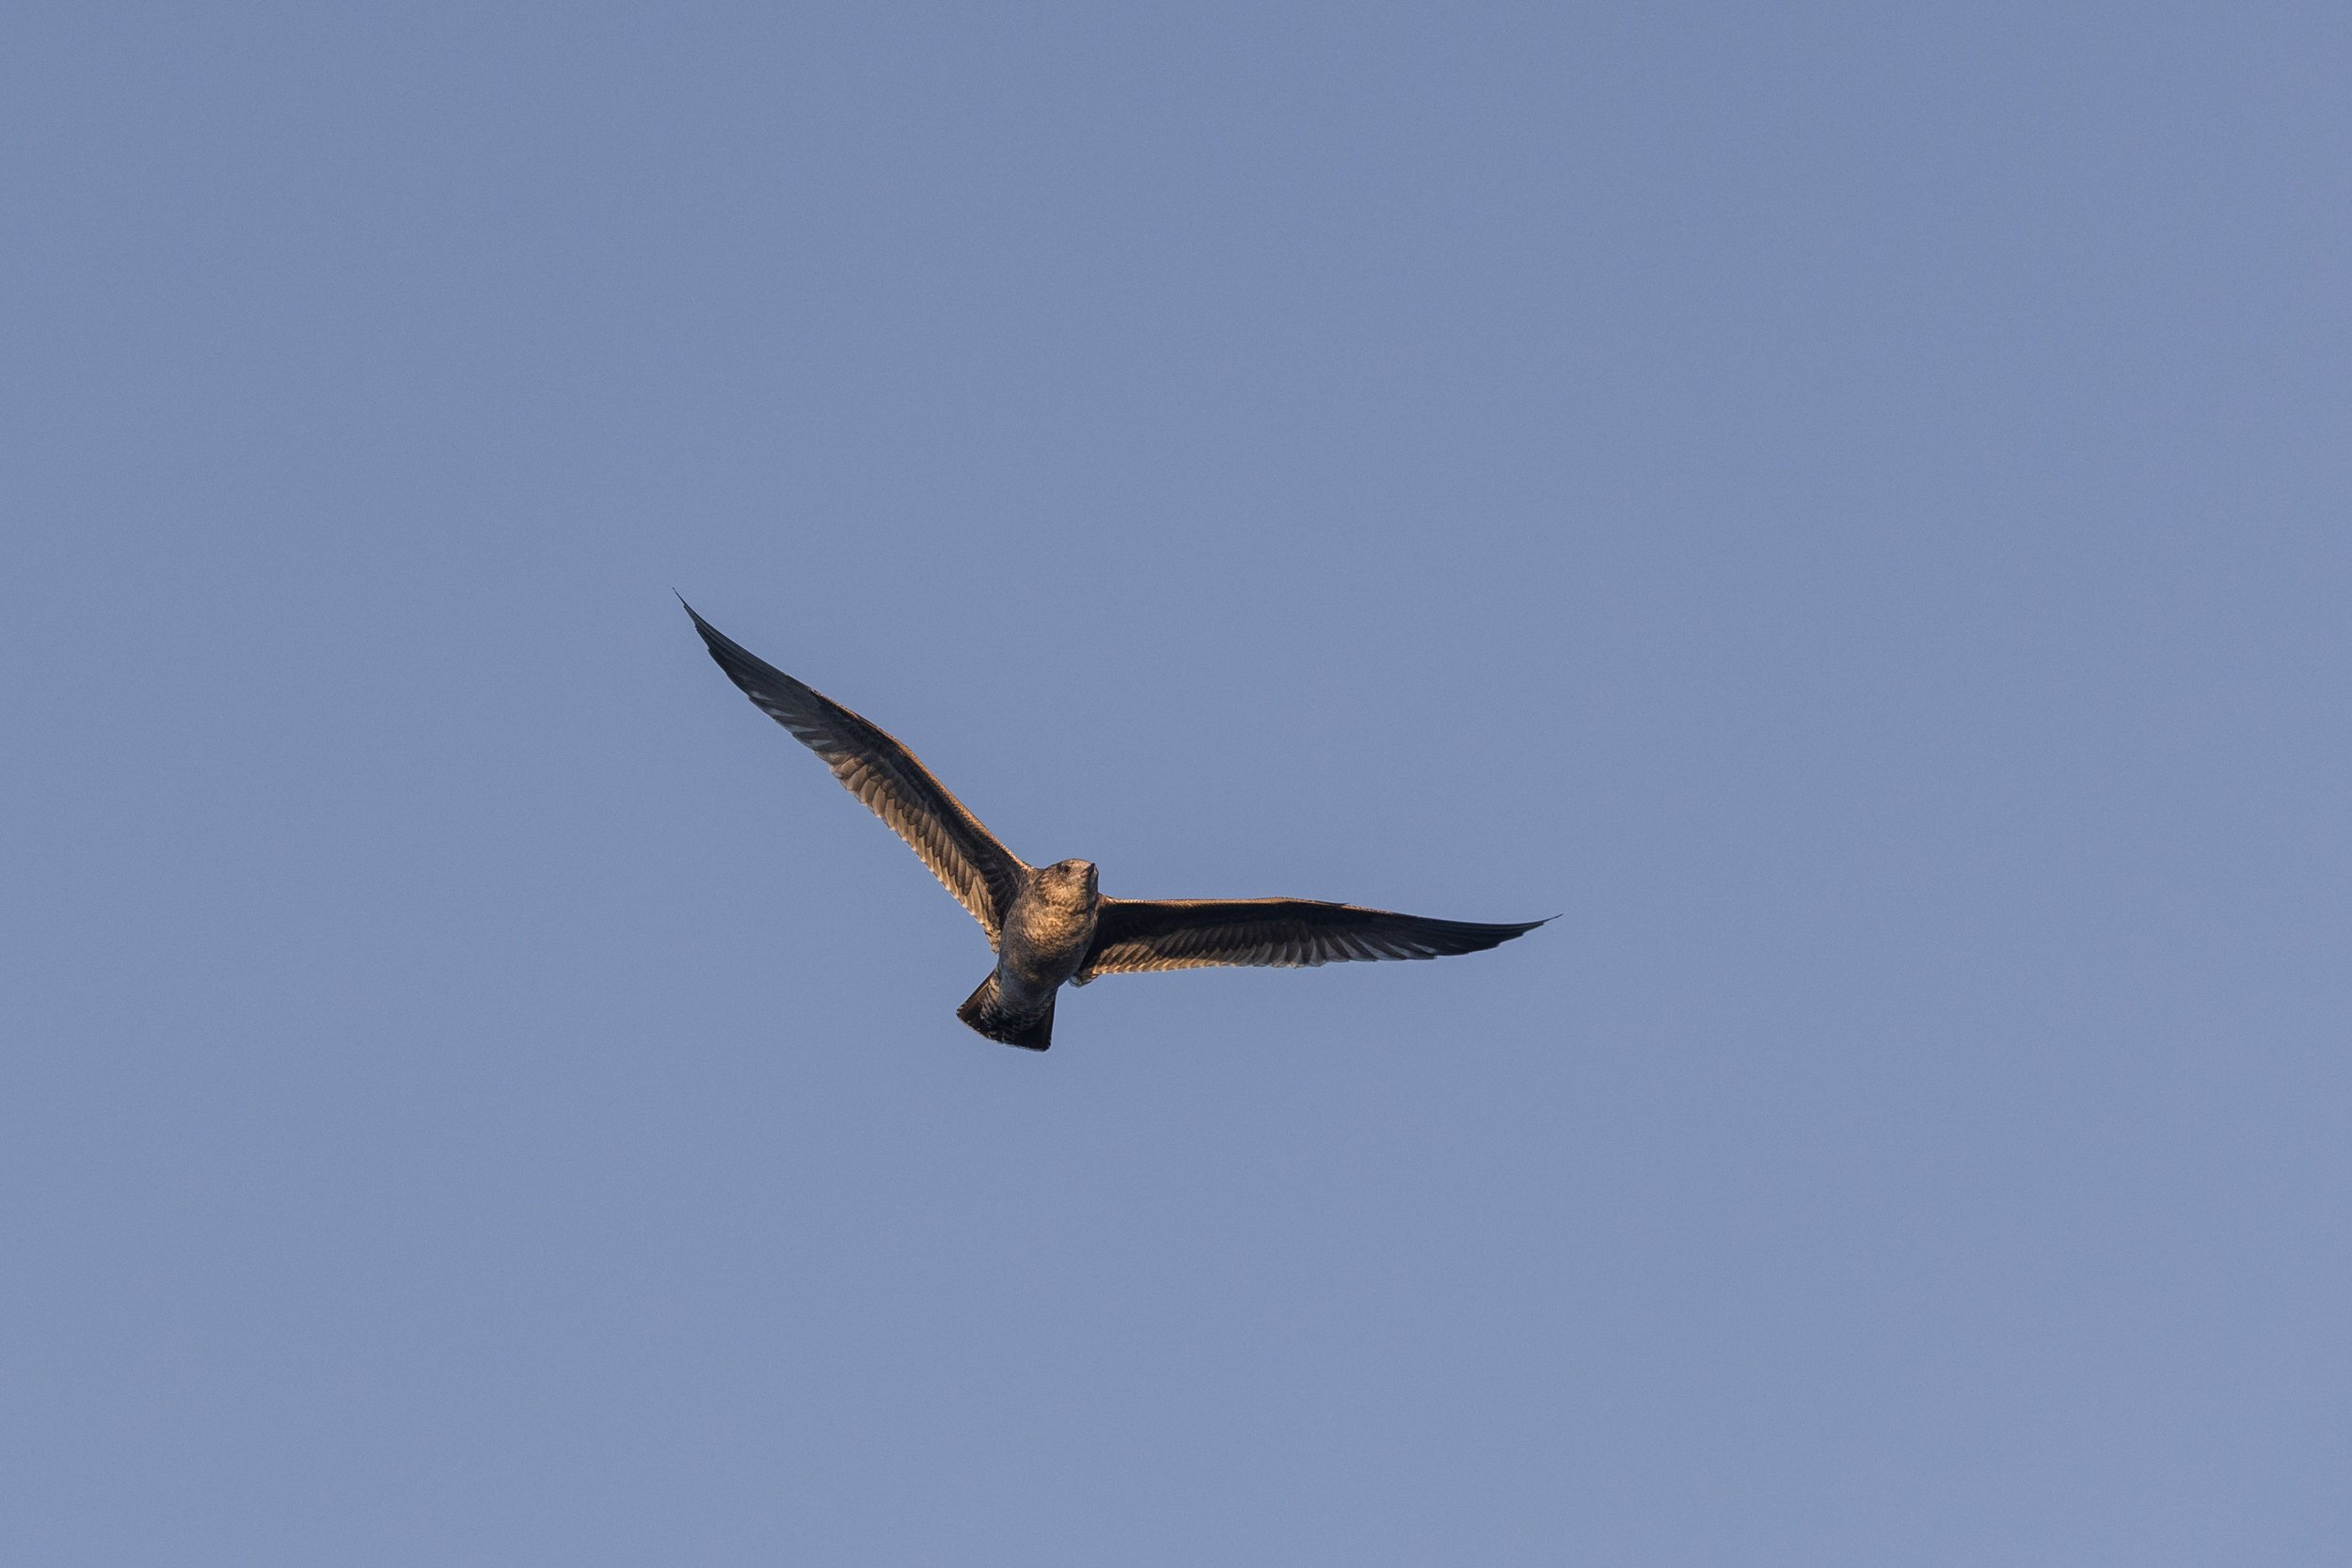
A gull soaring overhead. Photo by Jordan Robinson.
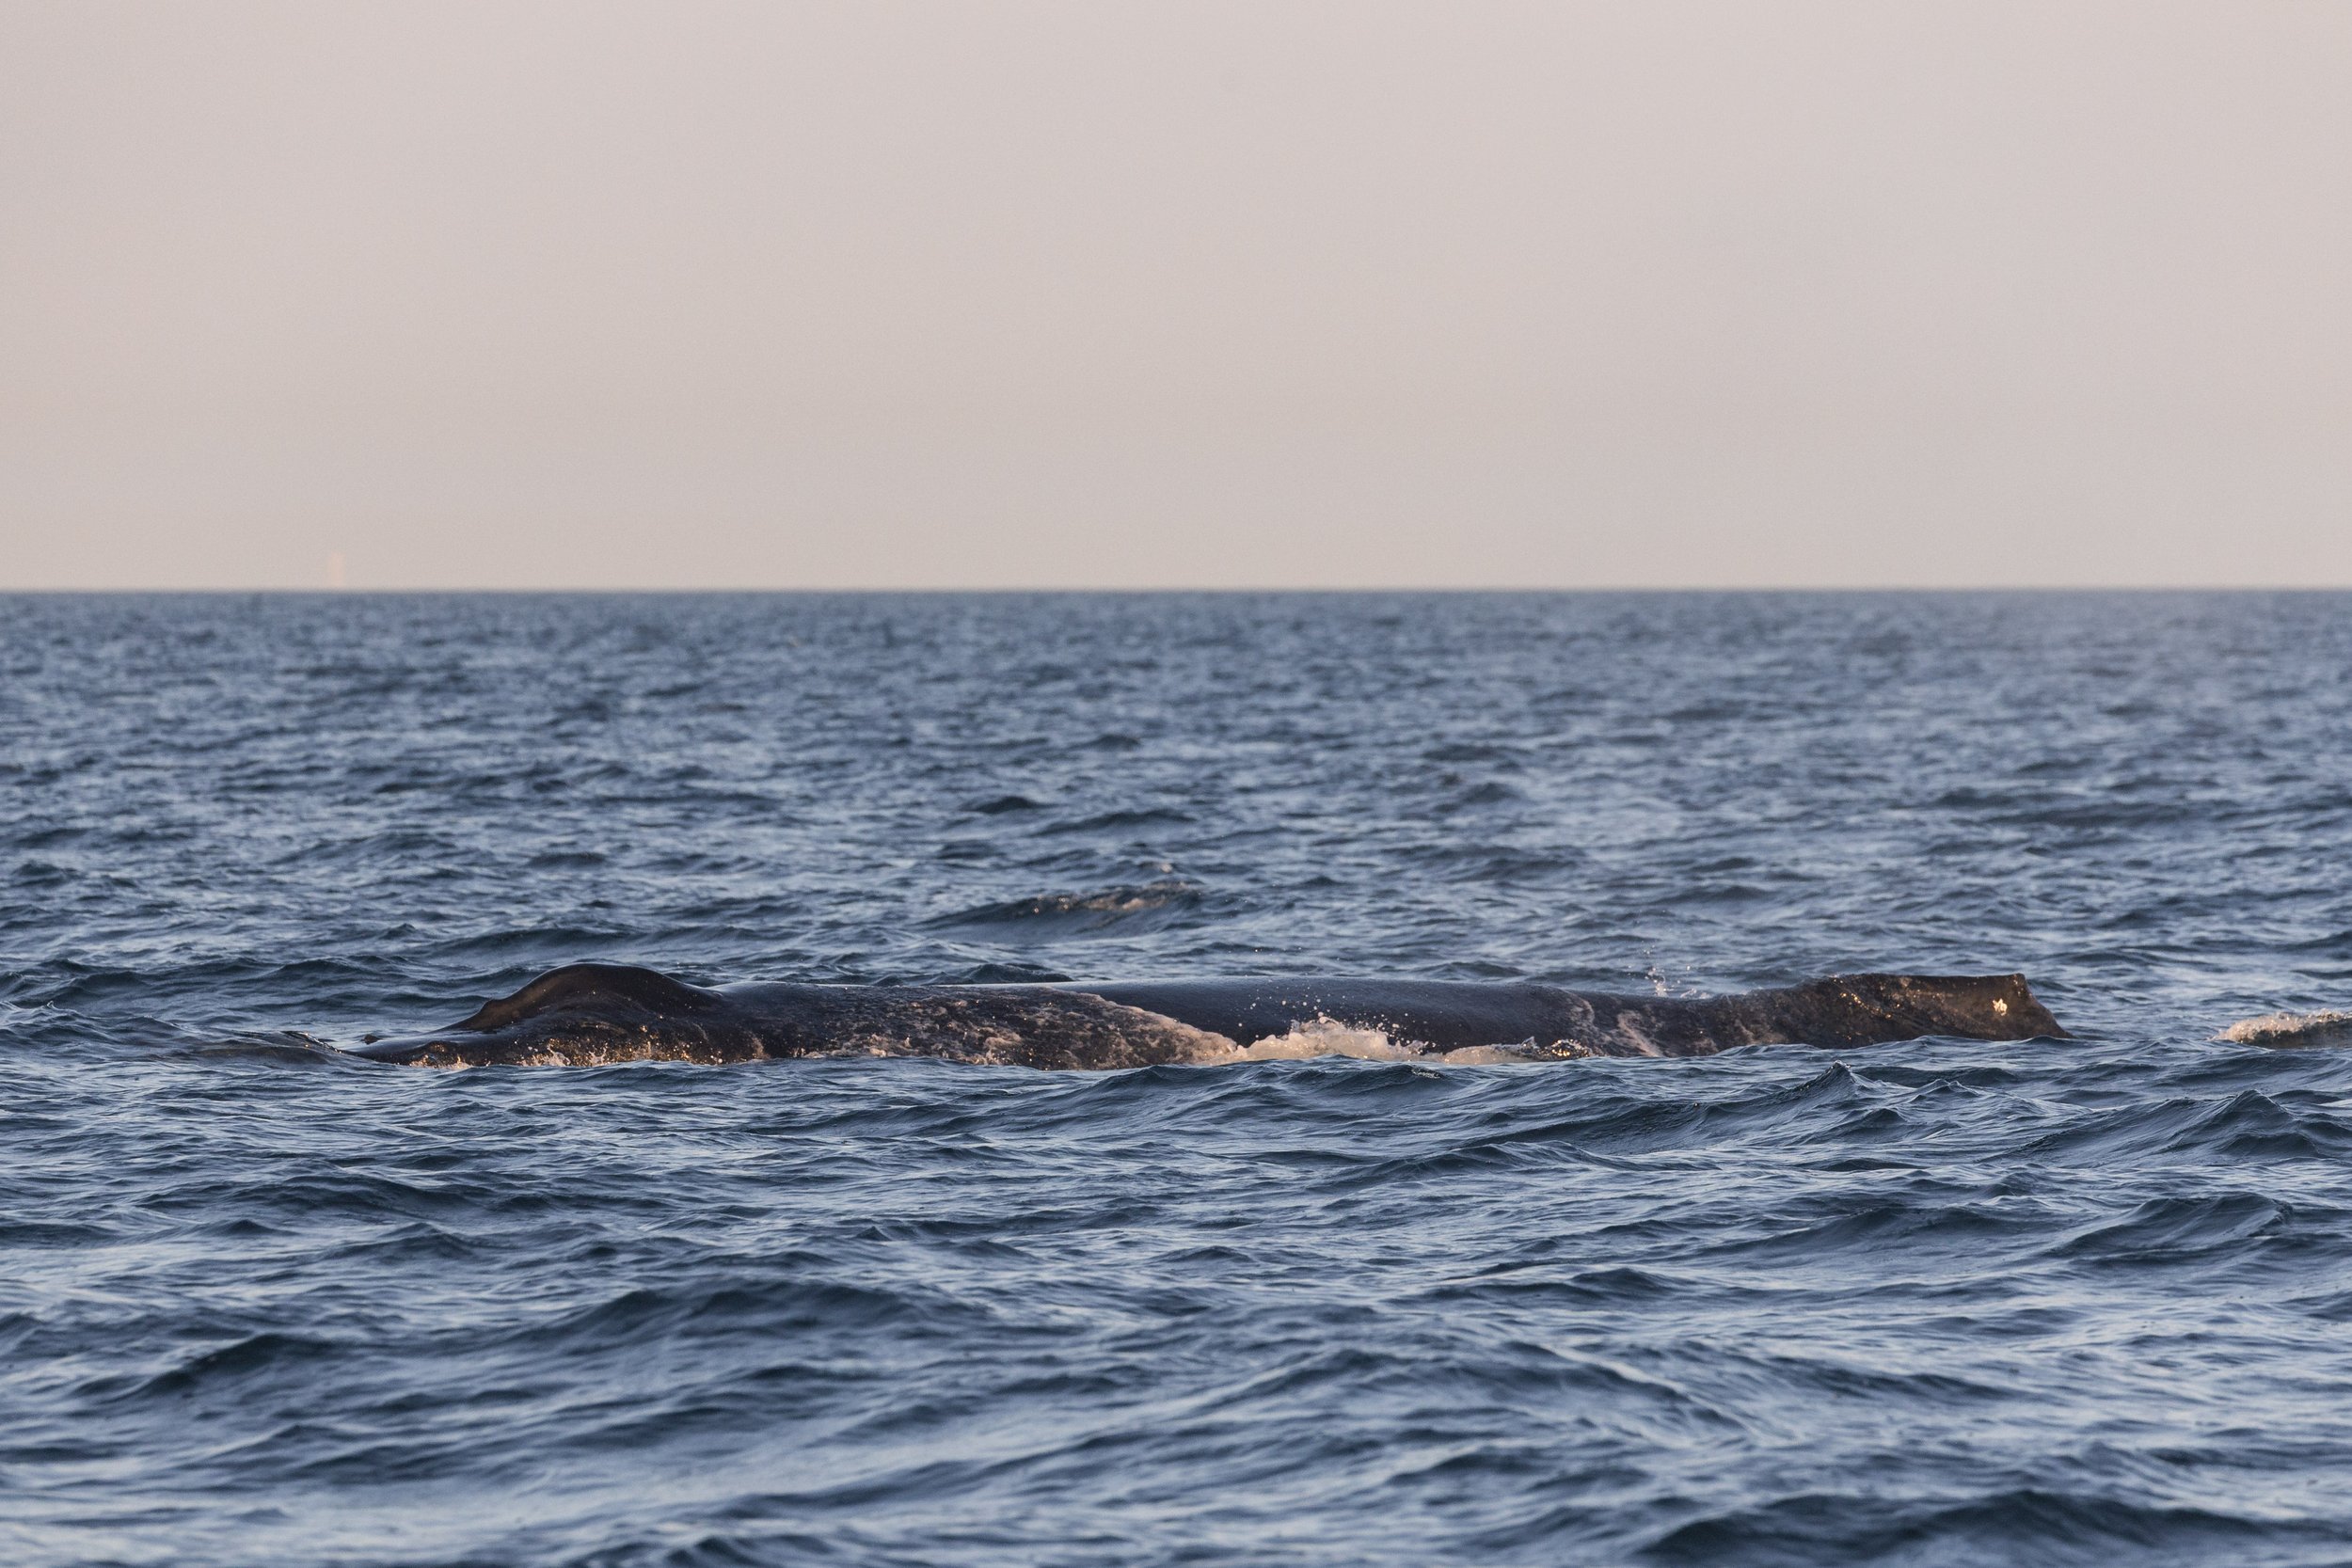
A nice look at Valiant as she surfaces in the waves. Photo by Jordan Robinson.
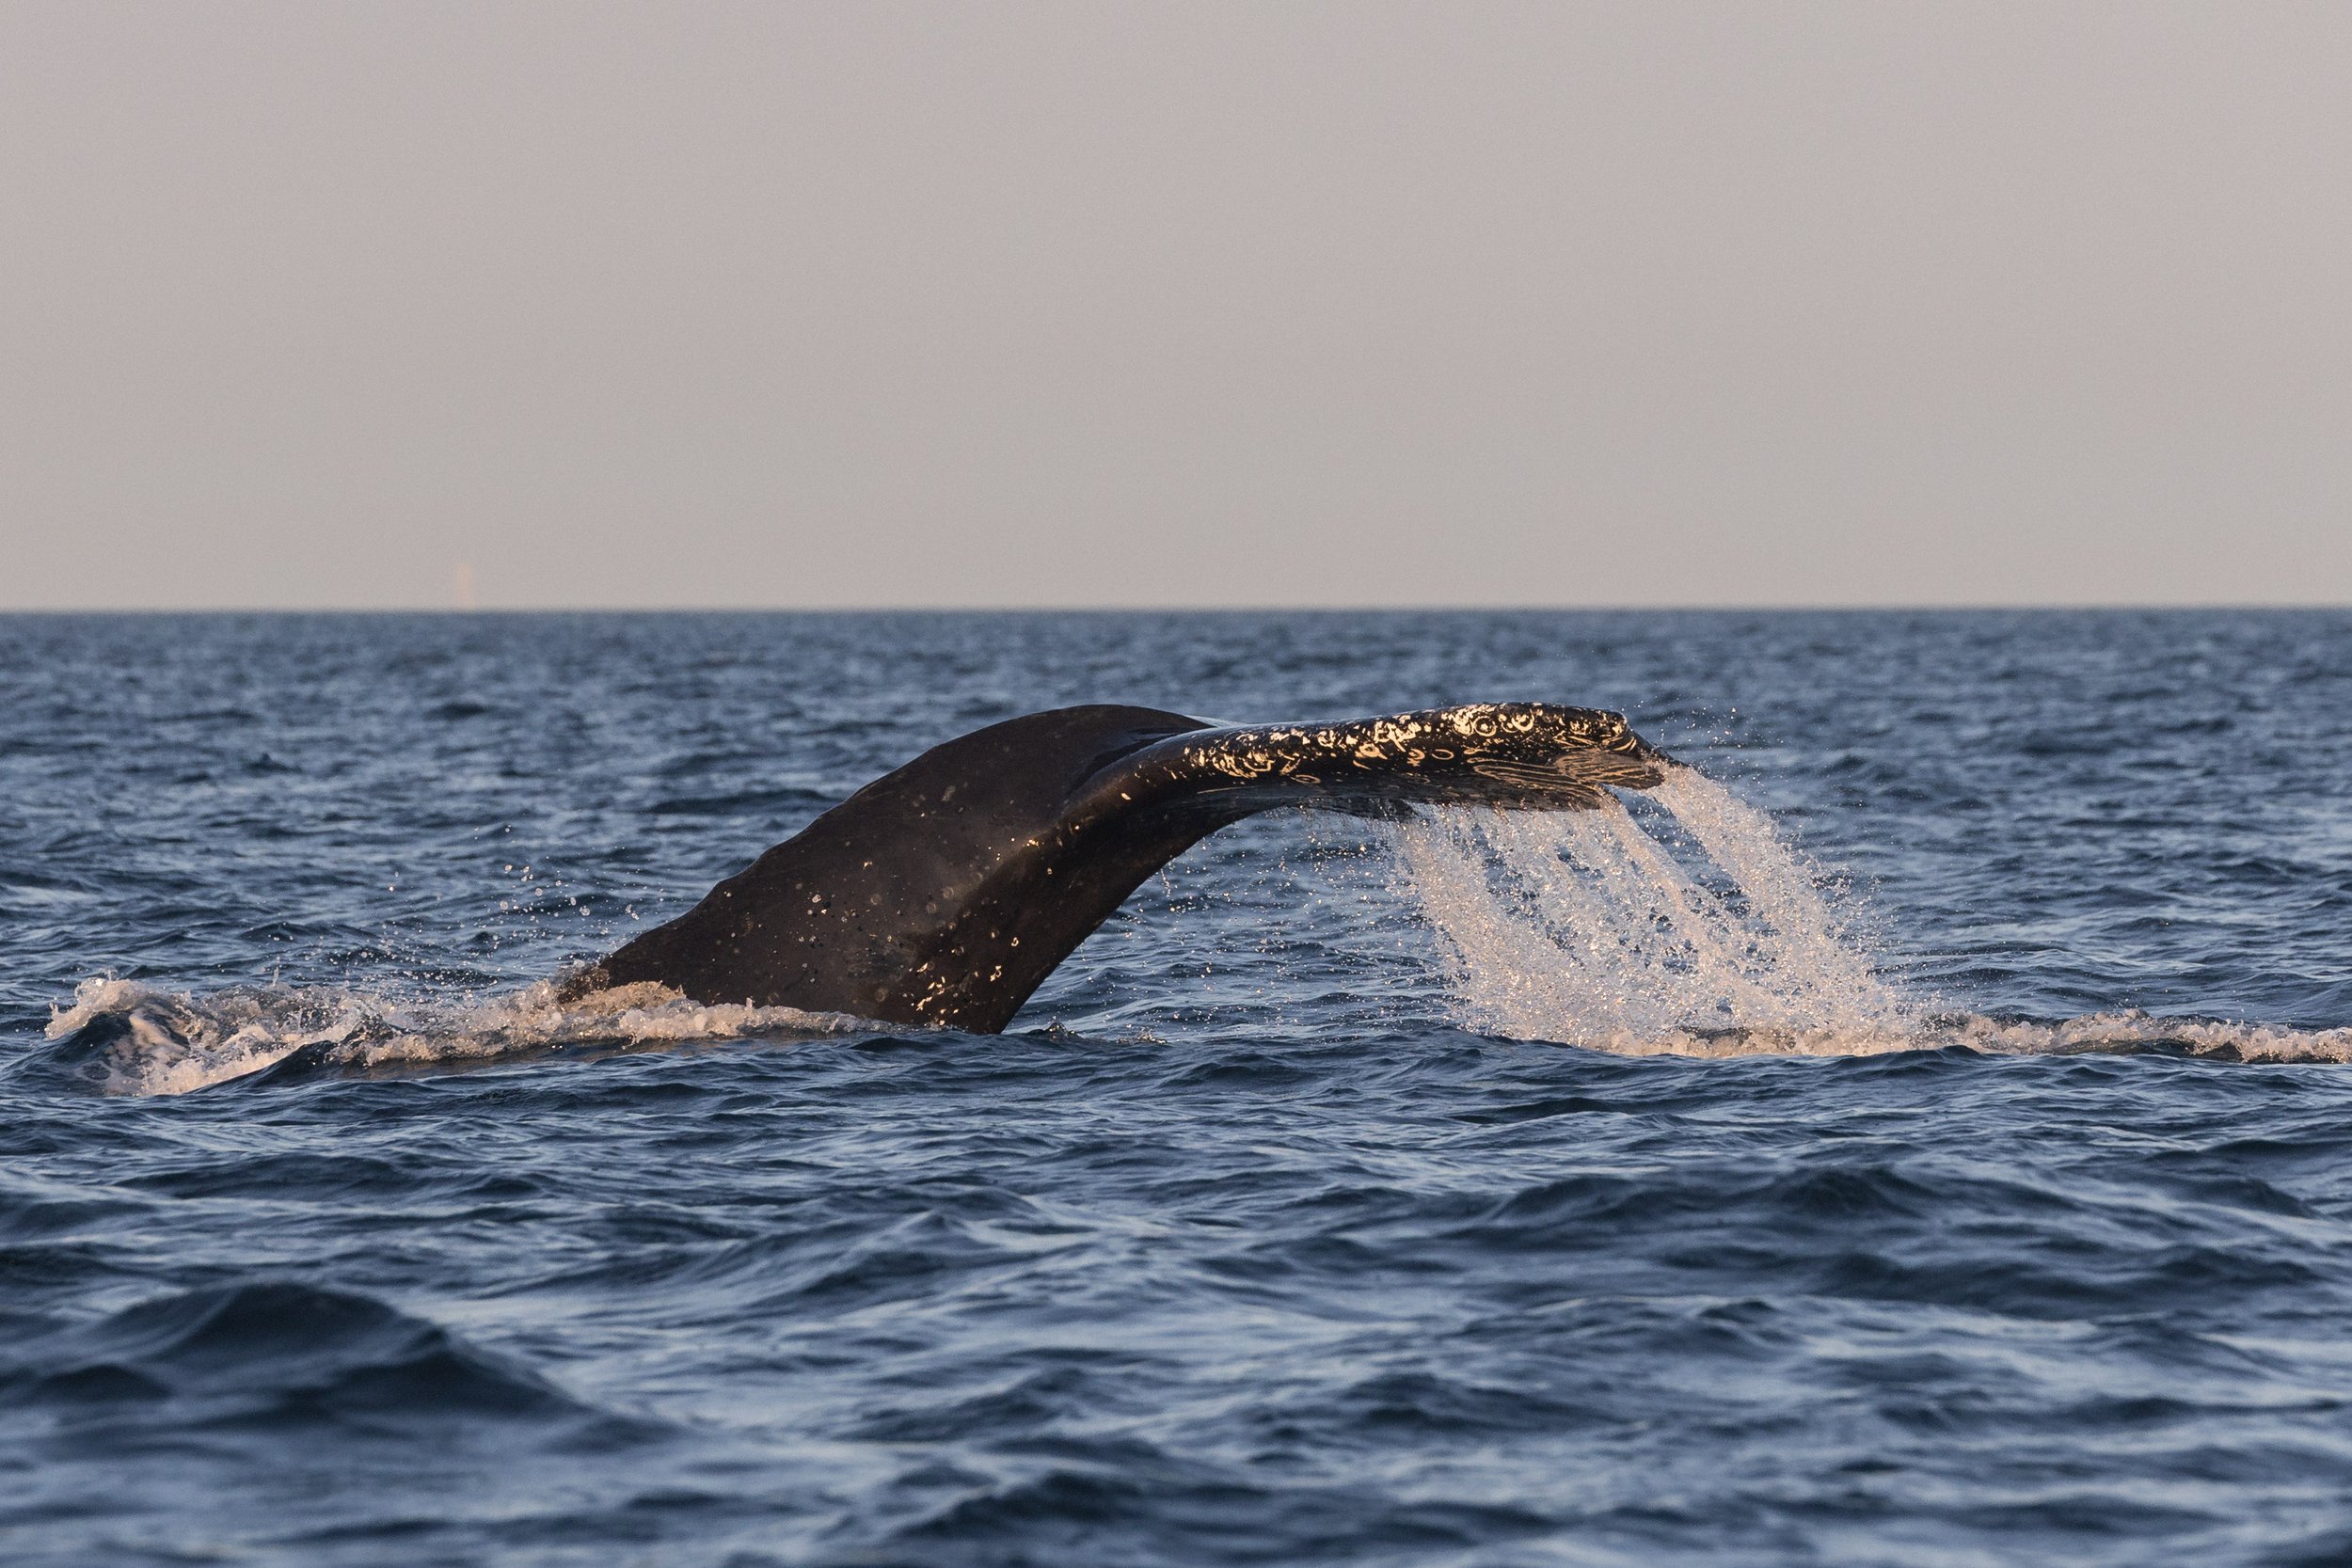
Valiant going for a dive. Photo by Jordan Robinson.
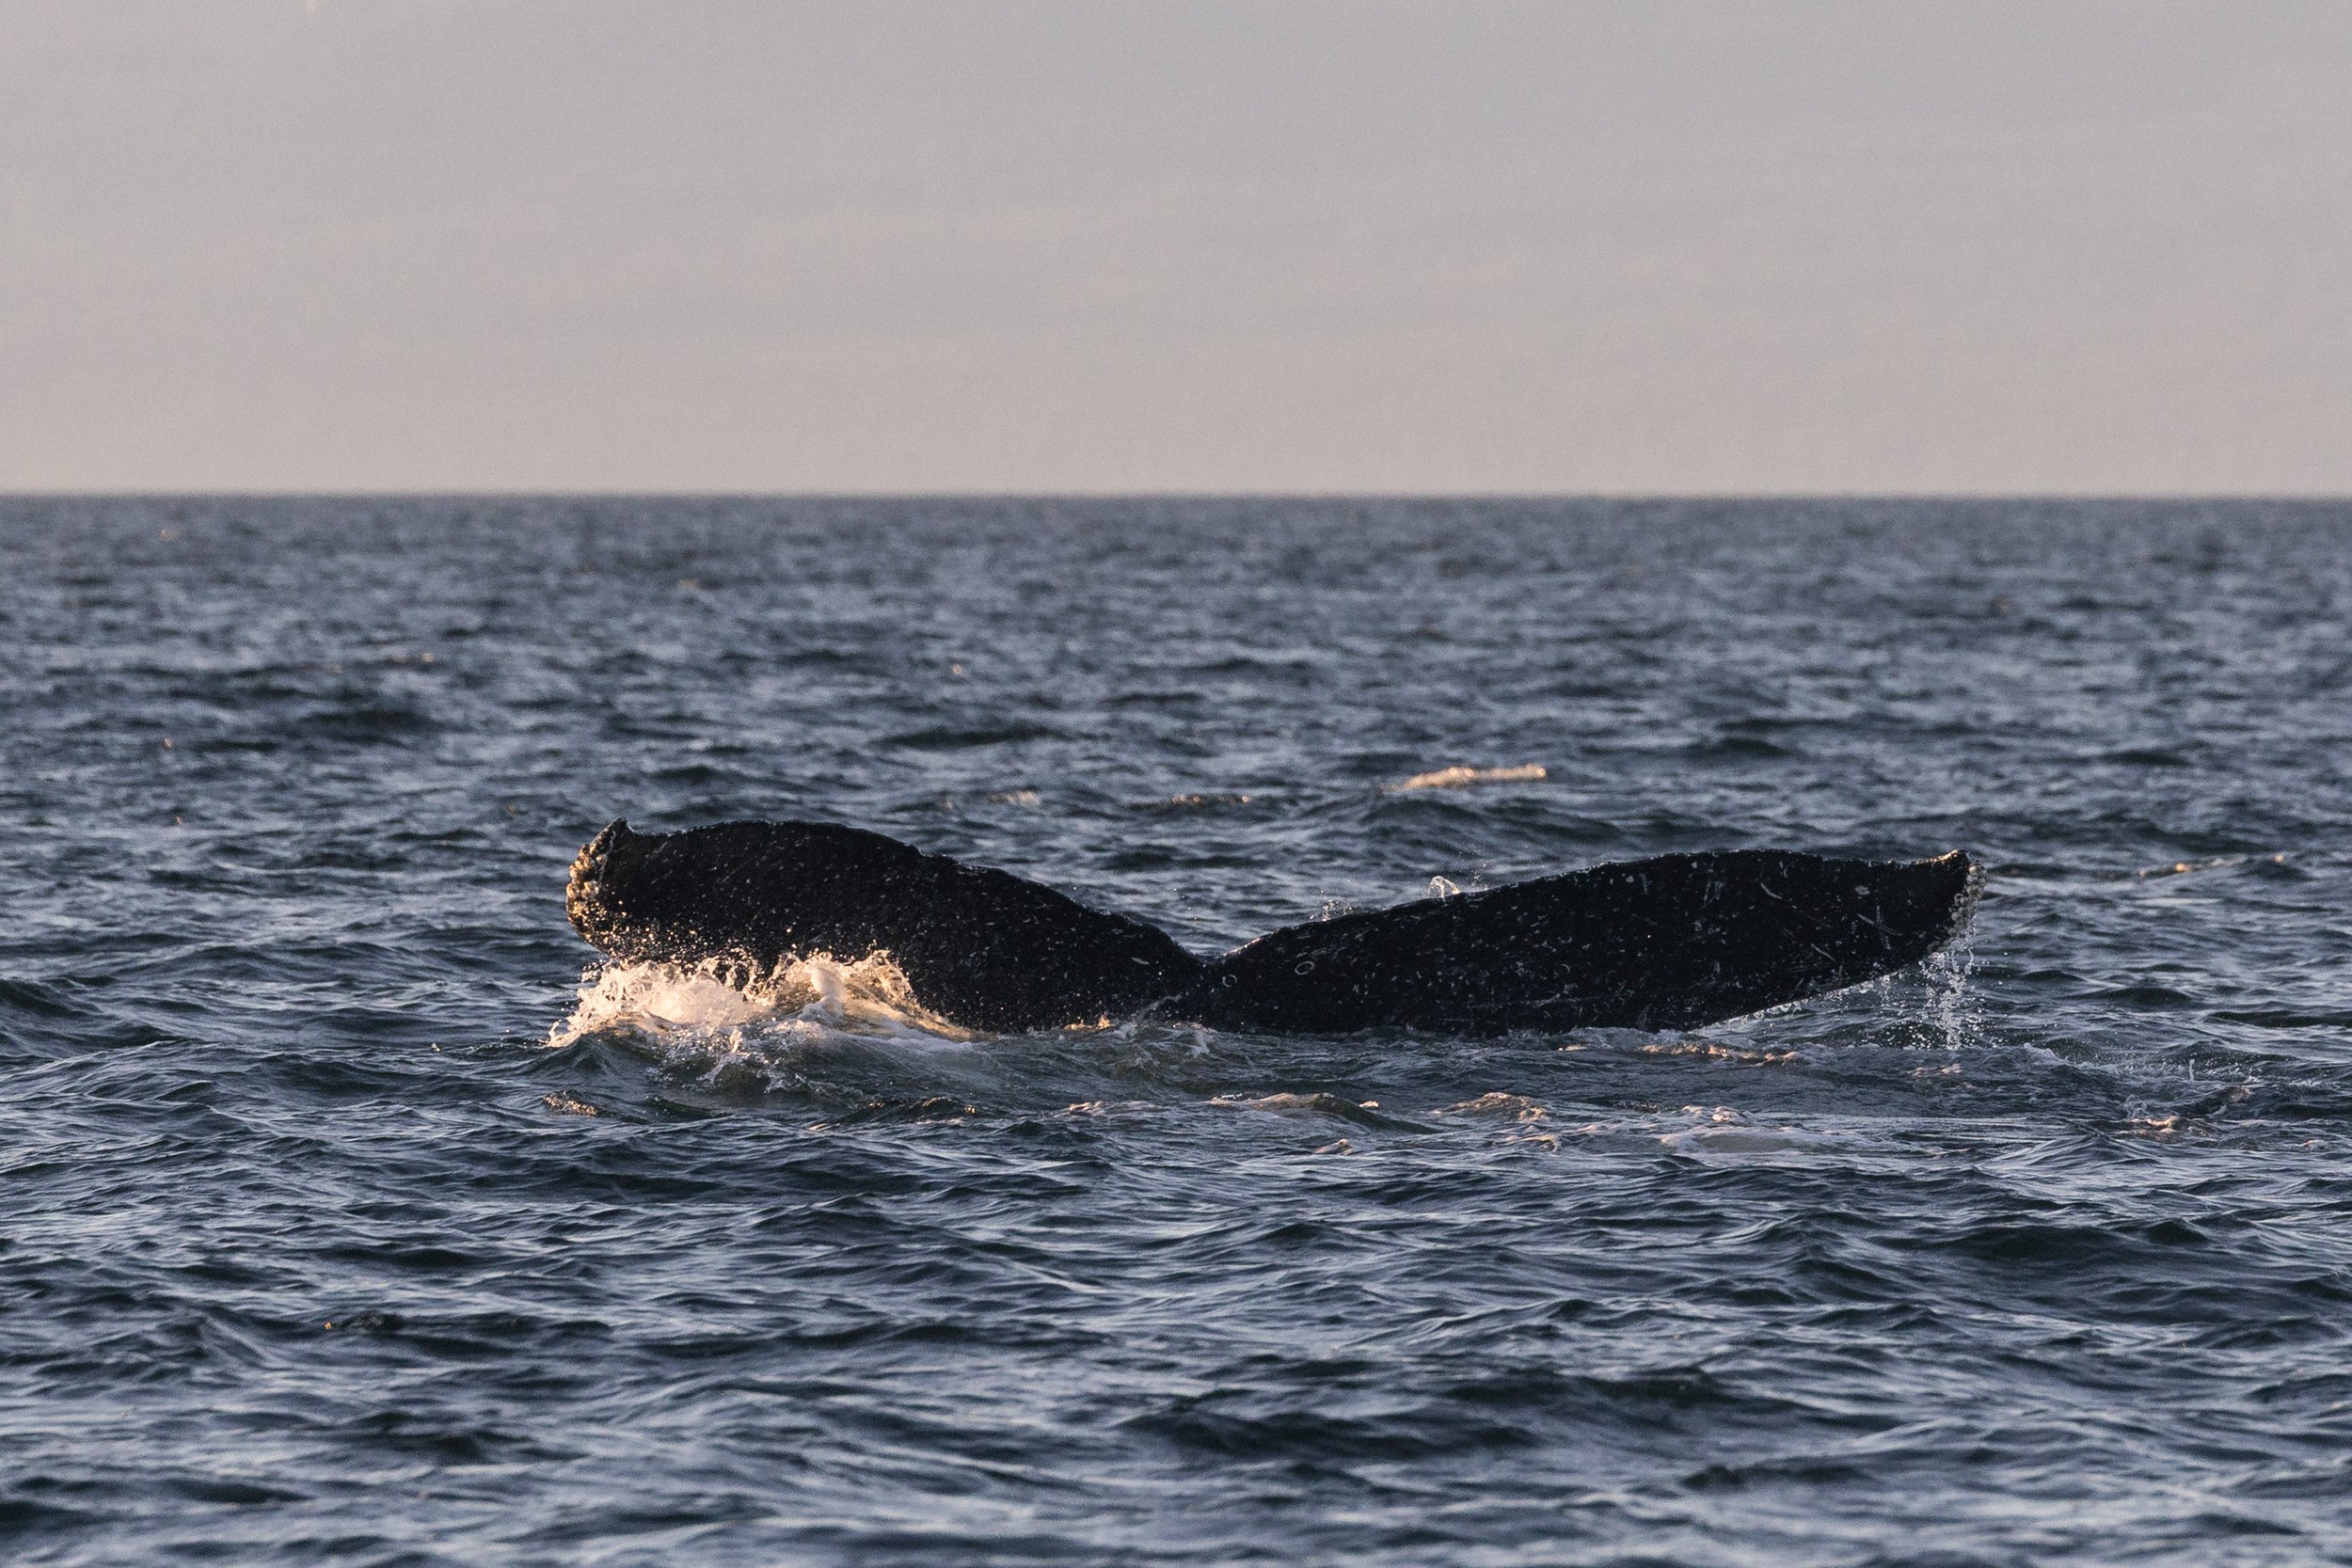
Just look at all the scars on Mantis’ tail flukes. Photo by Jordan Robinson.
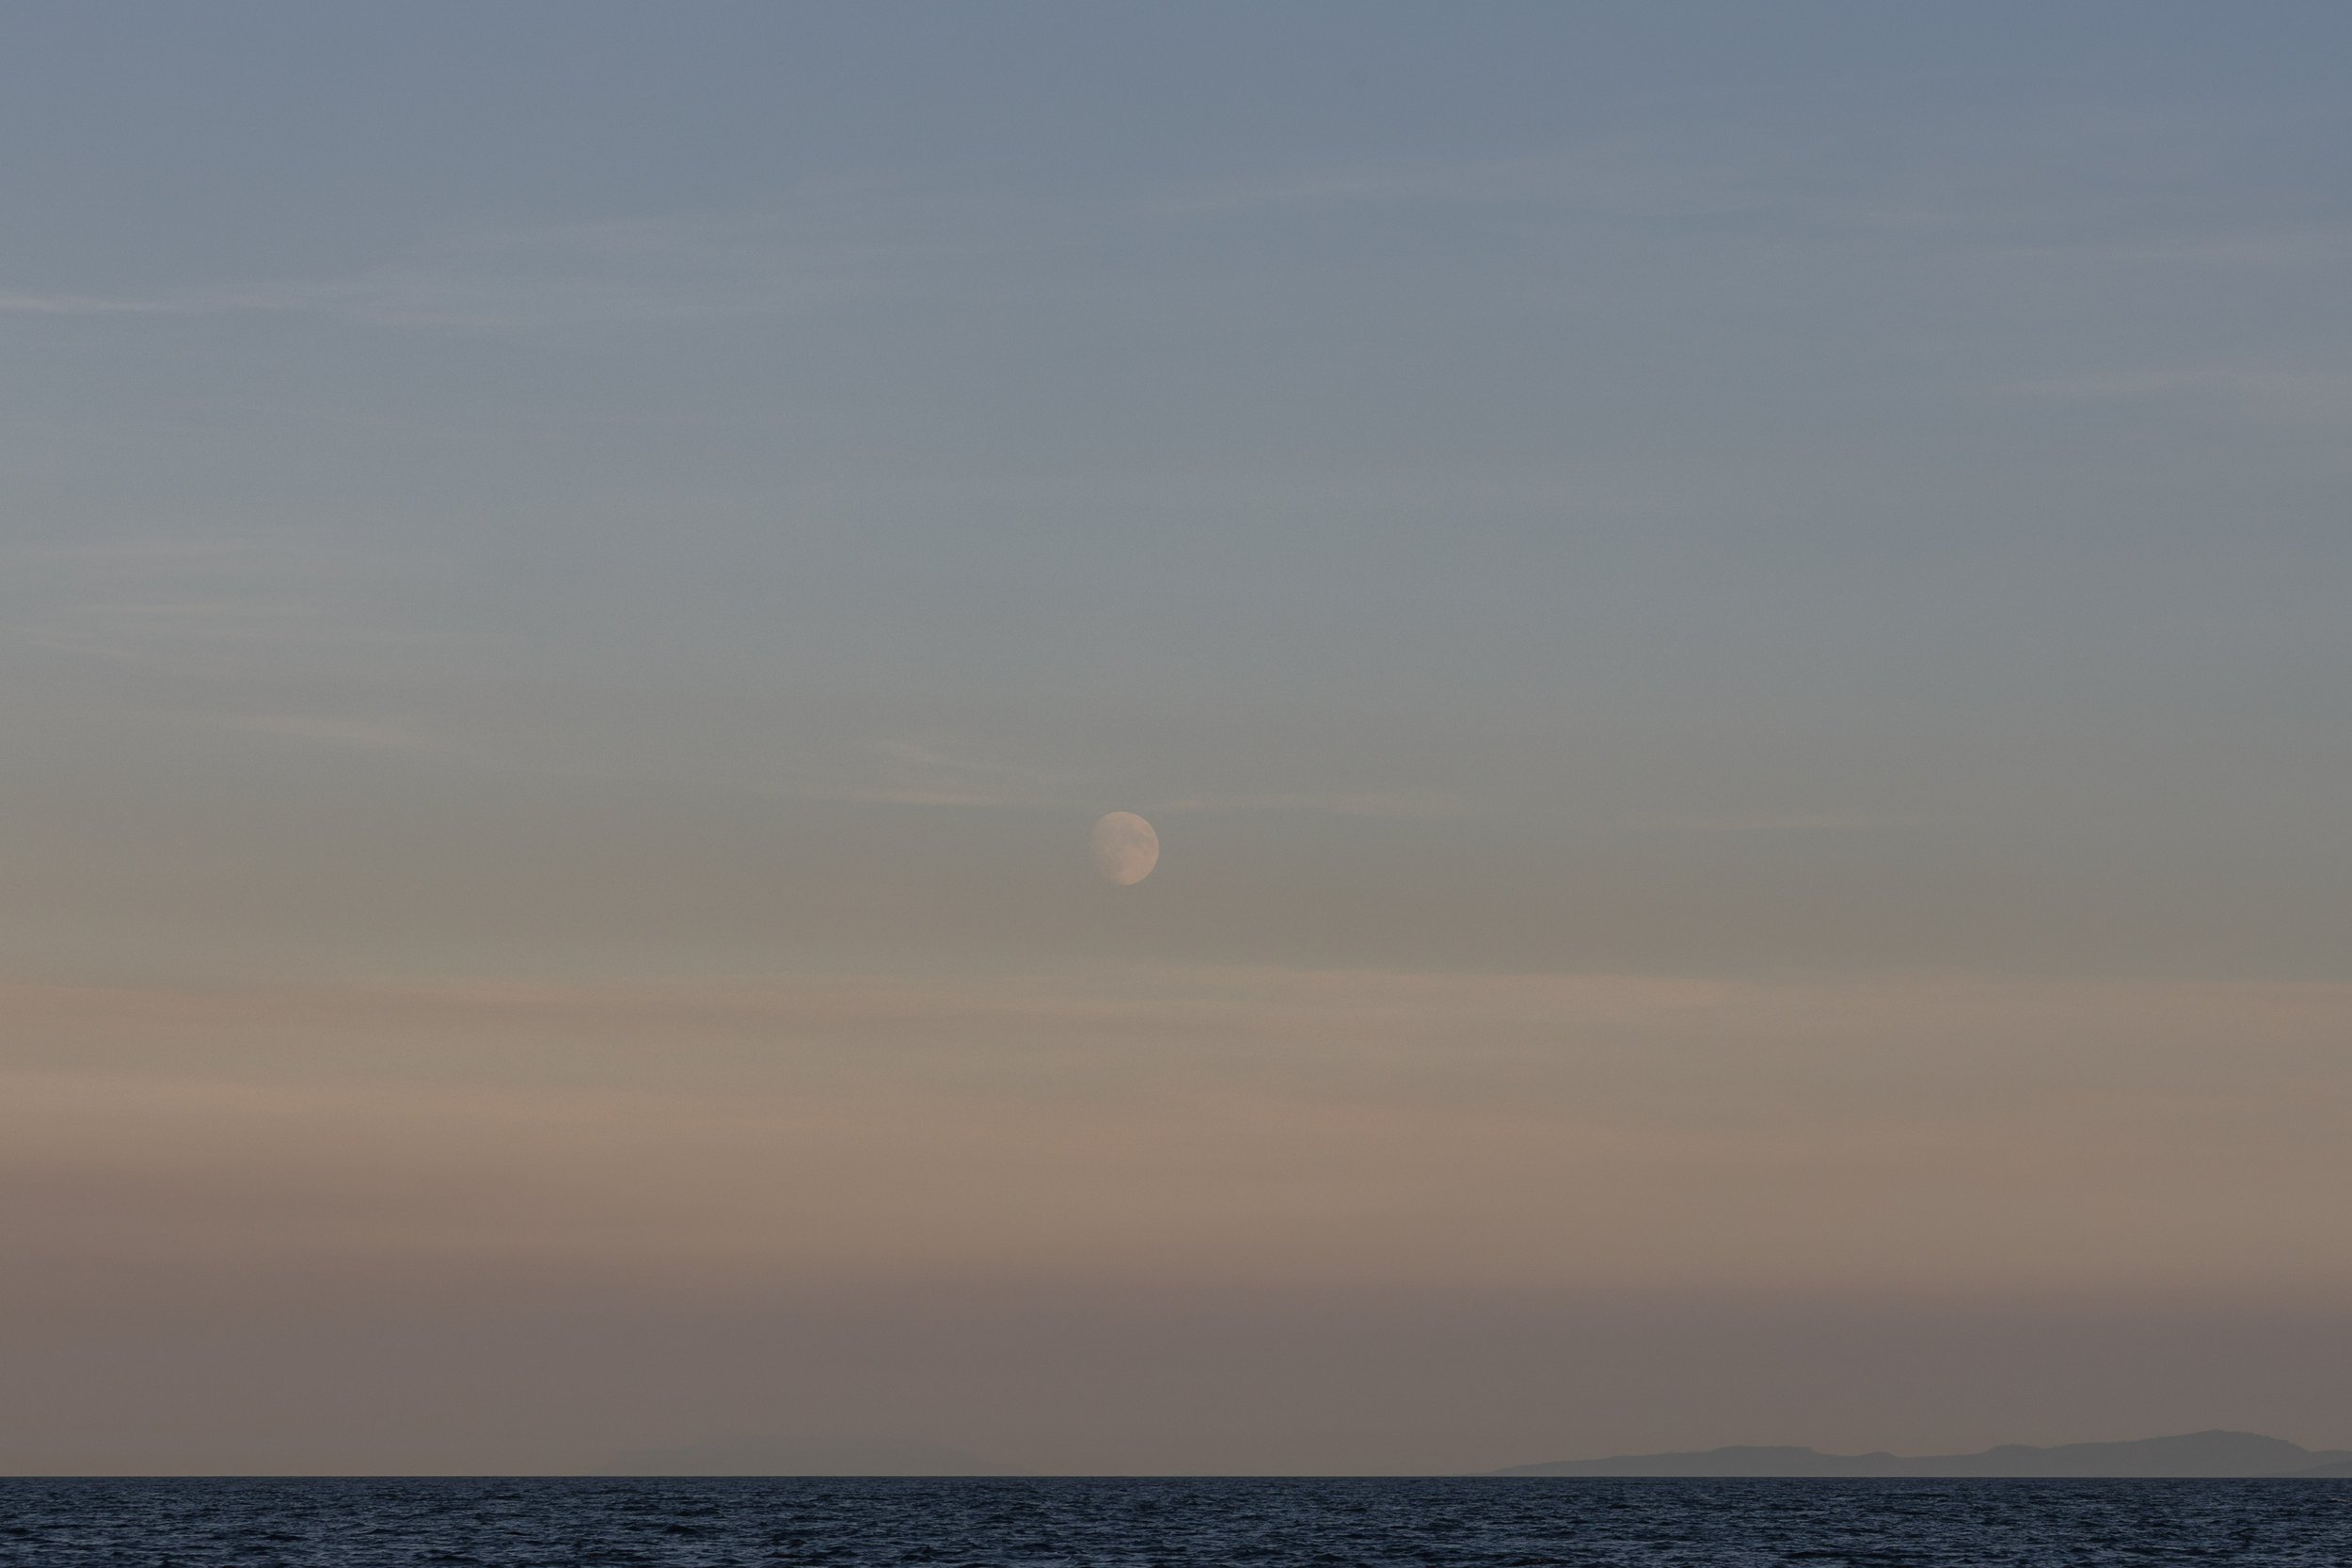
A loevly look at the moon over the water. Photo by Jordan Robinson.
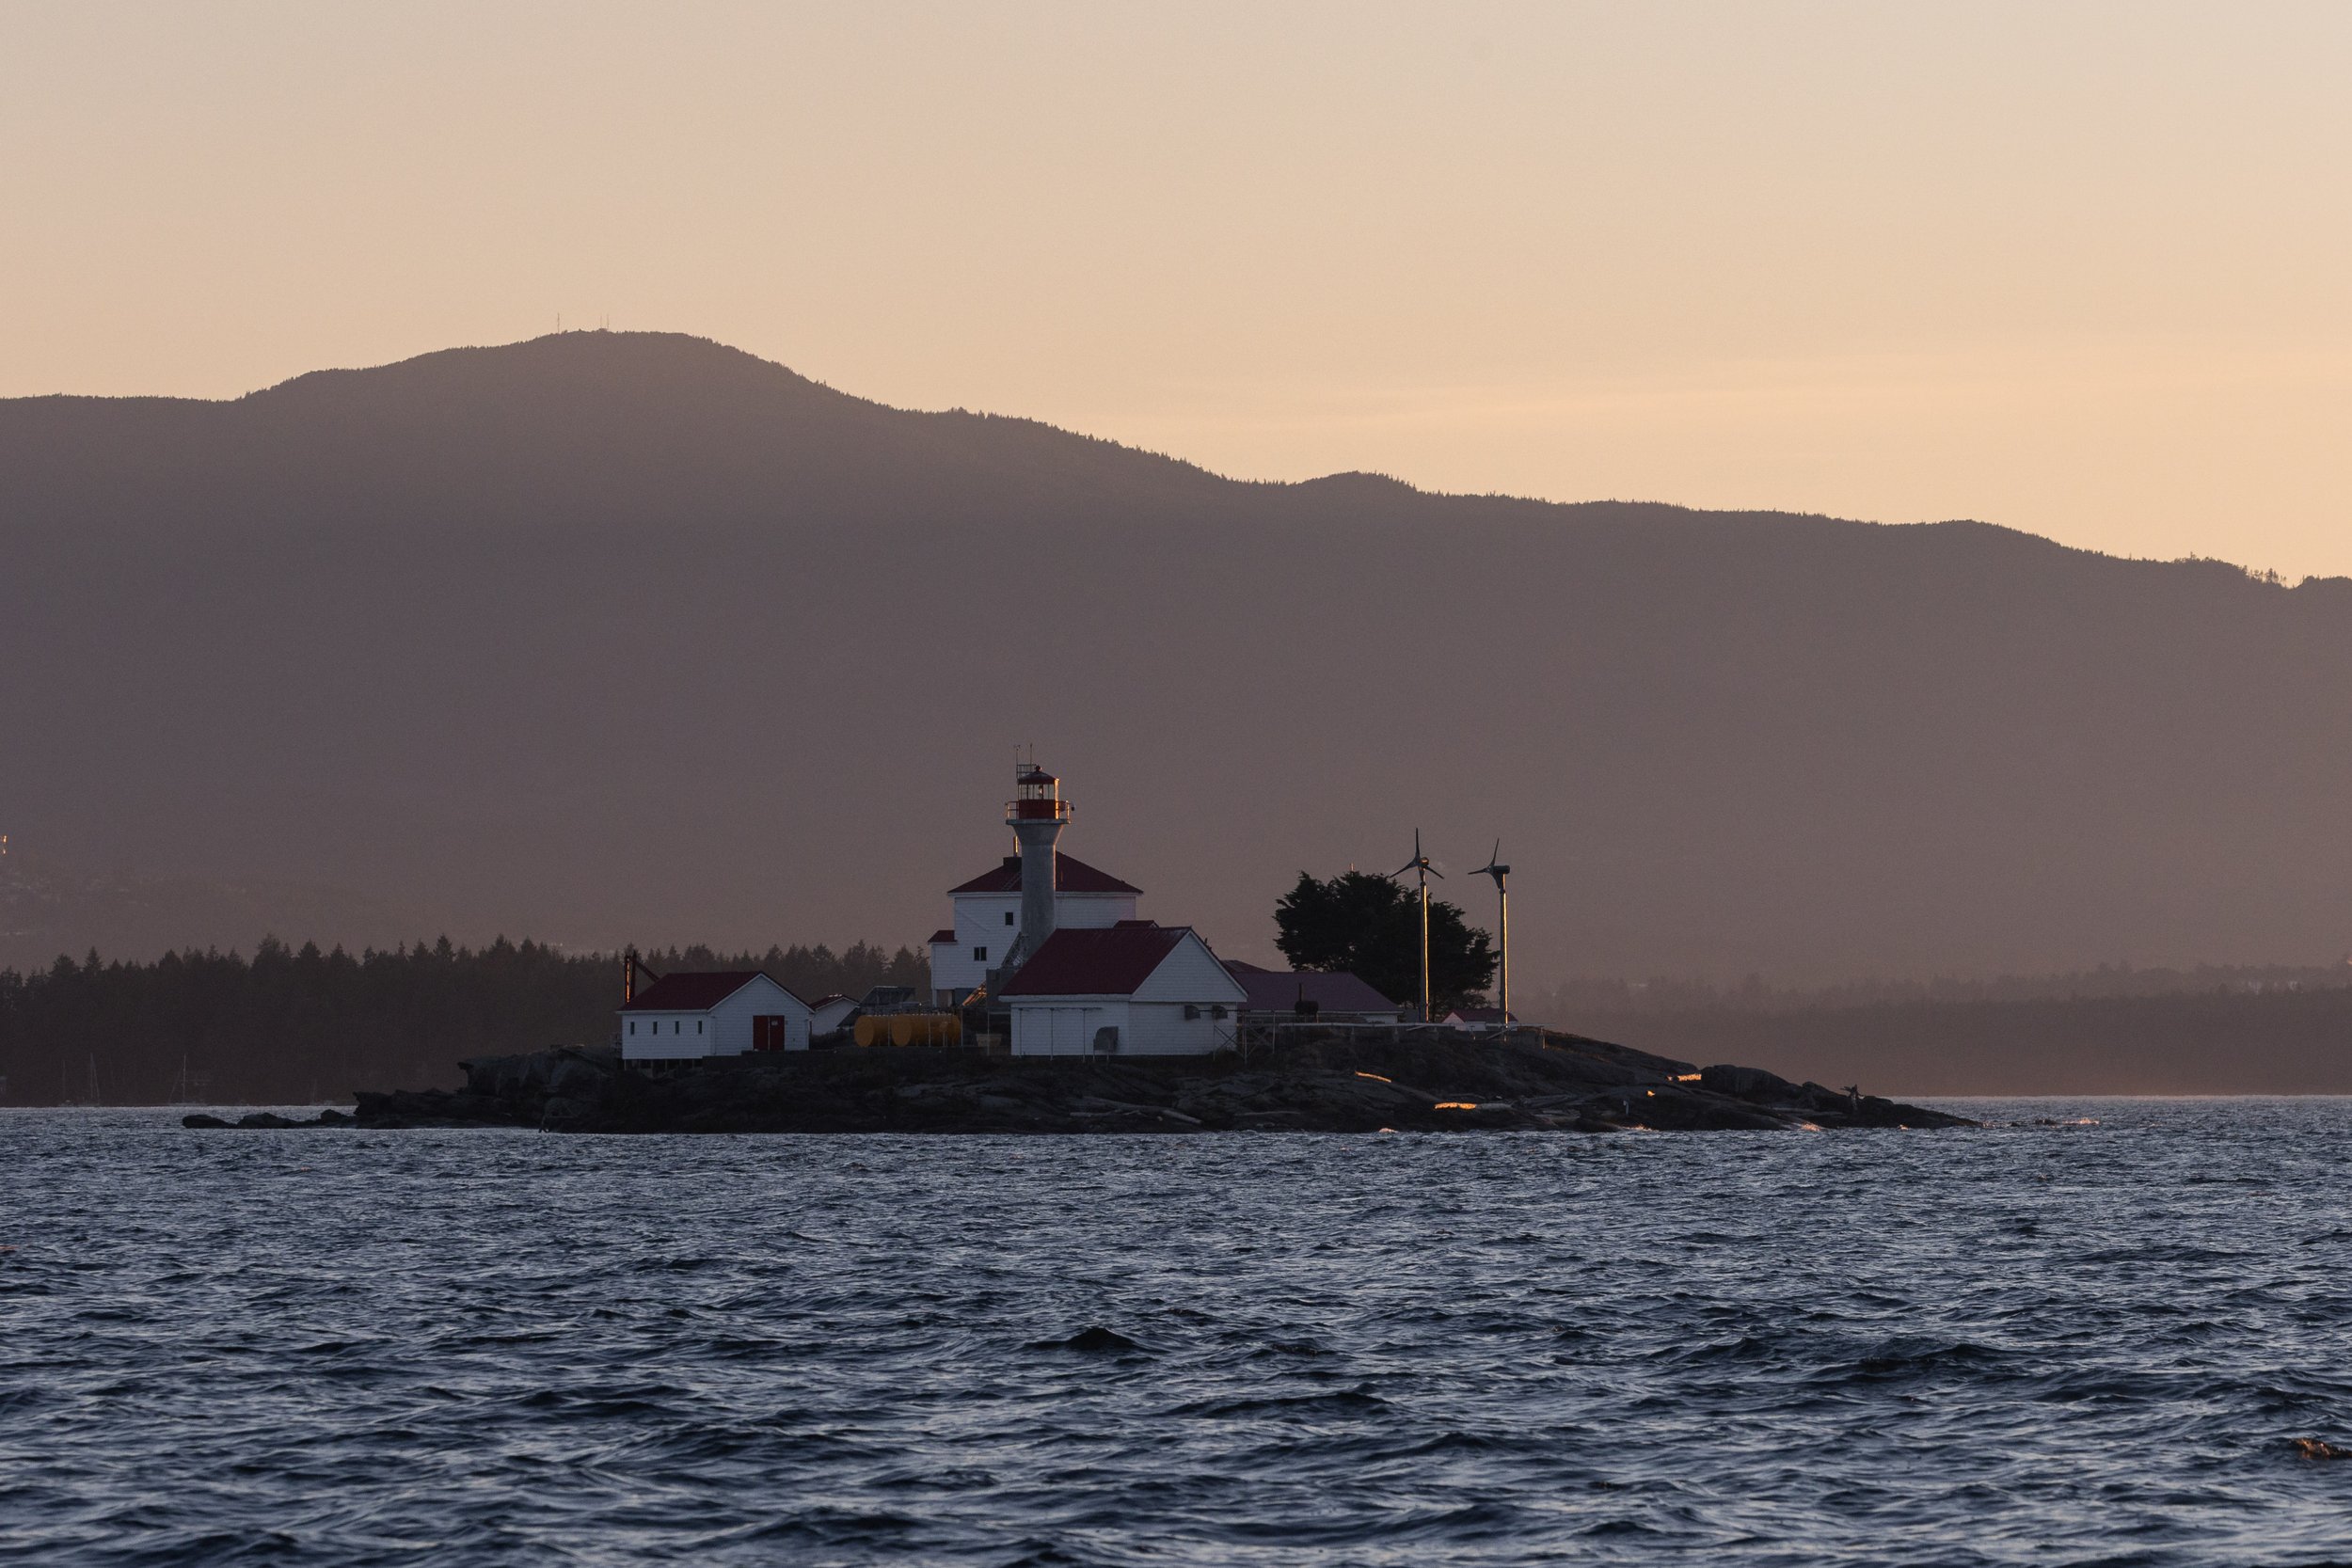
Entrance Island lighthouse in the sunset. Photo by Jordan Robinson.
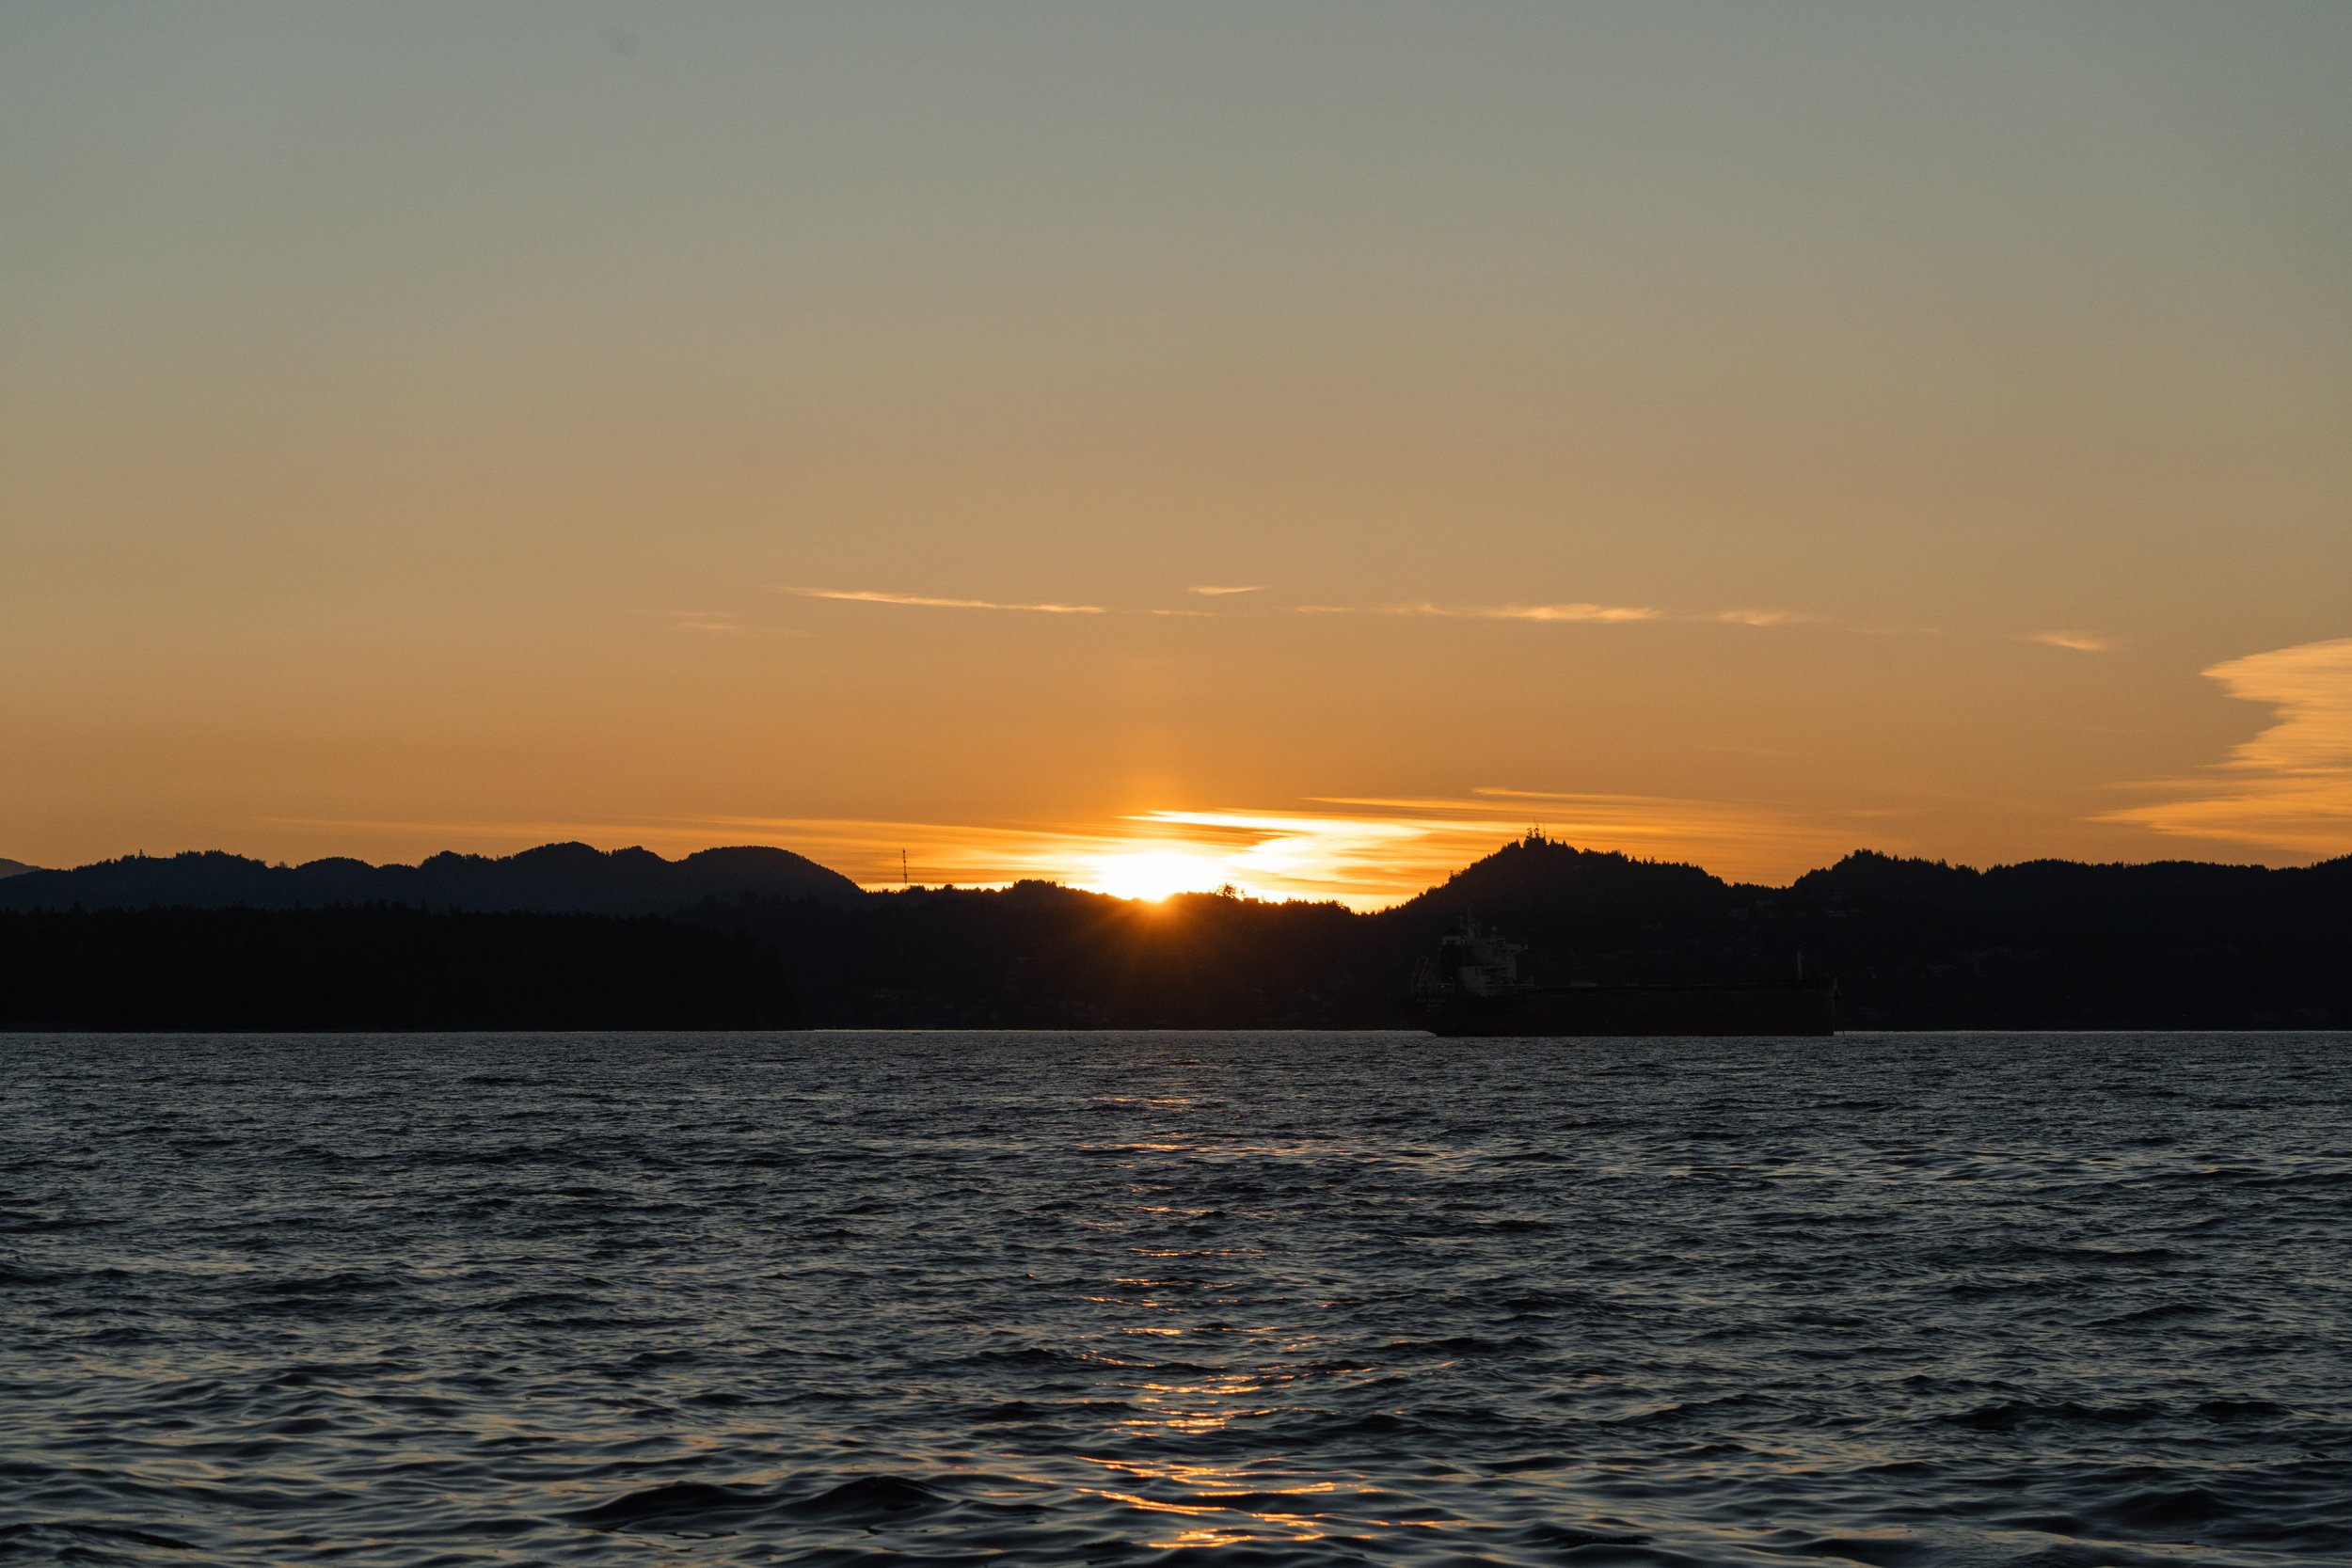
A sunset on the return to the Harbour. Photo by Val Watson.
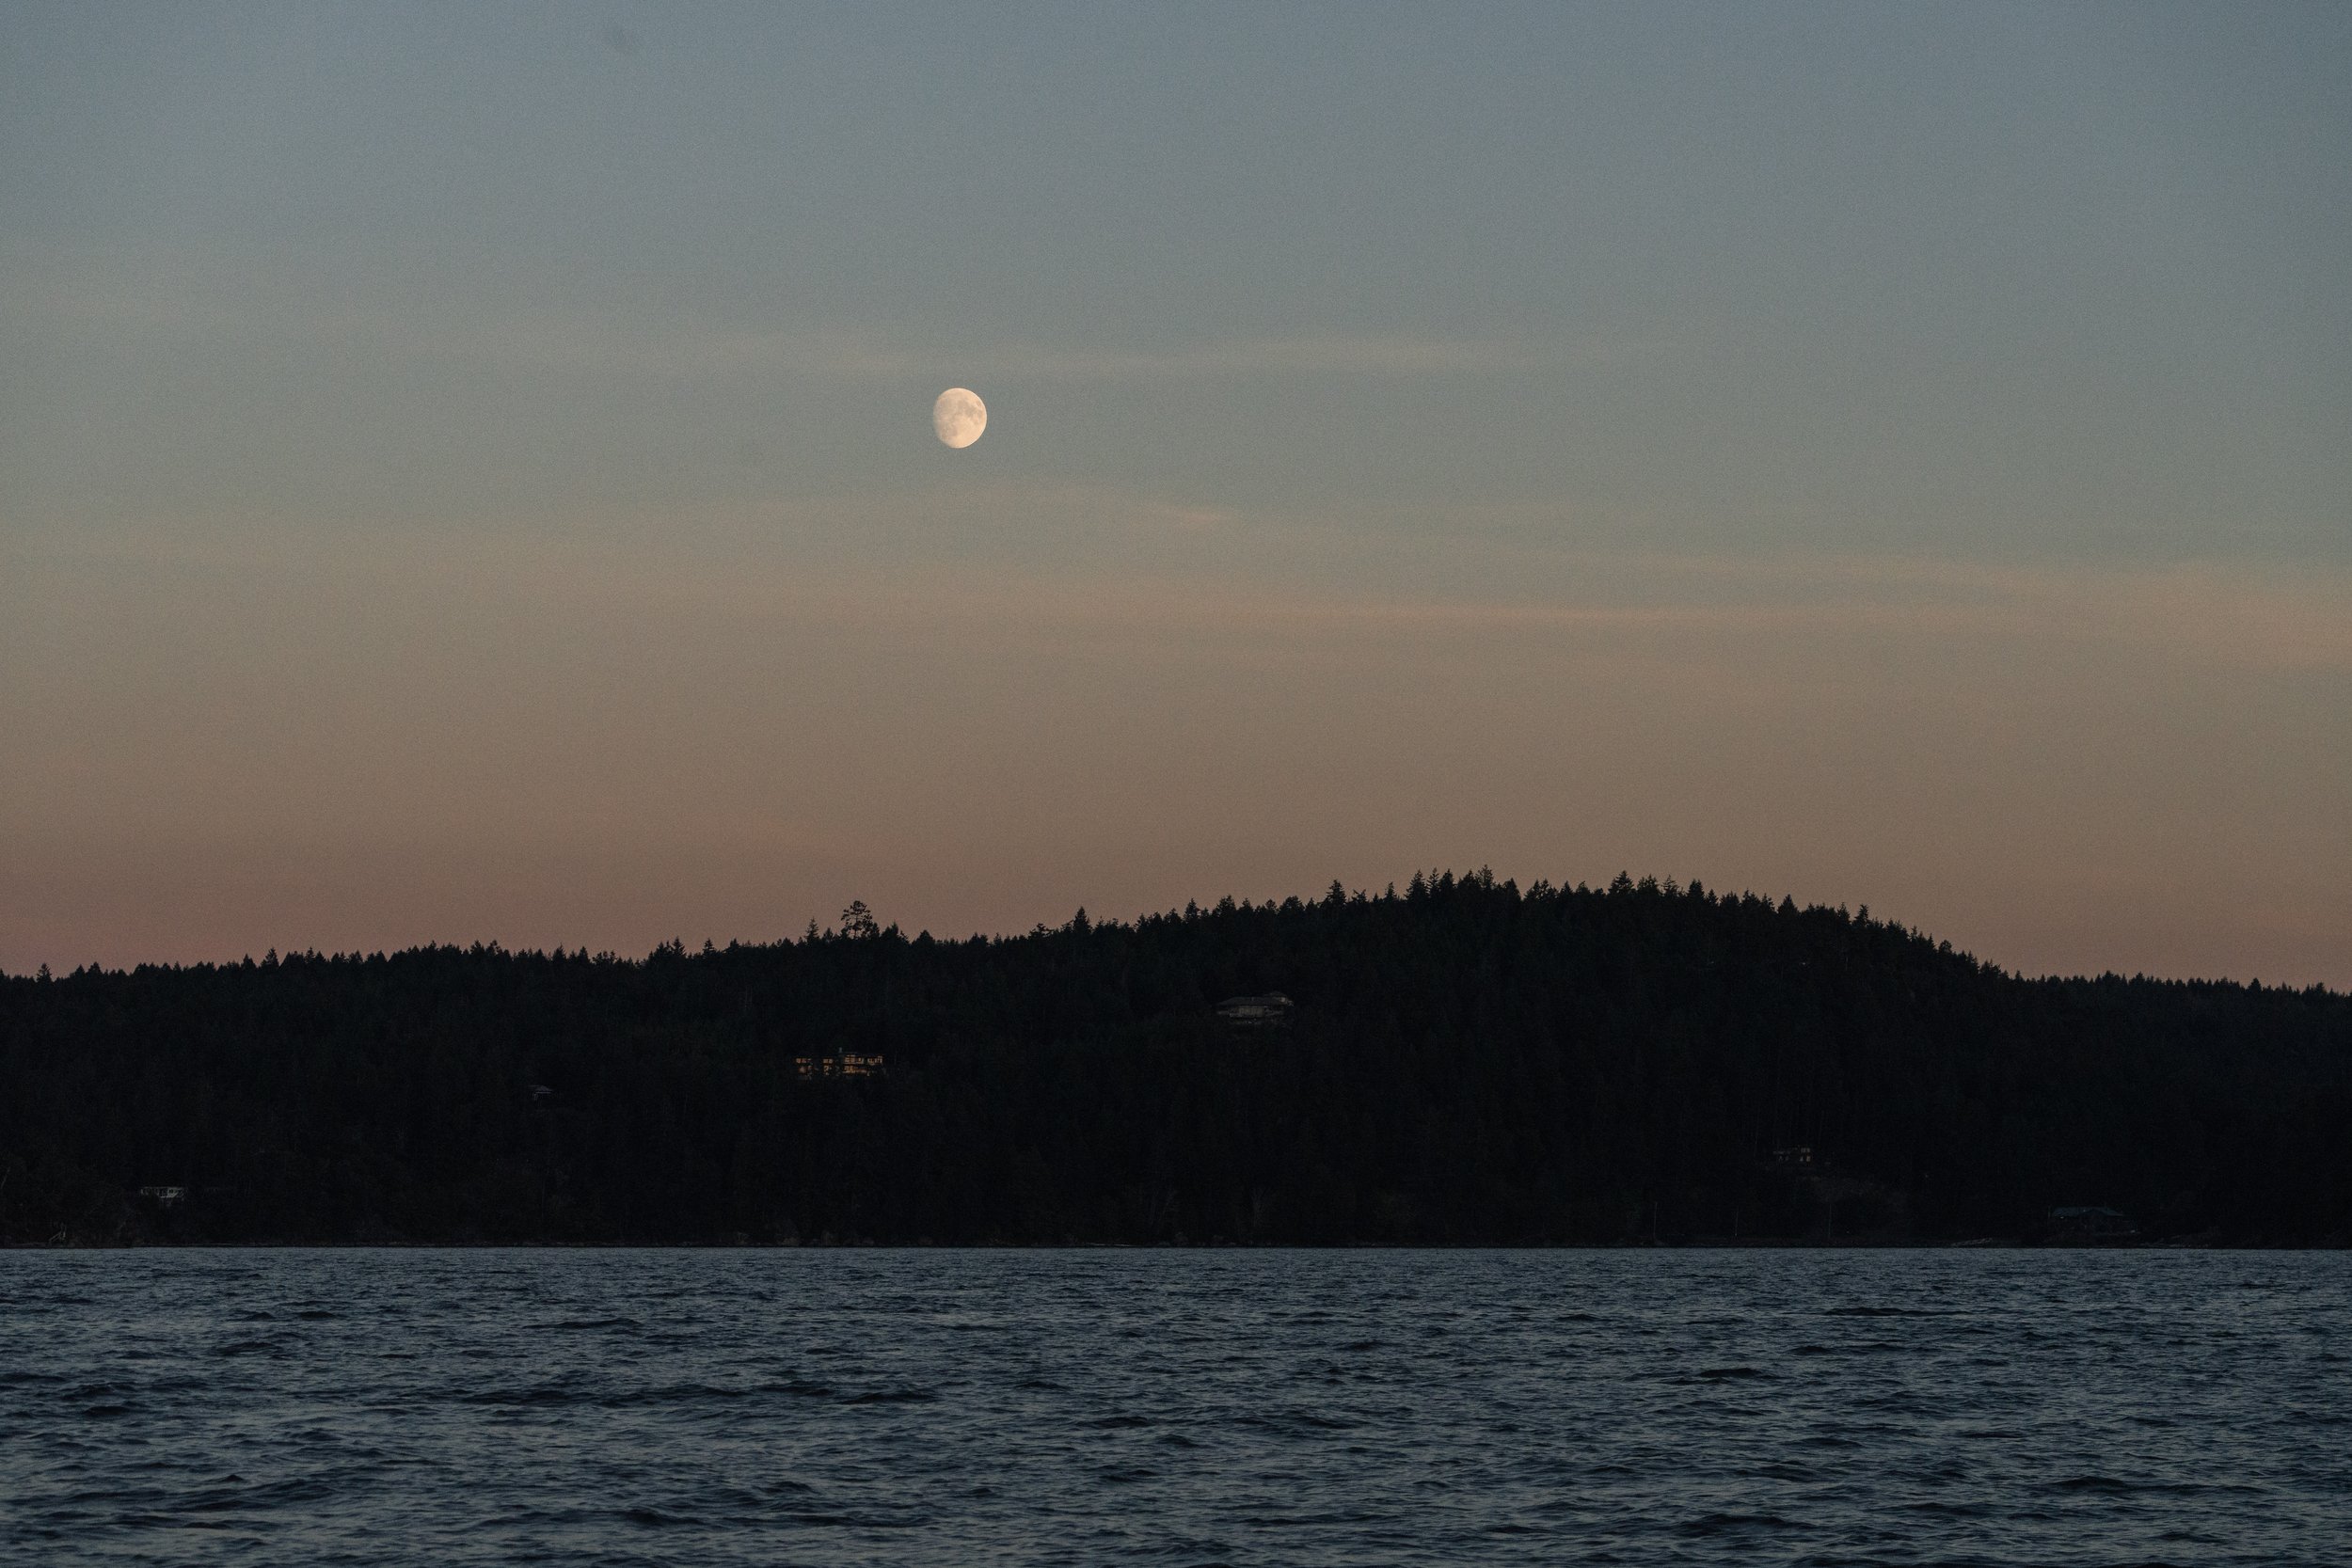
The moon over Gabriola Island. Photo by Val Watson.